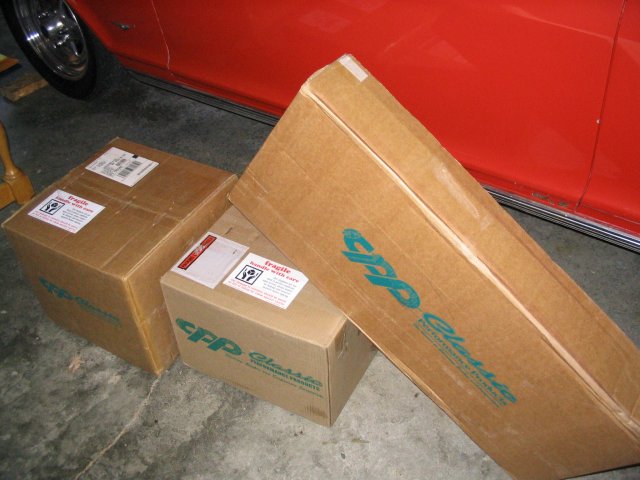
 boxes!
 CPP 64-67 Nova Stock Spindle Front Disc Brake Conversion kit install
This page describes the installation of Classic Performance Products' 64-67 stock spindle front disc brake conversion kit. Aside from the obvious improvement of a disc setup over the stock drum brakes, this kit has two major benefits. First the kit is designed to work with the stock 5-lug (64-67) front spindles. No need to modify the bracket mounting boss as with the 68-74 retrofit approach. Second, this kit is designed to keep the track width the same as it was originally. Again, the 68-74 retrofit approach falls short, as that will push the front wheels out about 1/2" per side. That can cause your tires to rub if you are tight for space.
[WARNING/DISCLAIMER: use this information at your own risk, modifying automobile brake systems can lead to dangerous situations, always have a trained mechanic check your work, I take no responsibility for the results, you've been warned, you're on your own...]
10/6 - Just getting started with this install...boxes arrived earlier today, haven't had time to do much more than open the boxes and see what's inside. MUCH more info to come later, but thought folks would like to see the new shiny bits ASAP. Some quick photos of what arrived (pretty raw, haven't sorted through these yet, some are dups to avoid flash glare...)
boxes!
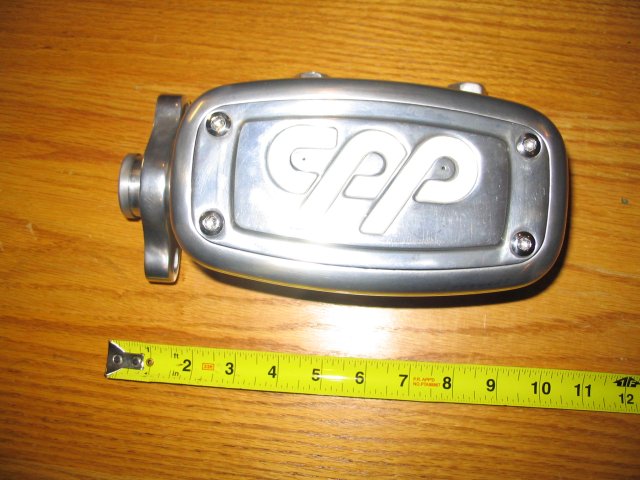
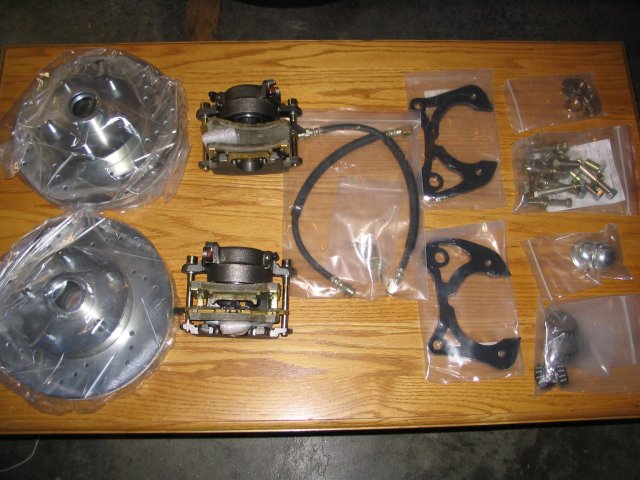 This is what's in the kit
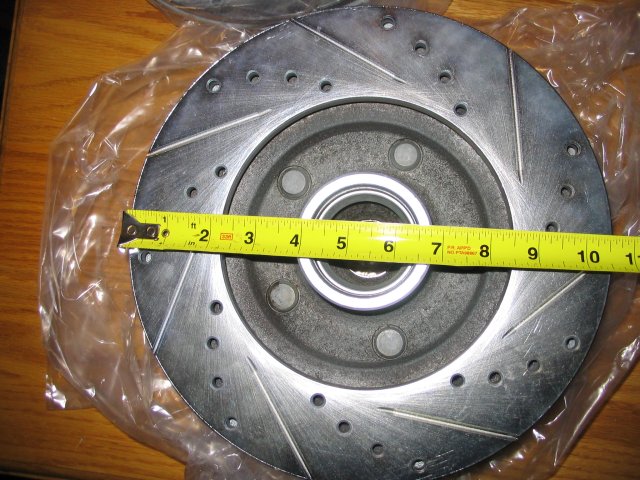
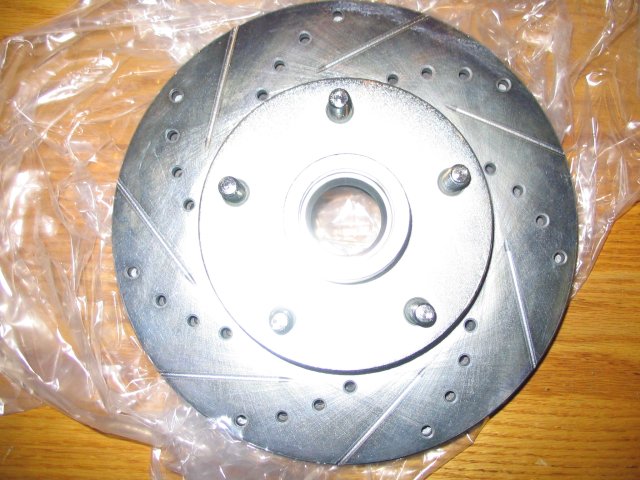 rotor/hub - one piece
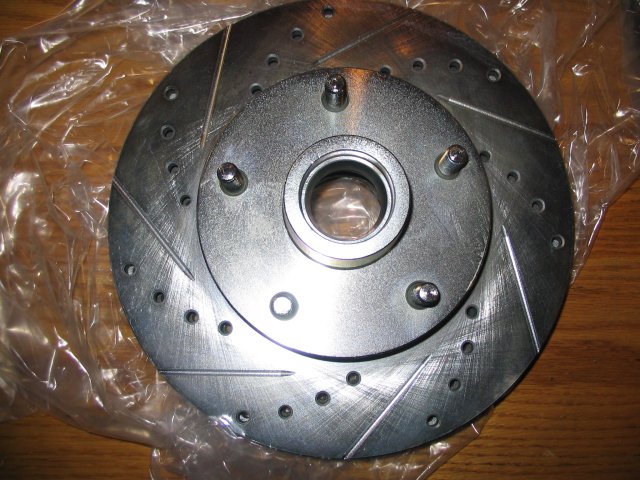
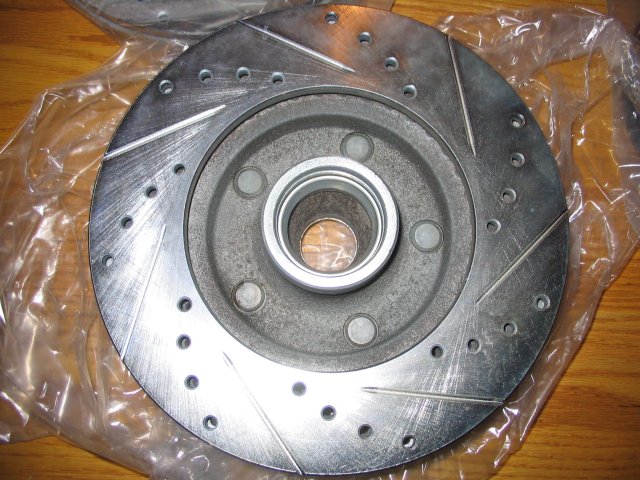 back of rotor/hub

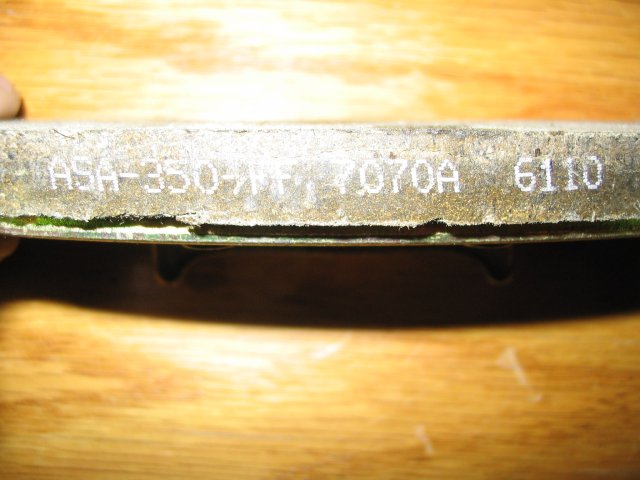 brake pad ASA-350-FF 7070A
6110
brake pad ASA-350-FF 7070A
6110
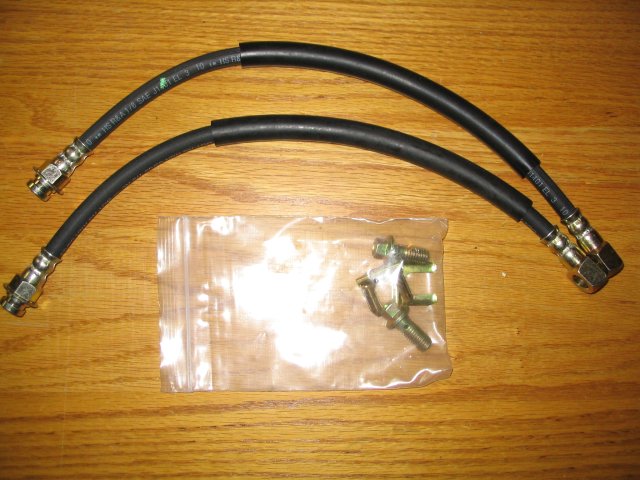 new hoses!

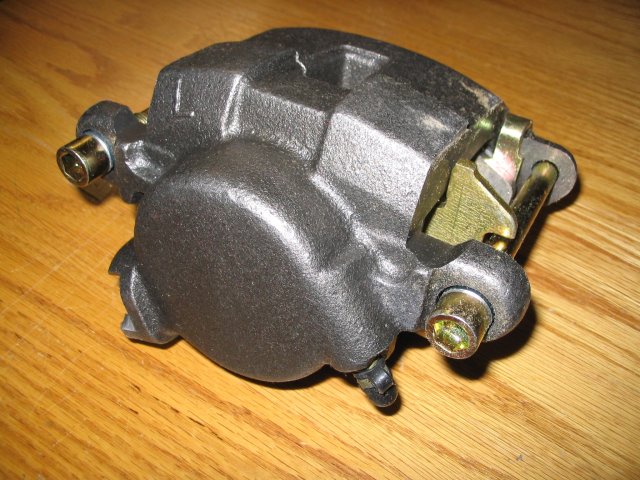
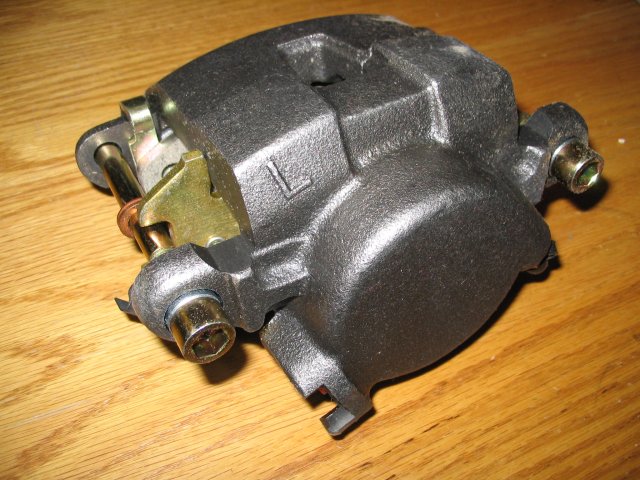
 caliper brackets
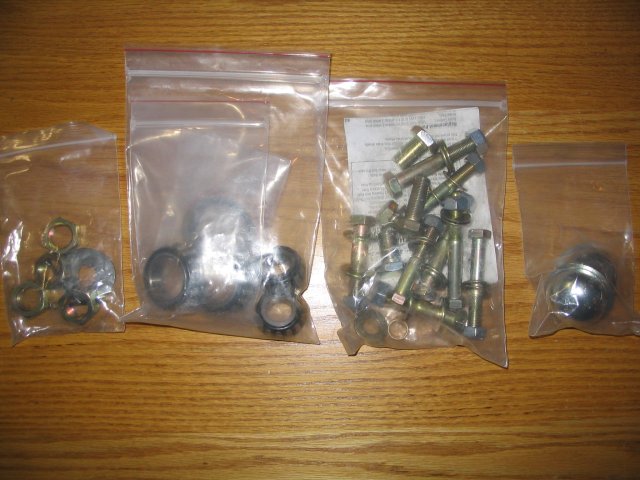 hardware kit...spindle nuts,
bearings, bracket bolts, dust cover
hardware kit...spindle nuts,
bearings, bracket bolts, dust cover
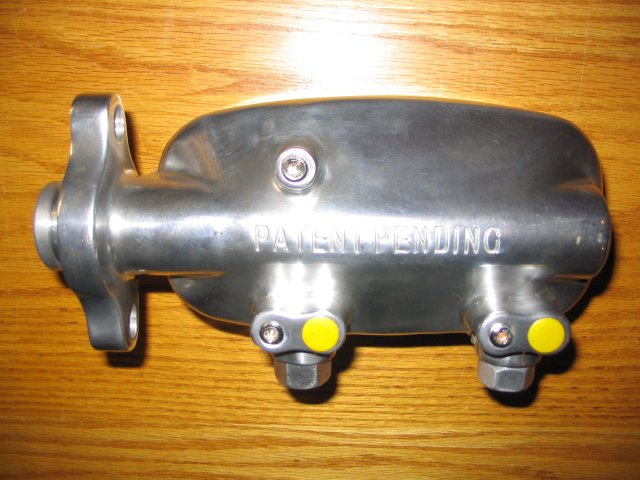
 This is not part of the kit,
but I got the new CPP master cylinder with built-in proportioning valve
This is not part of the kit,
but I got the new CPP master cylinder with built-in proportioning valve
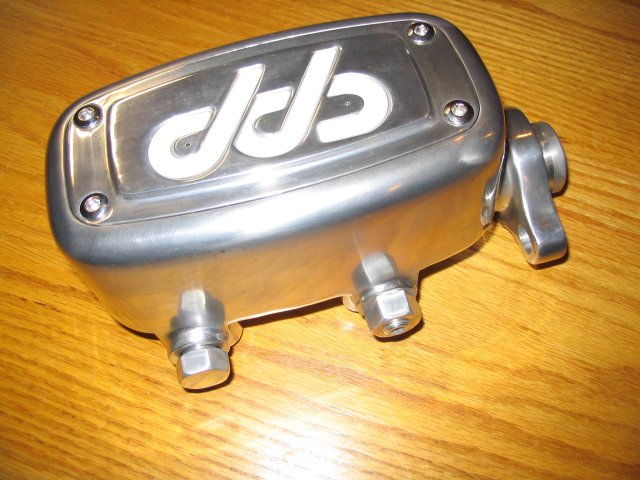
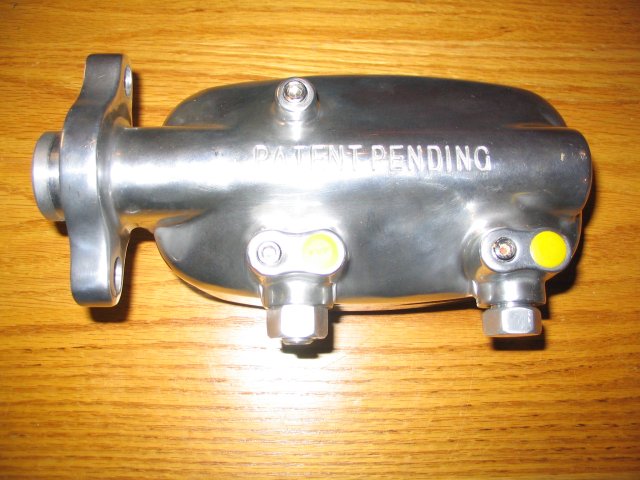
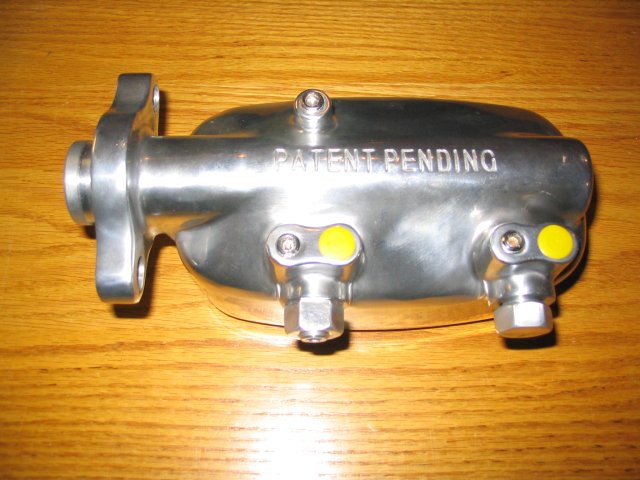 It's tough to take good pictures
of shiny stuff! Very nicely polished...
It's tough to take good pictures
of shiny stuff! Very nicely polished...
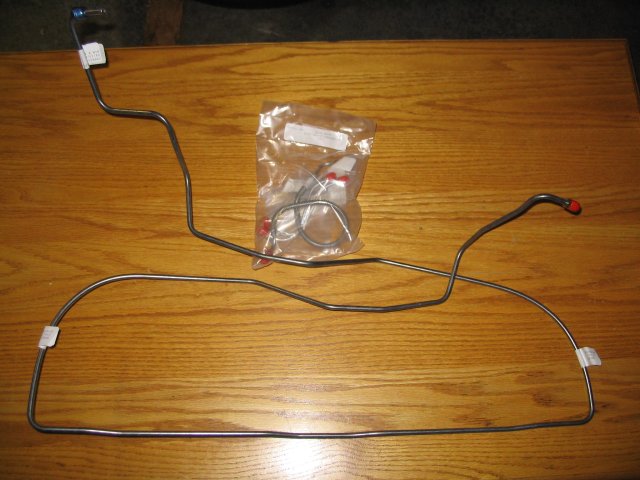 Brake line set (also not
part of kit) that I'll use as a starting point. This will need to be modified
to fit the new master cylinder.
Brake line set (also not
part of kit) that I'll use as a starting point. This will need to be modified
to fit the new master cylinder.
Removing drum brakes from spindle:
 Getting started...
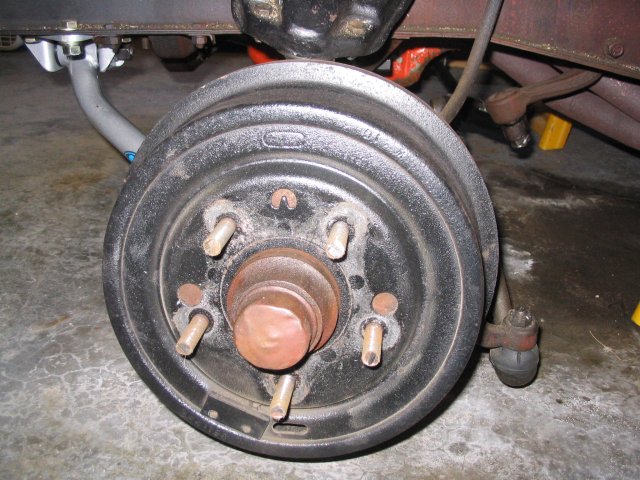
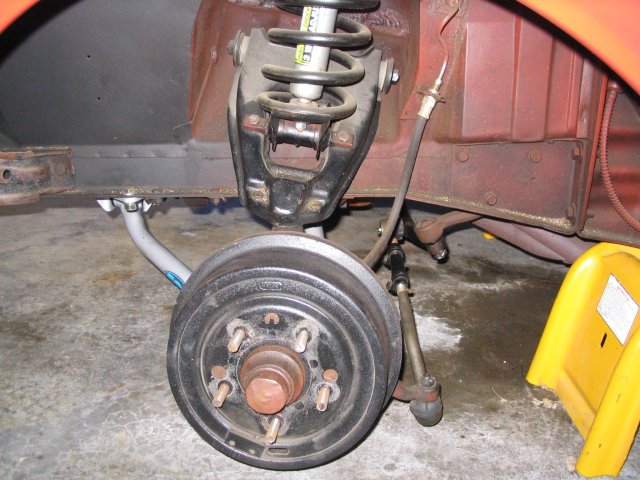
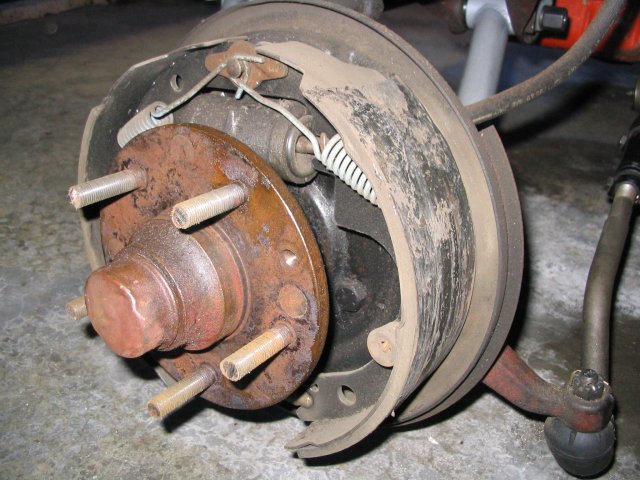
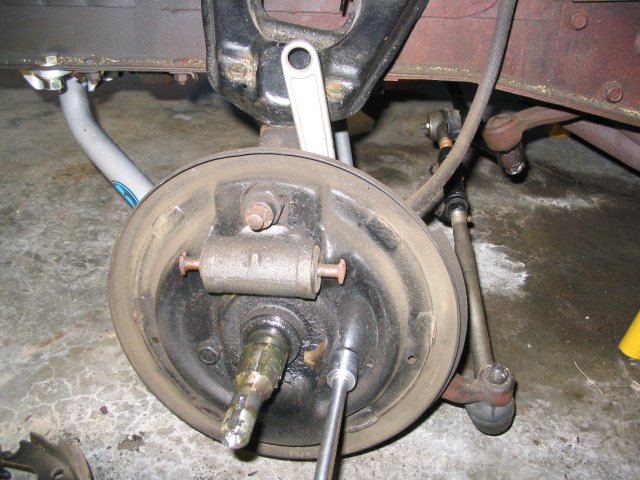
 Original drum setup
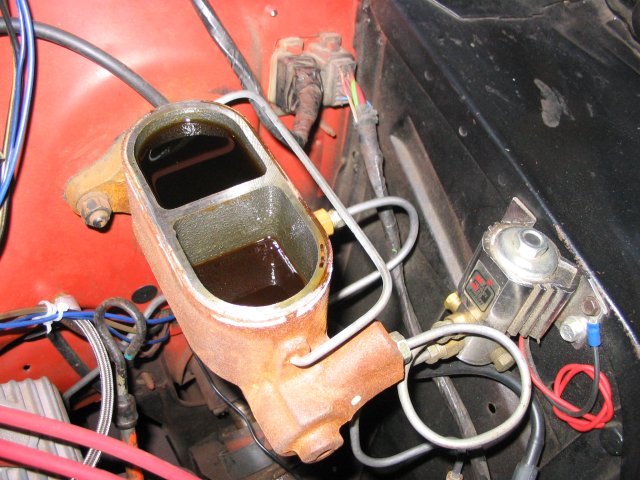
 Original MC with Hurst Line-Lock
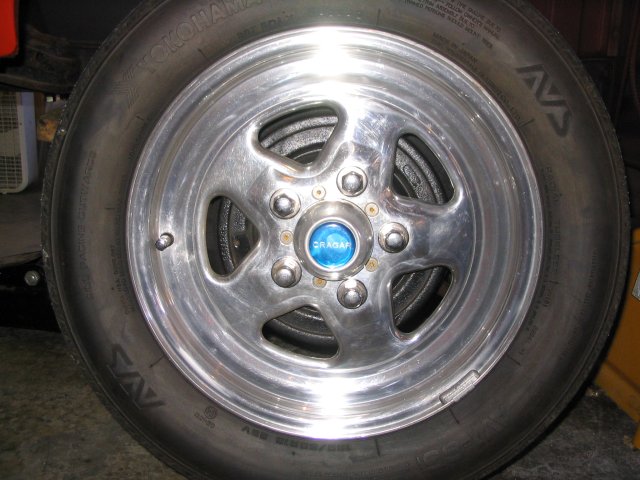
 Tire off, ready to work
 Pull the drum off the hub
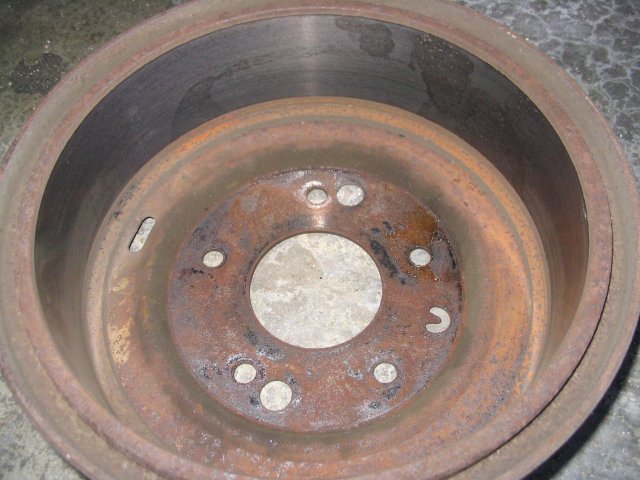
 Drum off hub
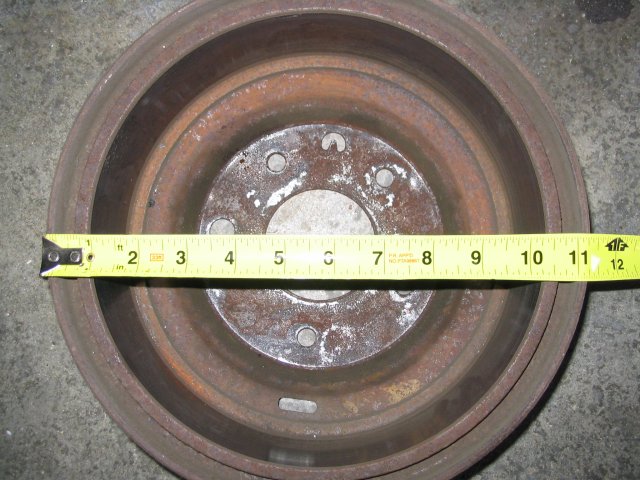 11.25" outside diameter
drum
11.25" outside diameter
drum
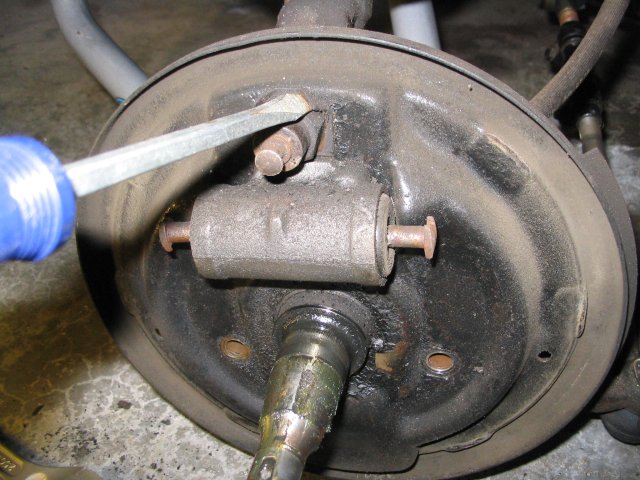
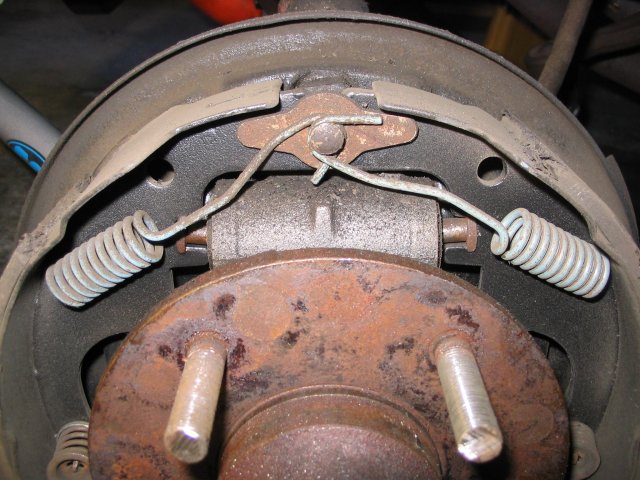 First step is to remove top
springs
First step is to remove top
springs
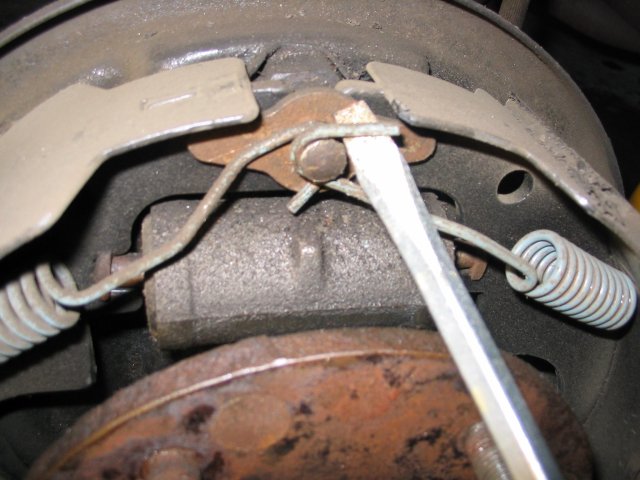 Be careful prying! Springs
will pop off with great force
Be careful prying! Springs
will pop off with great force
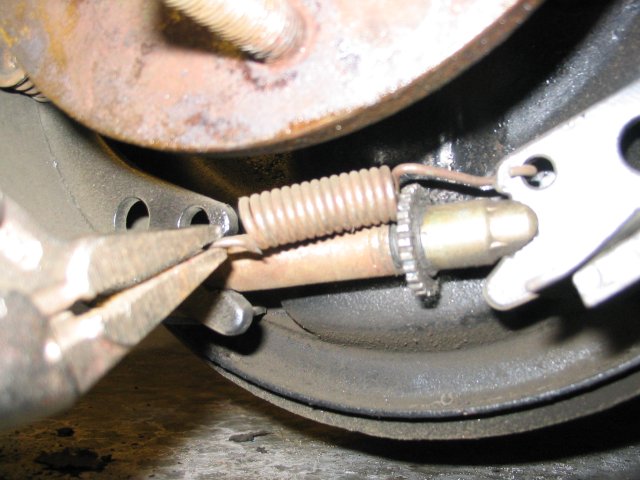
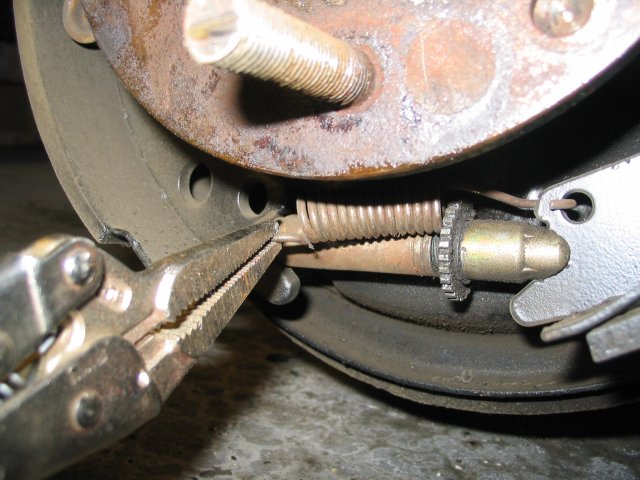
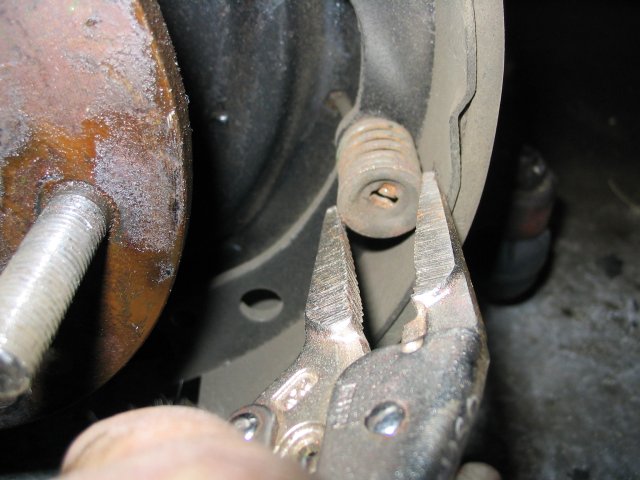
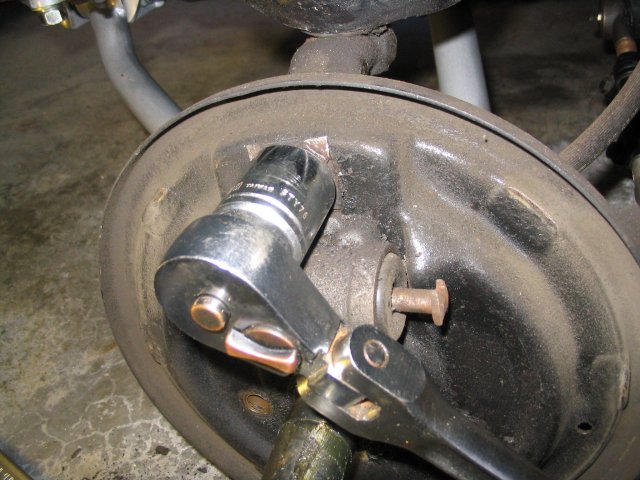
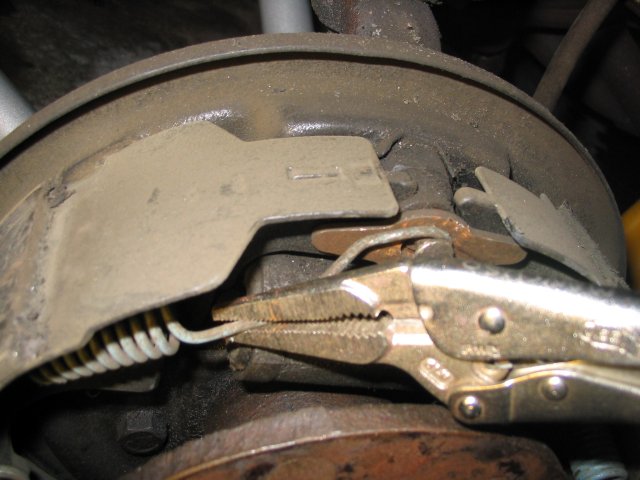 Vice-Grips work well to remove
springs too
Vice-Grips work well to remove
springs too
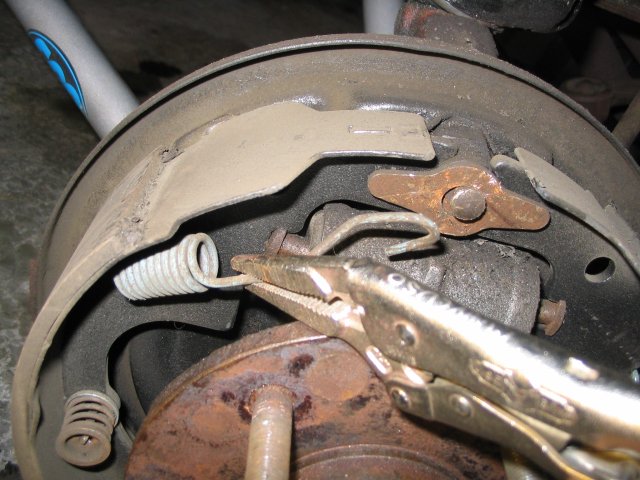
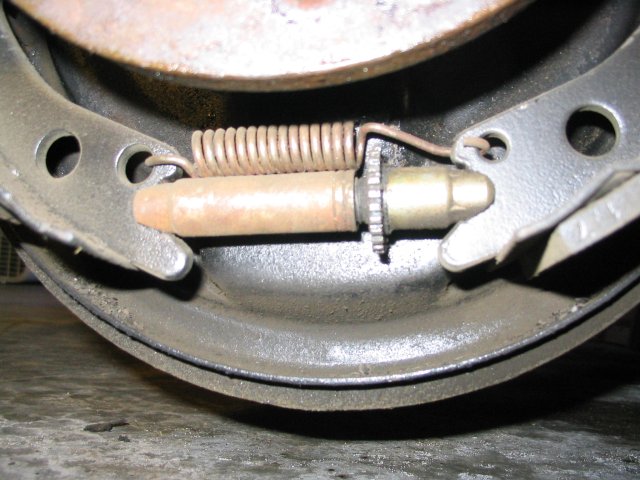 Drum adjuster and spring
 Remove adjuster spring
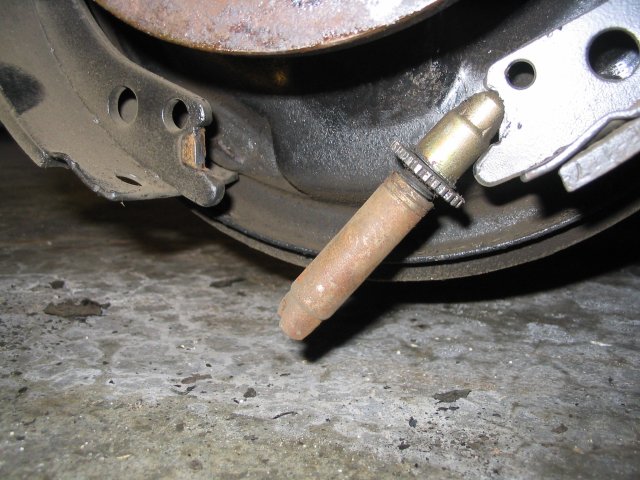 Remove adjuster
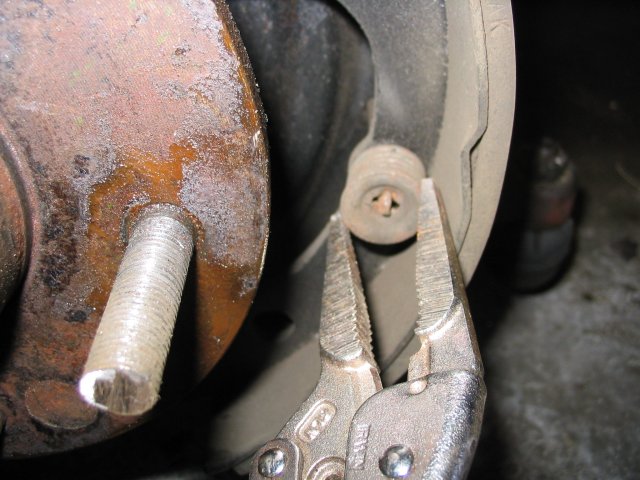 Shoes are attached with spring
clips
Shoes are attached with spring
clips
 Push in, turn 90*, and release
slowly.
Push in, turn 90*, and release
slowly.
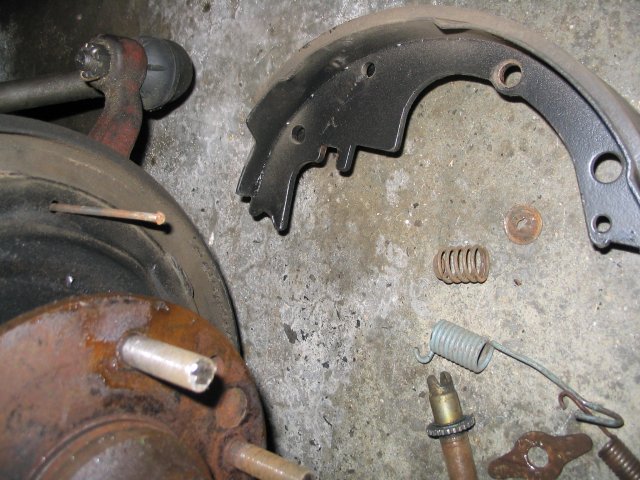
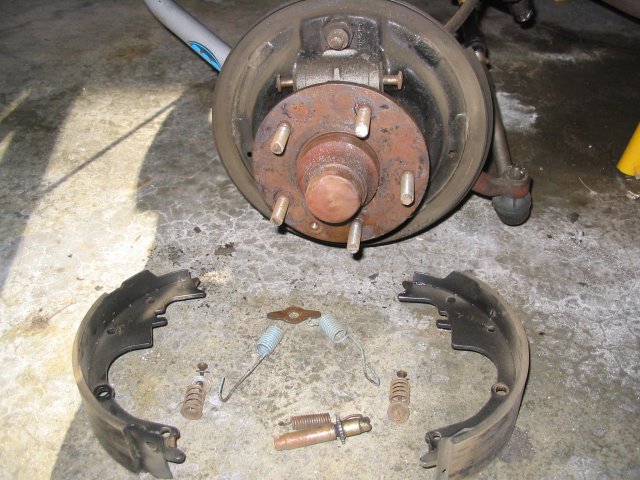 Shoes, springs, and adjuster
removed
Shoes, springs, and adjuster
removed
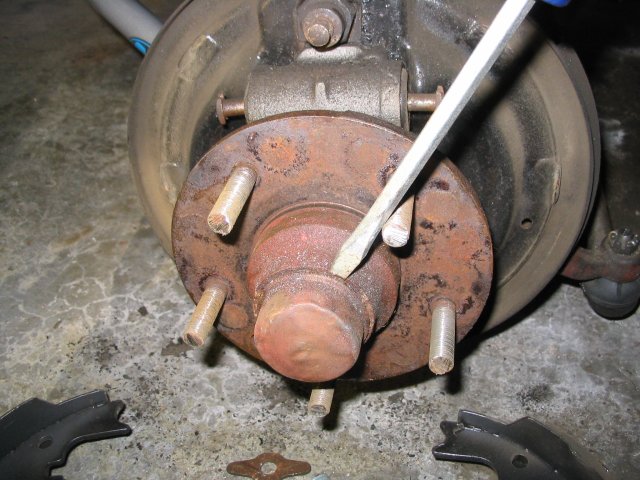 Pry off dust cap on hub
 Spindle nut and cotter pin
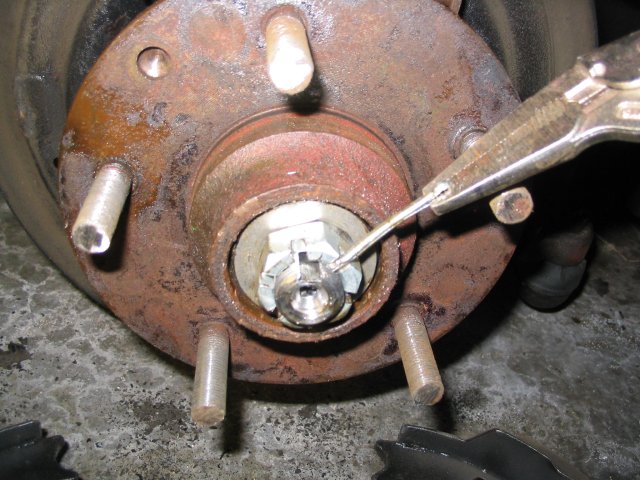 Remove cotter pin
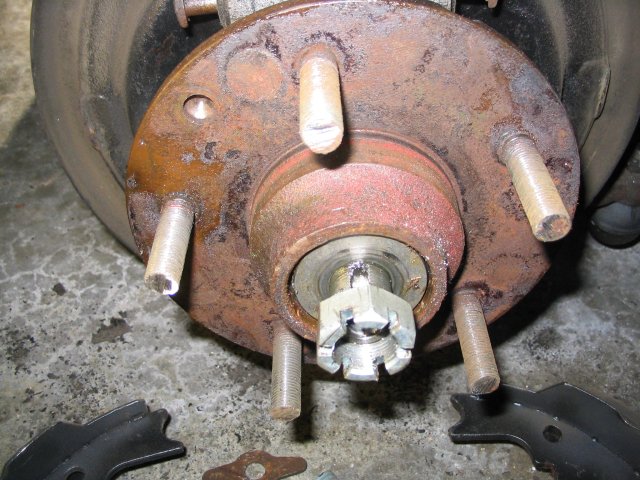 Remove spindle nut
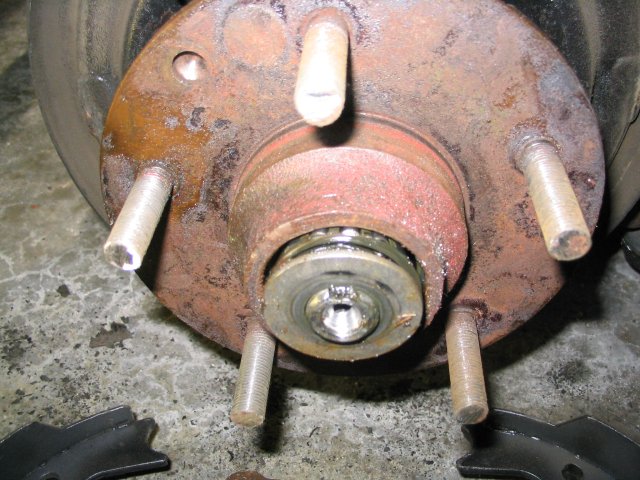 Remove washer
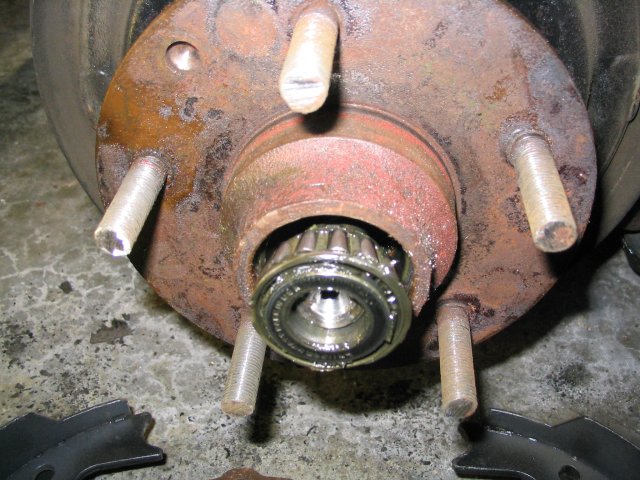 ...and outer bearing.

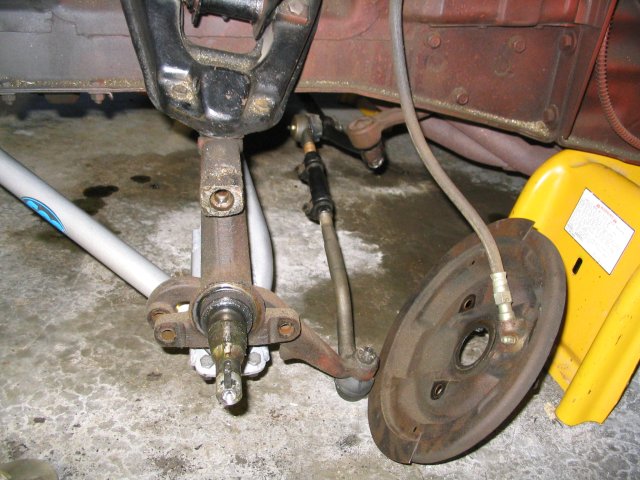
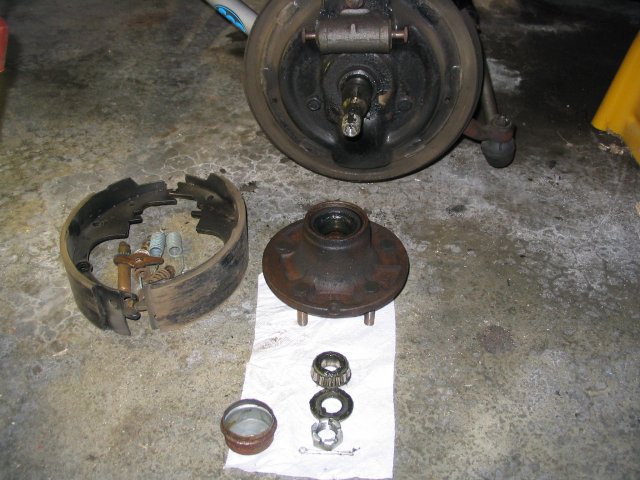 Pull hub off spindle
 Remove lower bolts on backing
plate.
Remove lower bolts on backing
plate.
 Top bolt has square washer
with retaining tabs bent
Top bolt has square washer
with retaining tabs bent
 After tabs are flattened,
remove top nut
After tabs are flattened,
remove top nut

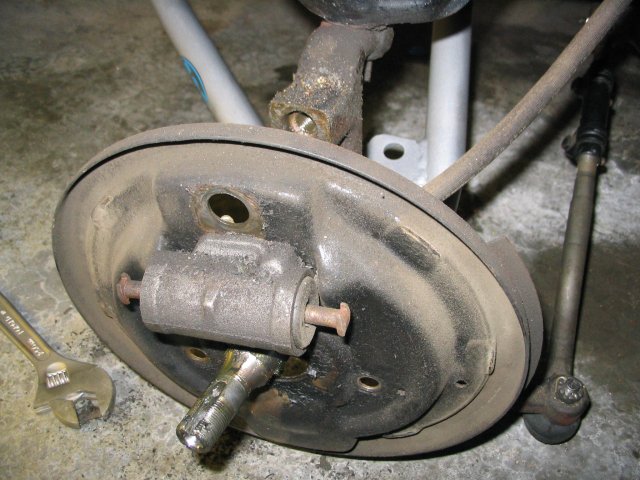 Remove backing plate from
spindle
Remove backing plate from
spindle
 Remove hose from wheel cylinder
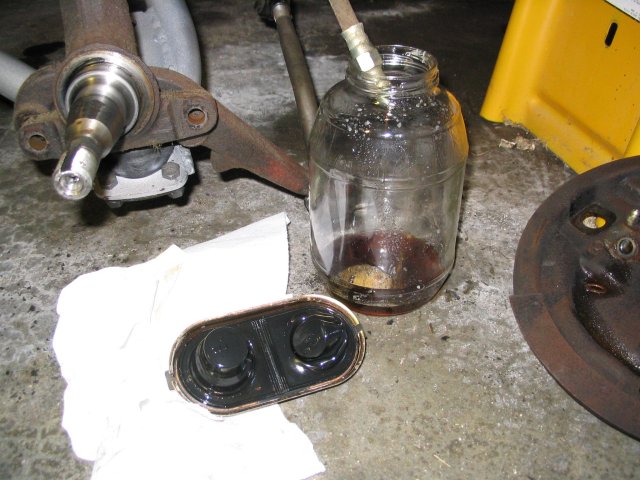
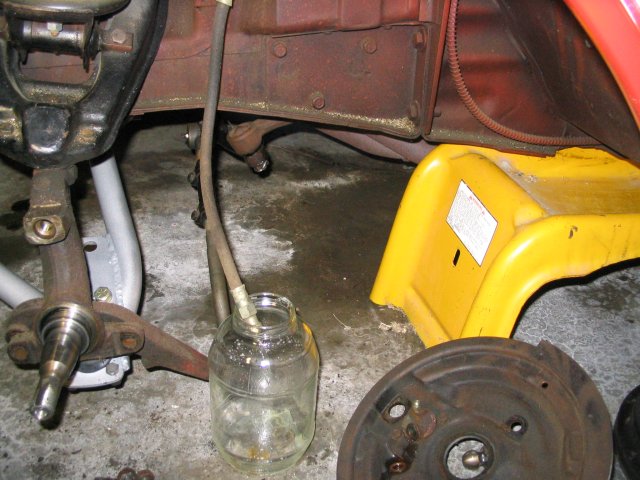 ...and drain fluid into a
container
...and drain fluid into a
container
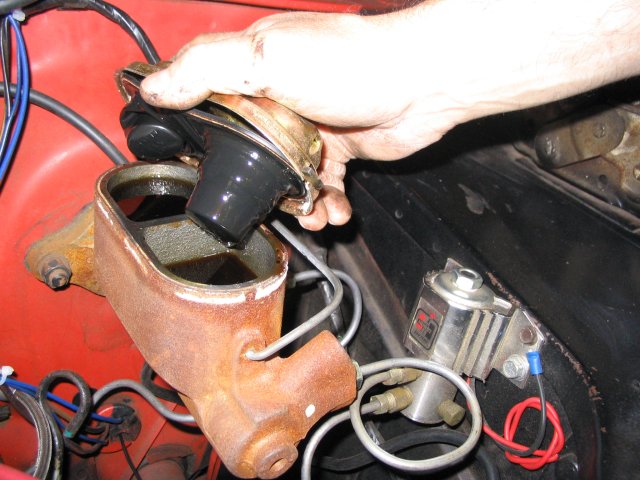
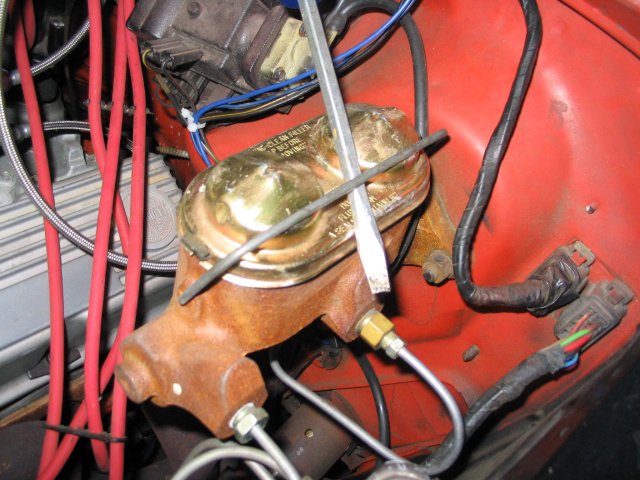 Remove top of MC to speed
draining
Remove top of MC to speed
draining
 Some fluid already drained
 nearly empty...
 Repeat for other side
patman@bracketracer.com
Unless otherwise specified, all text and images on this page are © Copyright 2006 by Pat Mancuso.