Posted on

Tough nuts

I got the car facing the other way in the garage so I can do the last brake rebuild…LR corner.

unfortunately, the lugnuts had other ideas.  Apparently I haven’t had this wheel off before, and it’s on there good.

I don’t know who put these lug nuts on or what they used but… I got 4 loosened after a ***lot*** of work, but #5 is not budging. I put a cross lug wrench on and stood on it and bounced to get some of them off.

So far I’ve broken a socket extension, a socket adapter, and a socket. Nuthin. Tried the cross lug wrench, an 18” breaker bar, an impact driver, several BFHs, and the dreaded pipe extension on the ratchet. Nuthin.

#5 is starting to round off, so I’m worried I may have to resort to cutting.  Shot it with wd40 in the meantime.

Posted on

Right front brake rebuild

I got the car moved to the other garage bay and facing so I could work on the right side of the car.  The front was the first project.

As with the other front, the hub seal was worn, and there was wheel bearing grease covering most of the brake components and the backing plate.

I pulled the hub, cleaned and painted everything, replaced the seal, and put fresh grease in the bearings.

New parts, ready to go…err…stop.

Posted on

Next stop: brakes

The winter project is a brake rebuild.  New hardware and wheel cylinders at all corners, and new brake shoes.

I started on the left front, as that looked to be the worst corner.  The brakes were very grabby in the front, and although the brake hardware was all there and in decent shape, it was covered in junk.

I got the car pulled into the garage bay so I could work on it over the winter.

When I pulled it apart and started to clean, it was apparent that the hub seal had been leaking, and some of the grease had made its way onto the brake shoes.  That would explain the grabby brakes.

After stripping it all down, cleaning and painting, I decided to pull the hub and replace the hub seal.

I cleaned all the old grease out and packed it with new bearing grease, and reassembled with a new hub seal.  Next was the new wheel cylinder.

New hardware…and new brake shoes.

Painted and done!


Posted on

Tuneup part 2: Running better!

The last session had the car running a little better, but still it would pop and backfire if it was revved up much above idle.  Too rough to risk a drive around the block.

I replaced the plugs, which took me hours because I got to learn what wrench combos work around these headers. After all that, It wouldn’t start. Cranked and cranked…nothing. Put the battery charger on for a while and cranked some more…nothing…KA-BOOM!!! Huge backfire out the mufflers that blew craters in the gravel driveway. Scared the crap out of me, and my wife came running out expecting to see I’d blown myself up with the car.

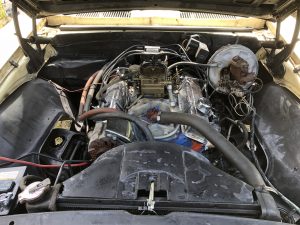
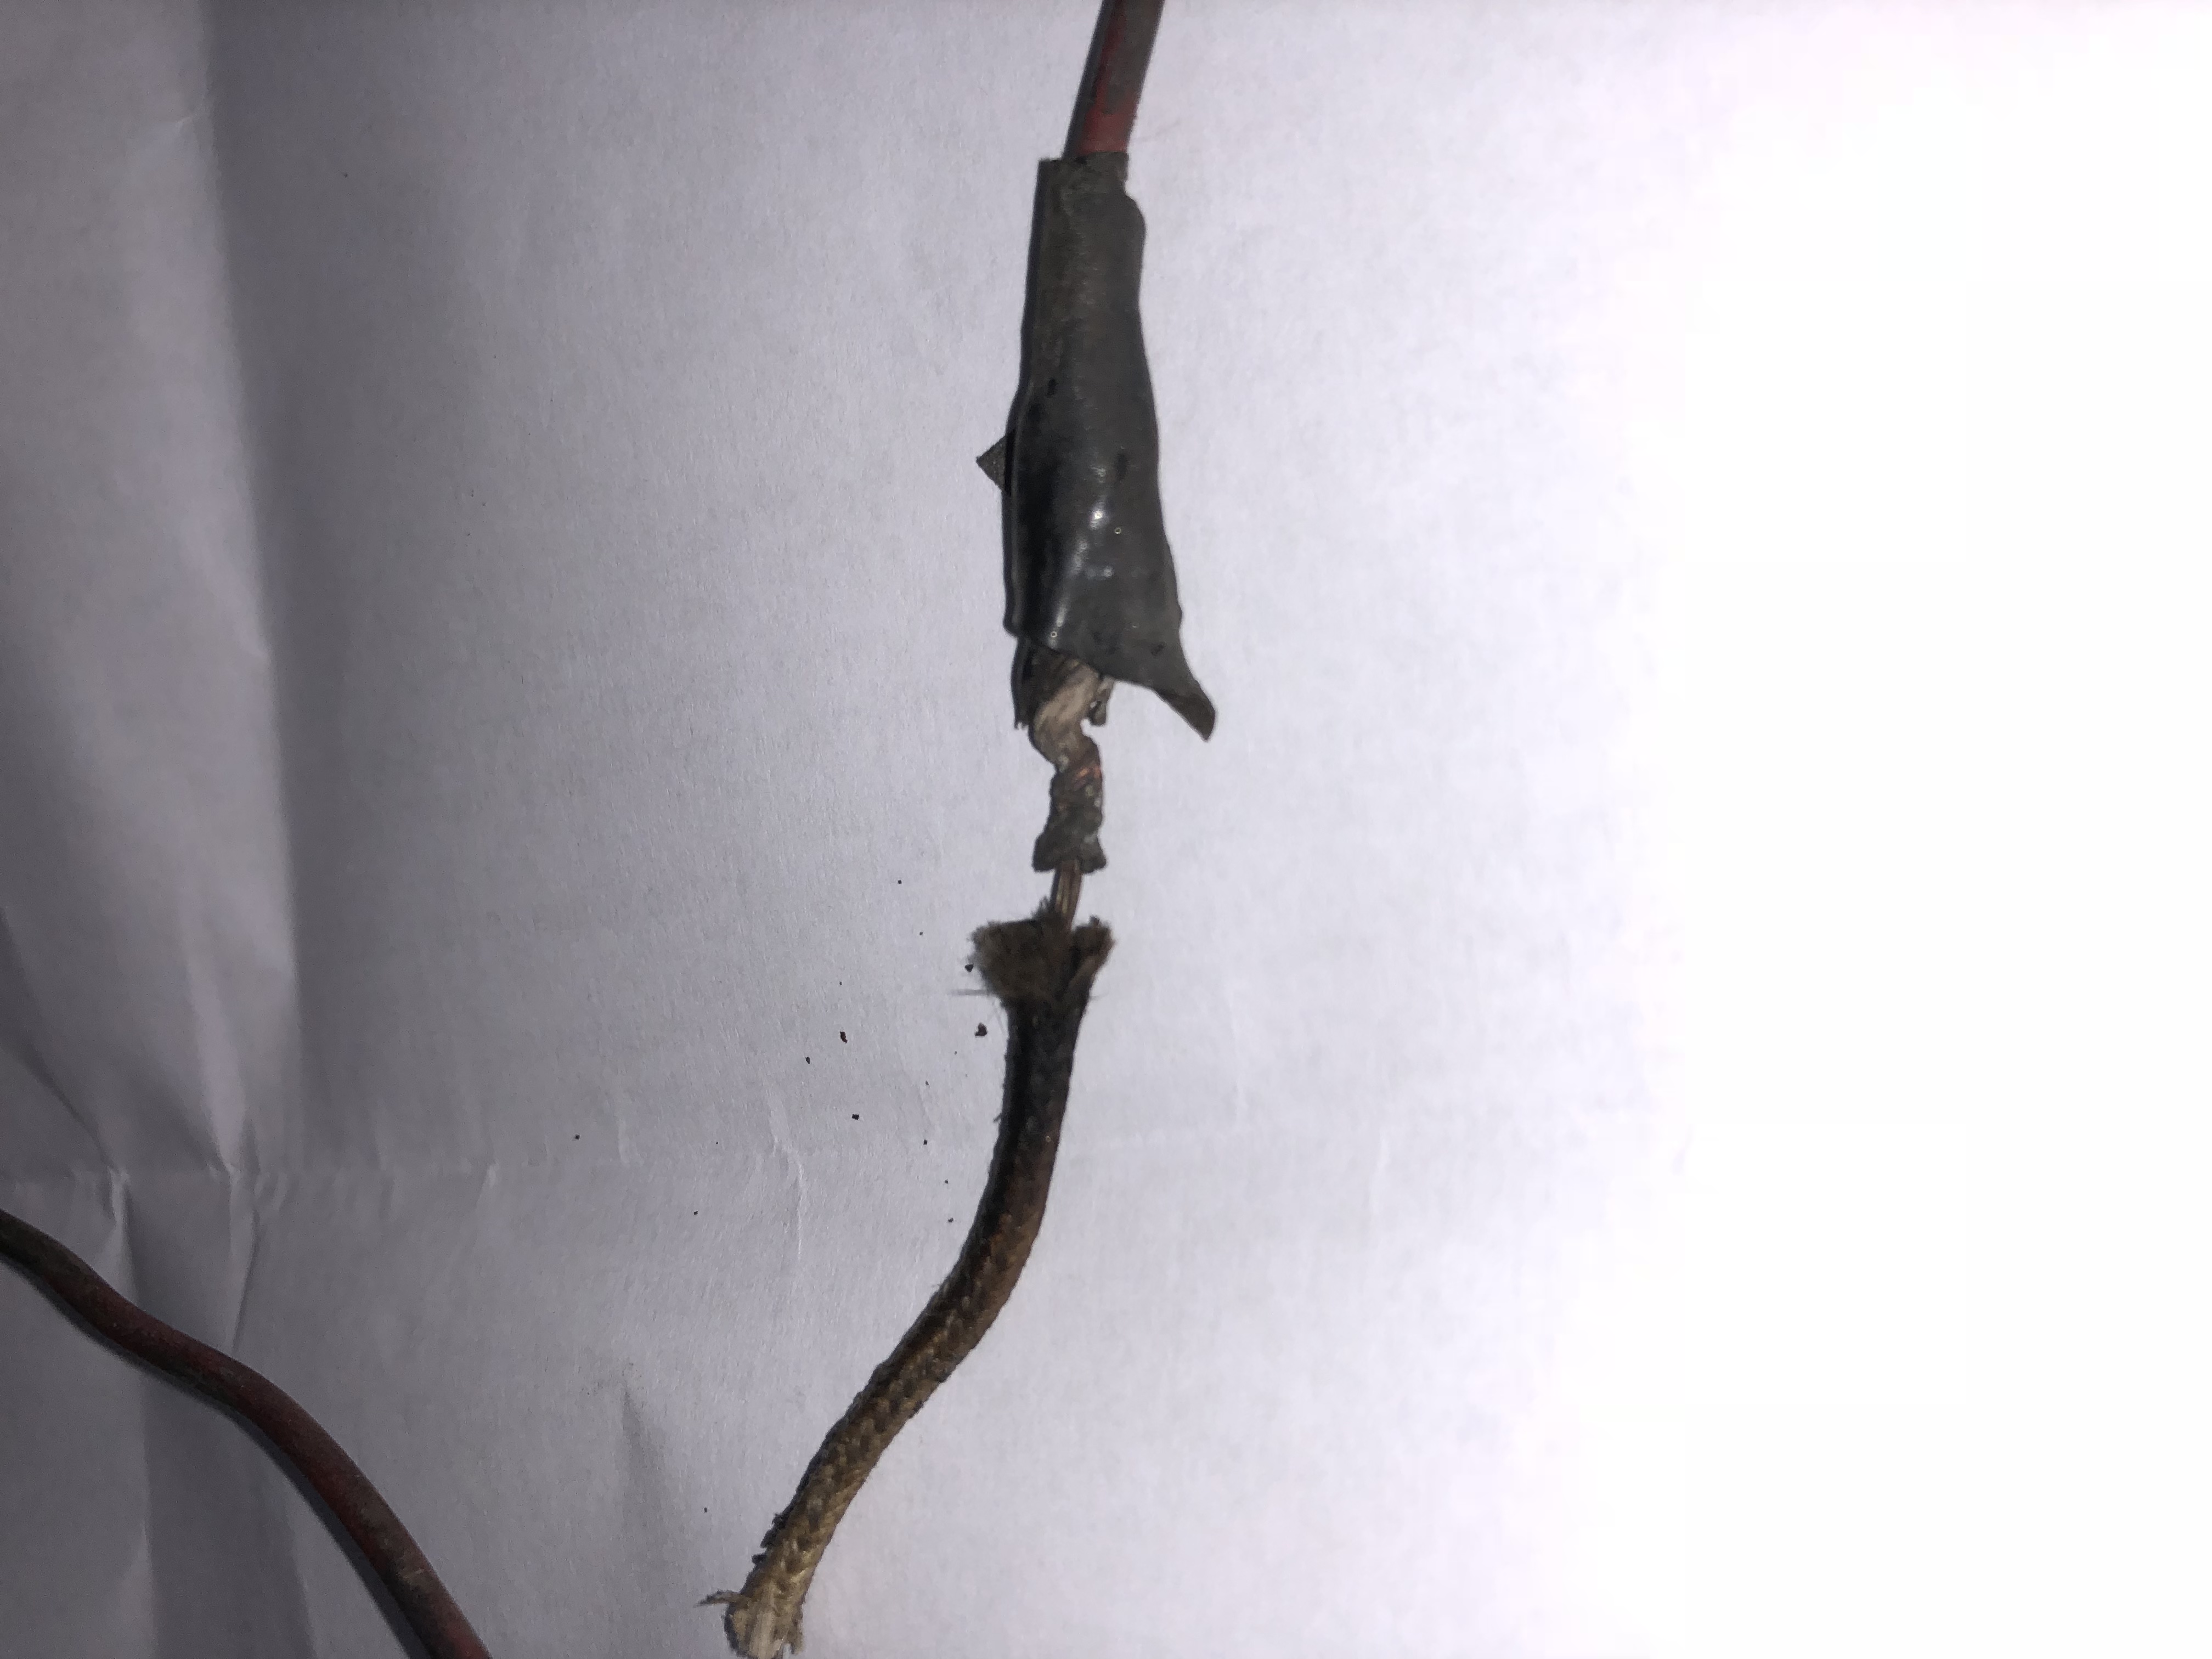
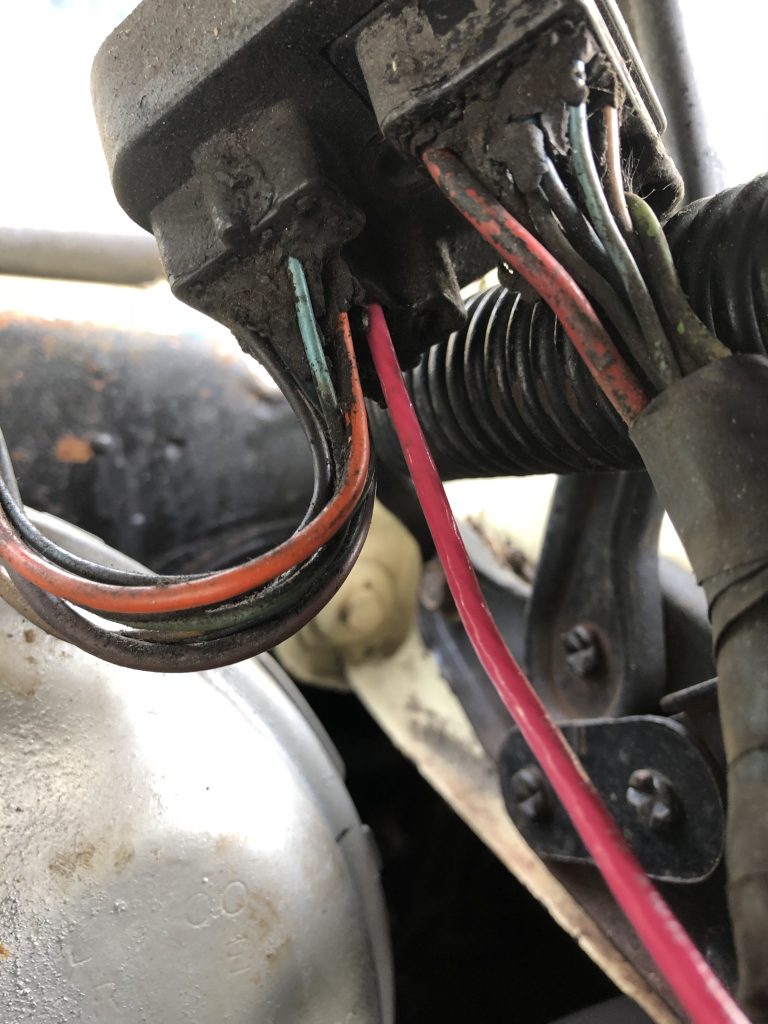
So I pouted for a while and took care of some electrical jobs (grounds, splice repairs, removing extra wiring) while I thought about it some more. The only thing I changed was the plugs…and they were gapped the same as the old ines at .045. I started checking out the HEI wiring and found a suspect…

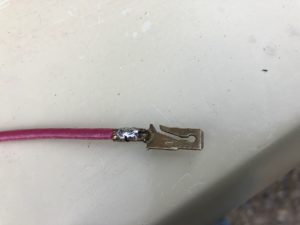
Turns out PO did a cheezy splice to the HEI power feed wire. Not only was it a bad splice, it was spliced onto the original resistance wire that used to power the points. It was only getting 7-8 volts…surprised it ran as well as it did.

Ran a nice new 10ga to the firewall plug…

…and now it starts with a touch of the key, and no more popping or backfiring at 1200+ RPM. Smoooth!!!

Haven’t touched the carb aside from spraying it with gumout last weekend. Will probably do the rebuild anyway, but at least now it runs well enough to get it over to the exhaust shop to get mufflers on it so I can get it inspected.

Progress!!!

Posted on

Tuneup part 1

The car ran but ran really rough when I got it. Had to crank for a while to get it to start, and it would pop and backfire if you ran it much above idle. The mufflers both have fist-sized holes in them, so it’s probably not the first time it’s backfired.

The timing was waaay advanced, off the top of the tab at idle with the vacuum advance disconnected…probably 18-20* or so? Pulled that back to about 8 initial, and verified the mechanical and vacuum advance was working.

Adjusted the valves a bit conservatively to make sure they weren’t staying open from too tight lash.

Sprayed a bunch of gumout in the carb and that seemed to help…so I ordered a rebuild kit.

Adjusted the idle speed and mixture, and verified the electric choke is working properly. idles pretty smoothly now, but still popping and backfiring when I get above 1200 or so.

Siphoned as much as I could out of the gas tank, didn’t look bad. The fuel gauge seems to be working too… I put in a couple of gallons of fresh gas and a splash of sea foam.

I was bummed it wasn’t running better so I figured plugs were due for changing too. Local auto parts place didn’t have plugs in stock for it (really!?!?) so they put in a warehouse request.

Posted on

More disassembly

The headliner looked OK, but…there was a mouse hole in it, so…it had to come out.  It’s a good thing I removed it because there was a huge mouse nest in the between the headliner and the roof.  After removing that, I hosed everything down with Natures’ Miracle to kill the smell.  It’s starting to not smell like mice…

After removing the headliner, I discovered that there were wooden shingles wedged in between the roof frame and the skin.  it also looked like there had been a sunroof installed, and the hole had been patched up.  The vinyl roof was probably added to hide the repair on the outside.

a

Posted on

Brake flex hoses

After getting the car sort of running, I tried to take it for a drive.  The car refused to move.  I let it sit for a while, and then tried again without touching the brakes and it rolled just fine.  A common cause of the brakes locking up is rotted flex hoses.  I replaced the hoses and that fixed the locking up problem.