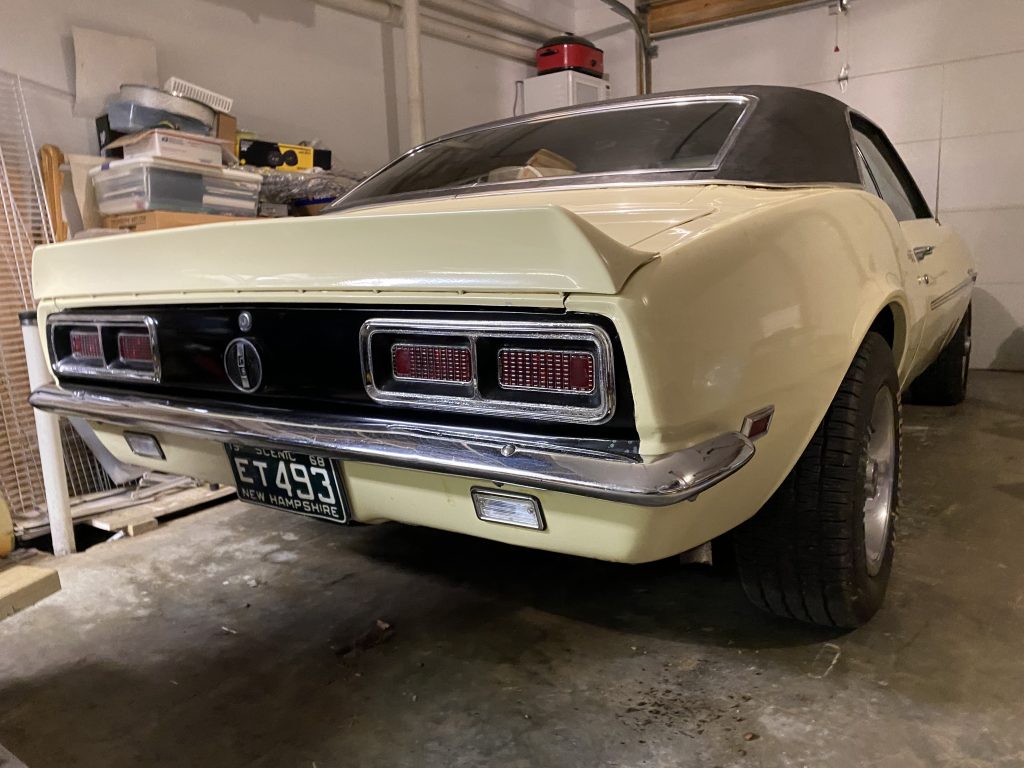
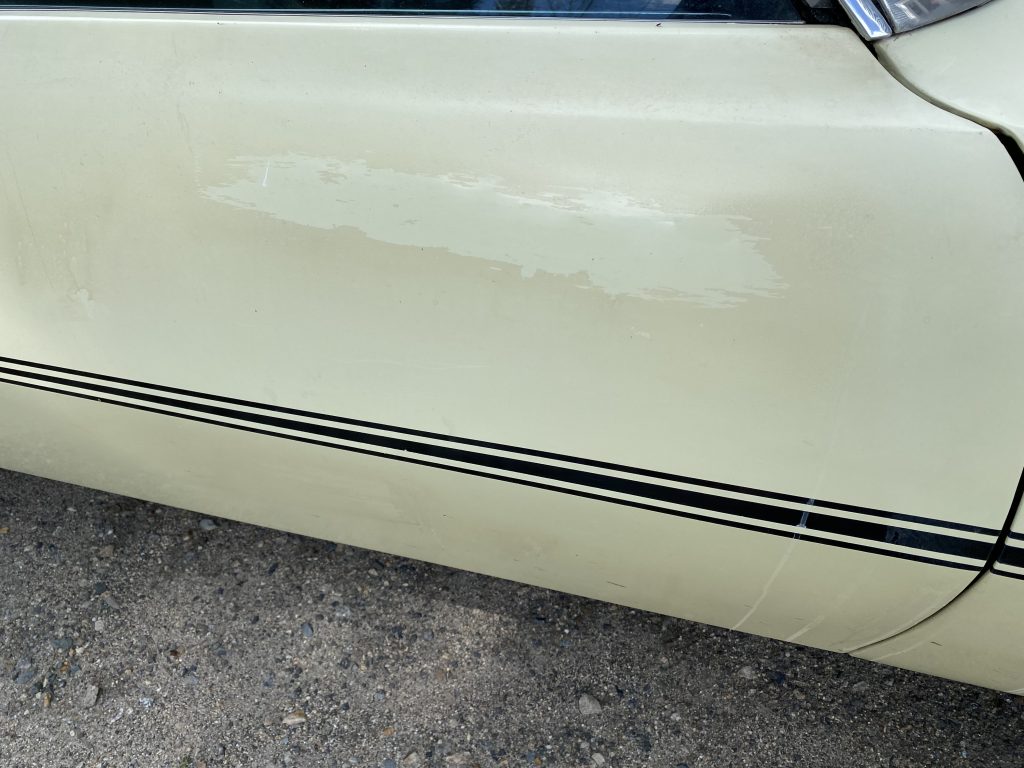
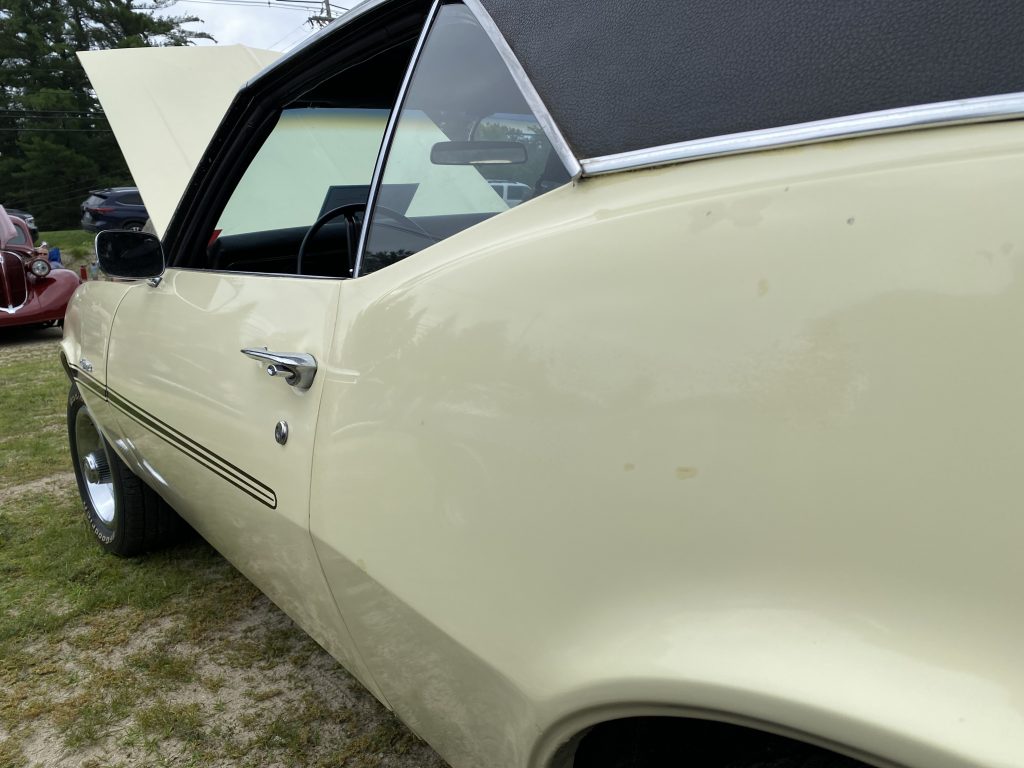
The paint on the car has good points and bad points. The D90 stripe stencil and black paint was applied fairly well. The yellow base coat has a giant run in it front and center on the hood. The clear coat is very uneven, puddled in some places, and was barely fogged on in other places. Overall the car had a matte look to it, as the clear dulled everything.
Figuring I had nothing to lose, I started experimenting with ideas to get some shine back. I first started with just paste wax, that turned out to be far too gentle. Next I tried polishing compound, which was also not aggressive enough. Same for rubbing compound. The problem was the clearcoat was very thick in some areas, and had not adhered in others, leaving a blotchy, dull look. The only answer was to take as much of the clear off as possible.
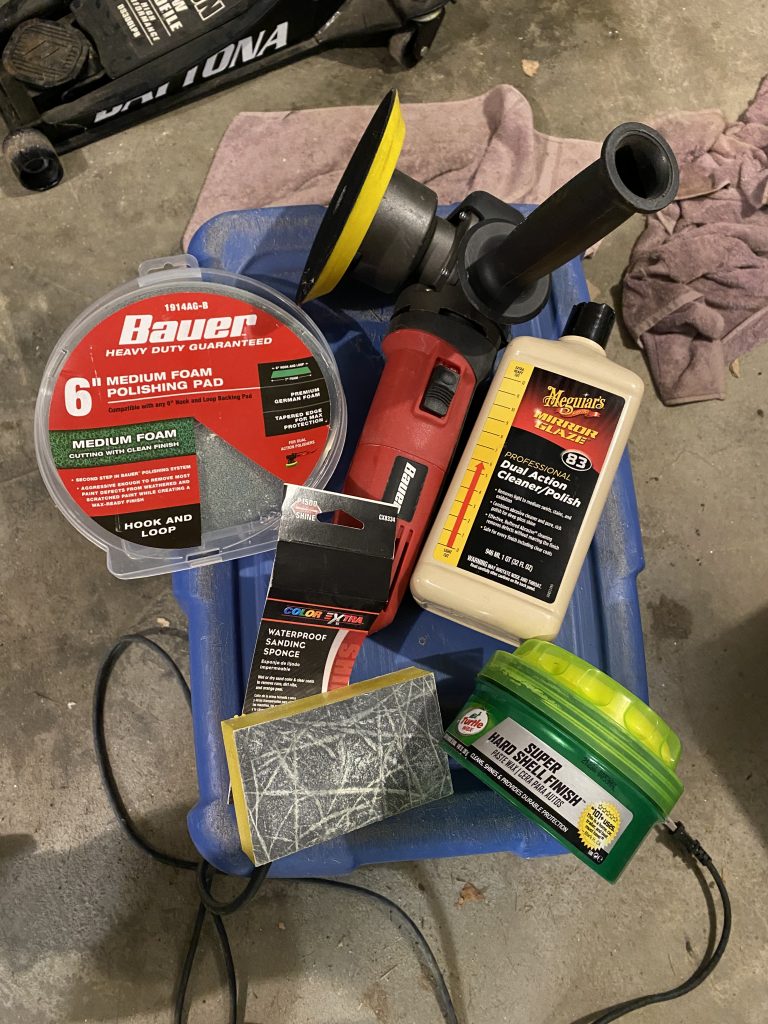
I ended up having the best success wet sanding with a 1500 grit sponge sanding block, followed by polishing compound applied with an electric buffer on a medium pad, and finishing with paste wax on a fine pad. Not perfect, but a lot better than it had been.
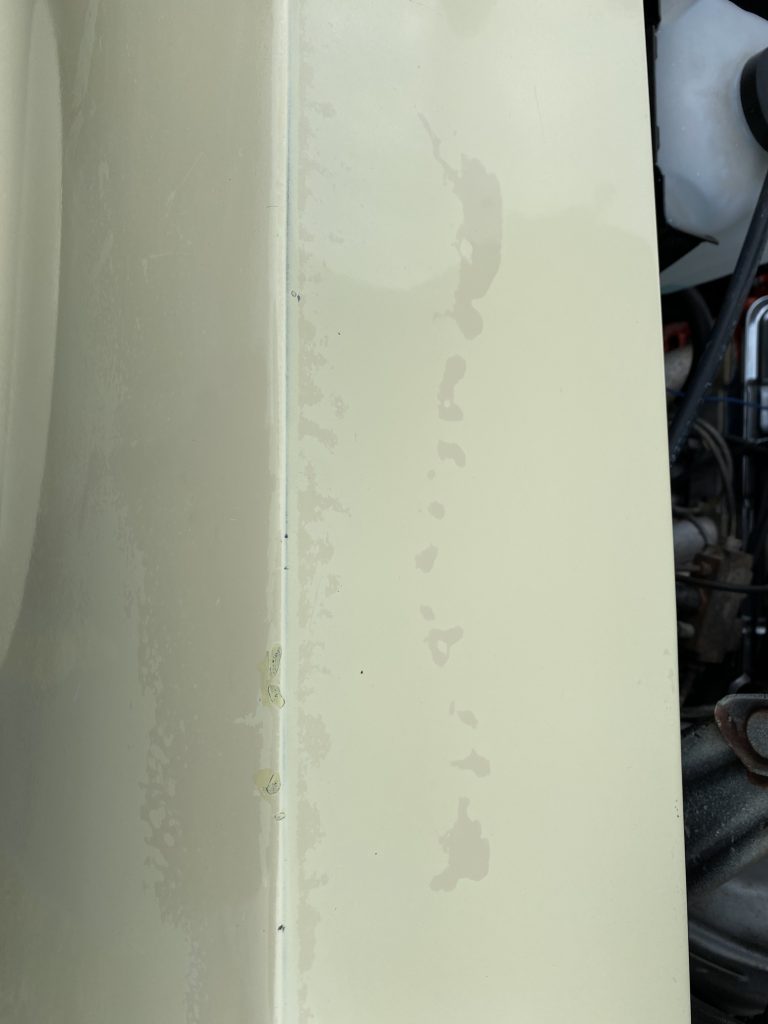
Even after working on it over a period of several months, there are bad spots, such as this pool/drip on the top of the LH front fender. The dark splotches are what’s left of a puddle of clear that was there. I’ve also pushed this as far as I feel safe, you can see where the yellow has started to wear through to show the darker paint underneath at the outer edge.
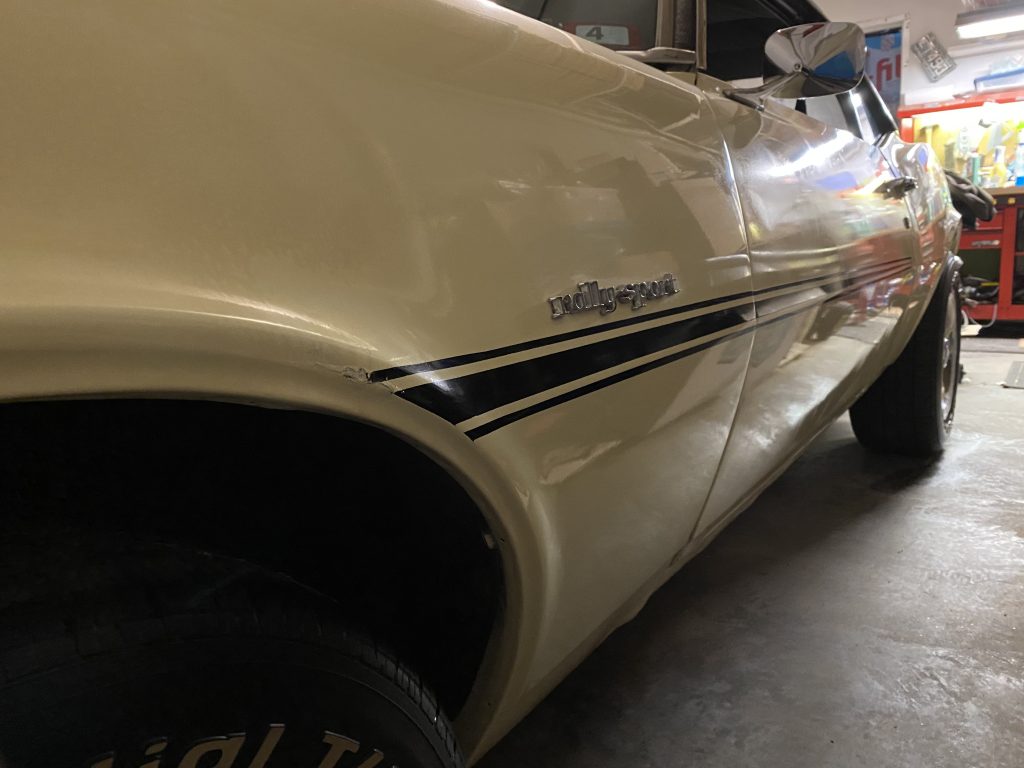
The final (for now) results are far from perfect, but they are a lot better than I was expecting they would be
There’s still more work to do, and I’ll keep picking away at it, but I like the results so far.