Posted on

Reupholstering the Back Seat – Part 5

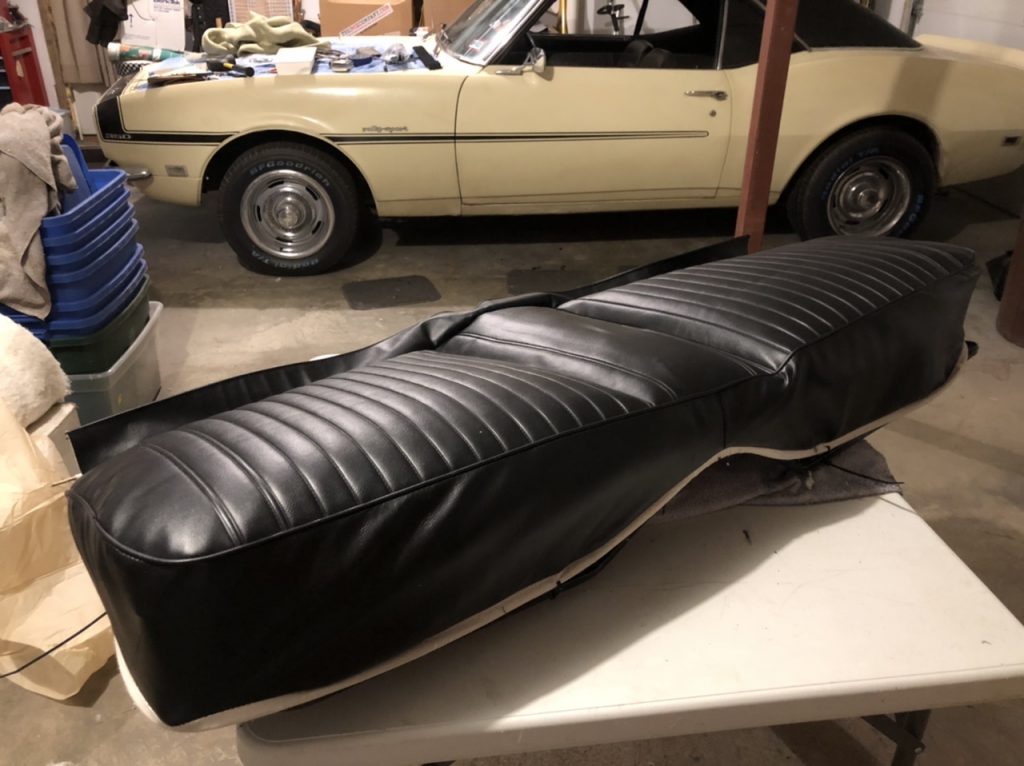
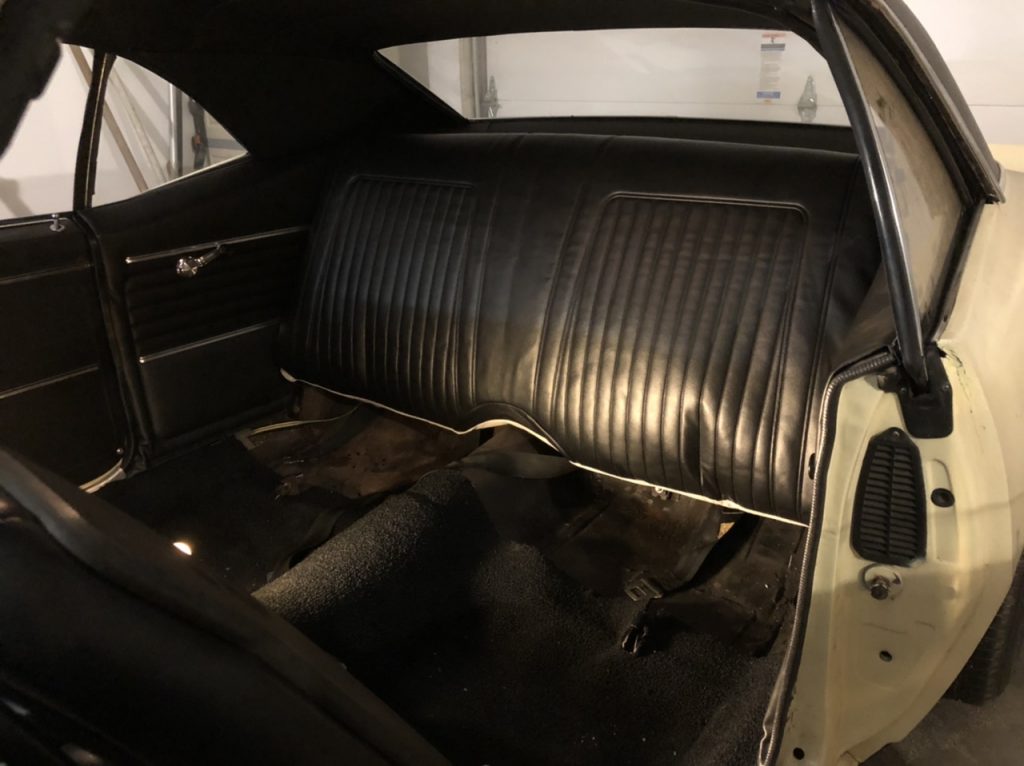
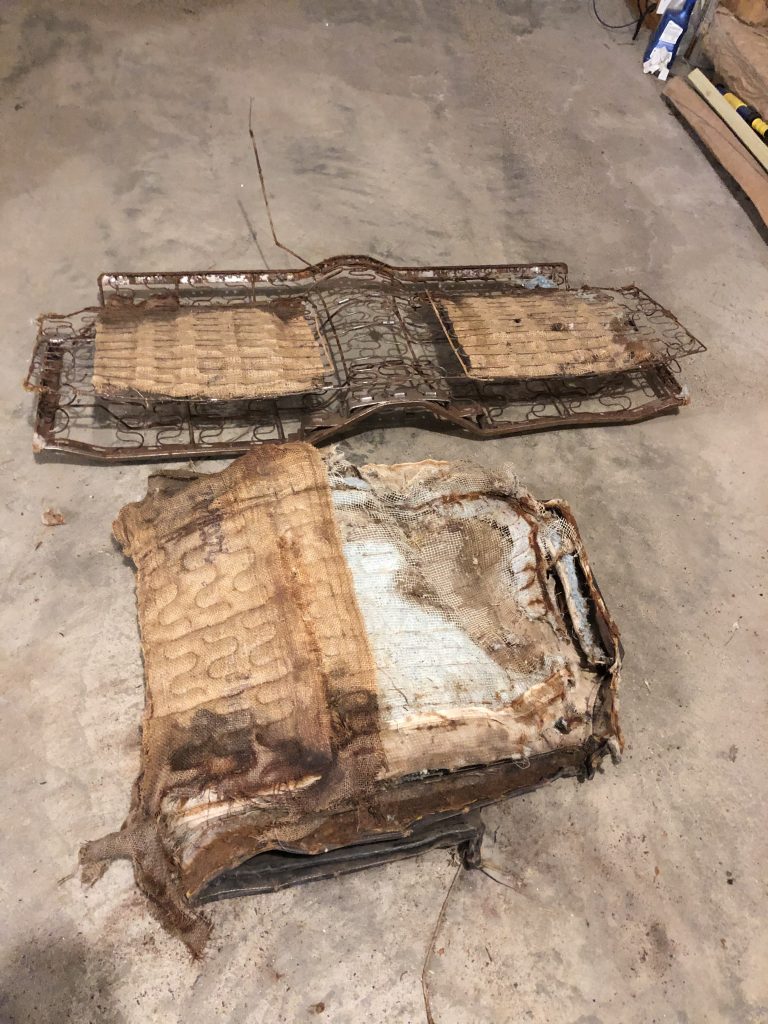
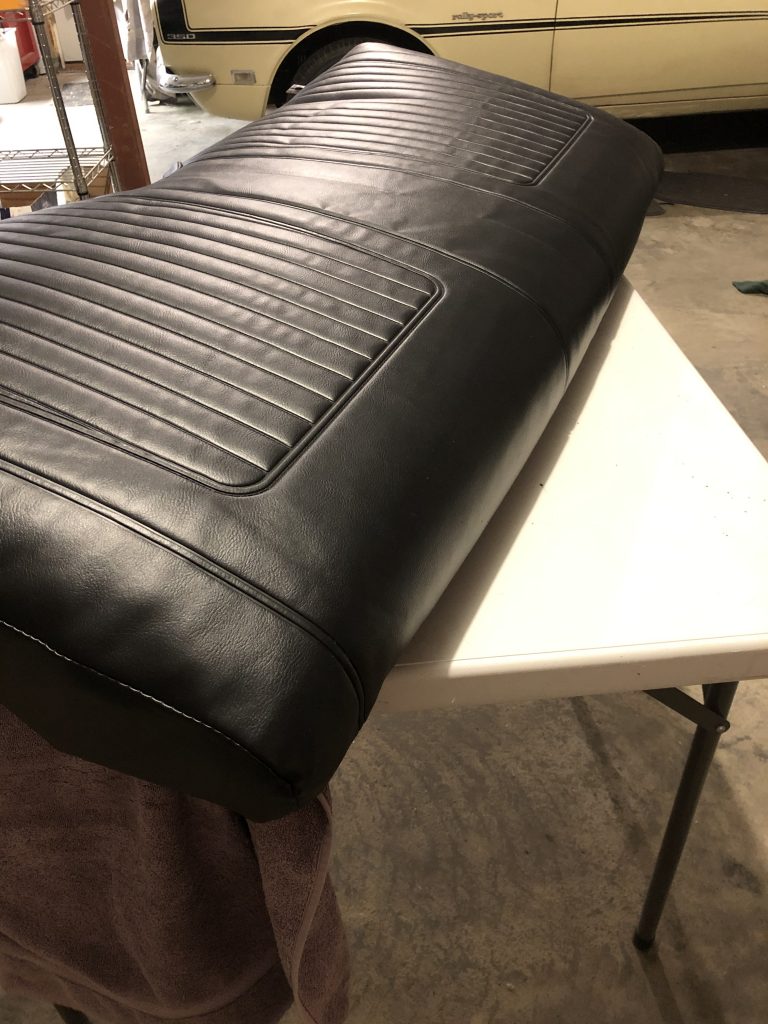
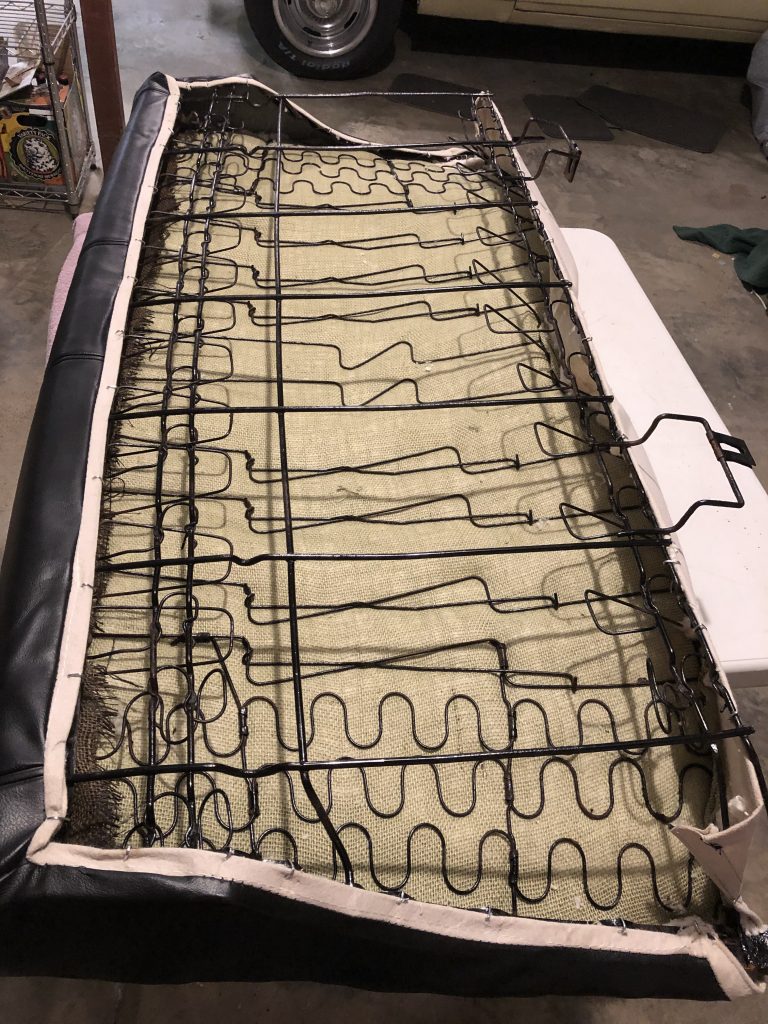
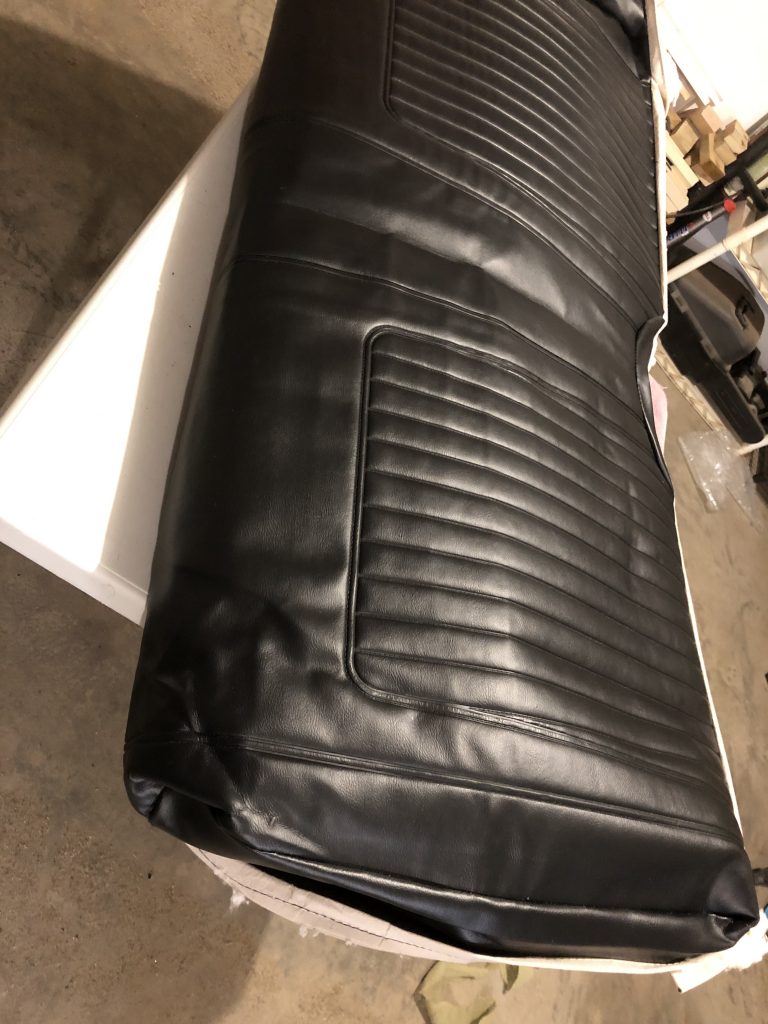
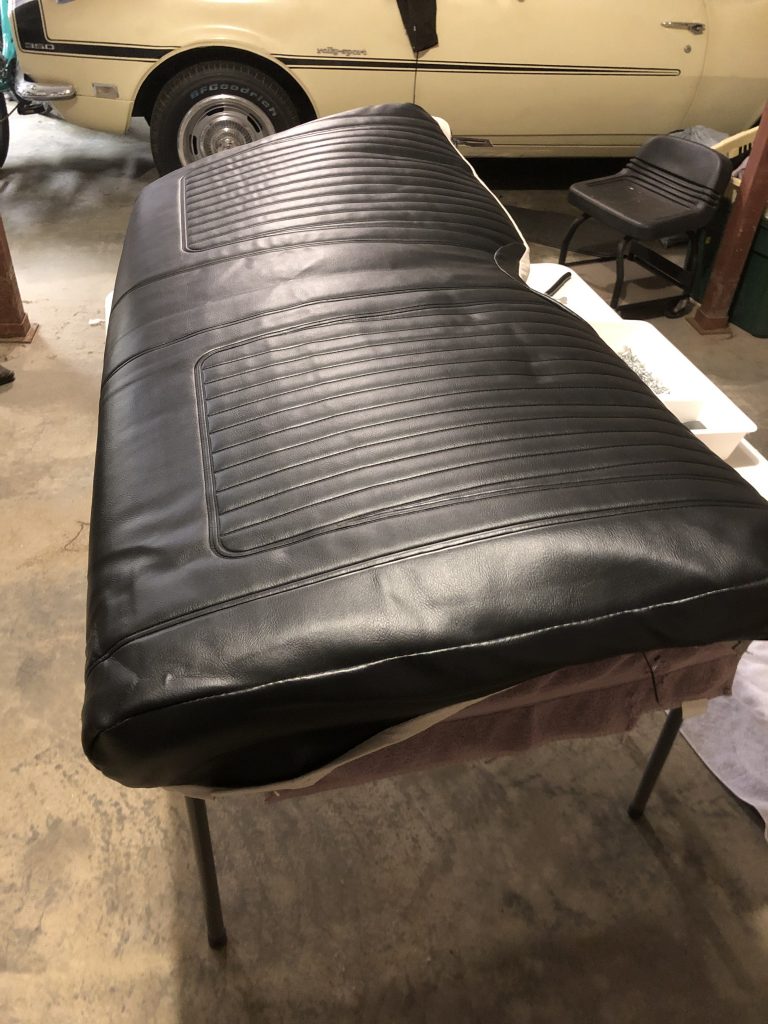
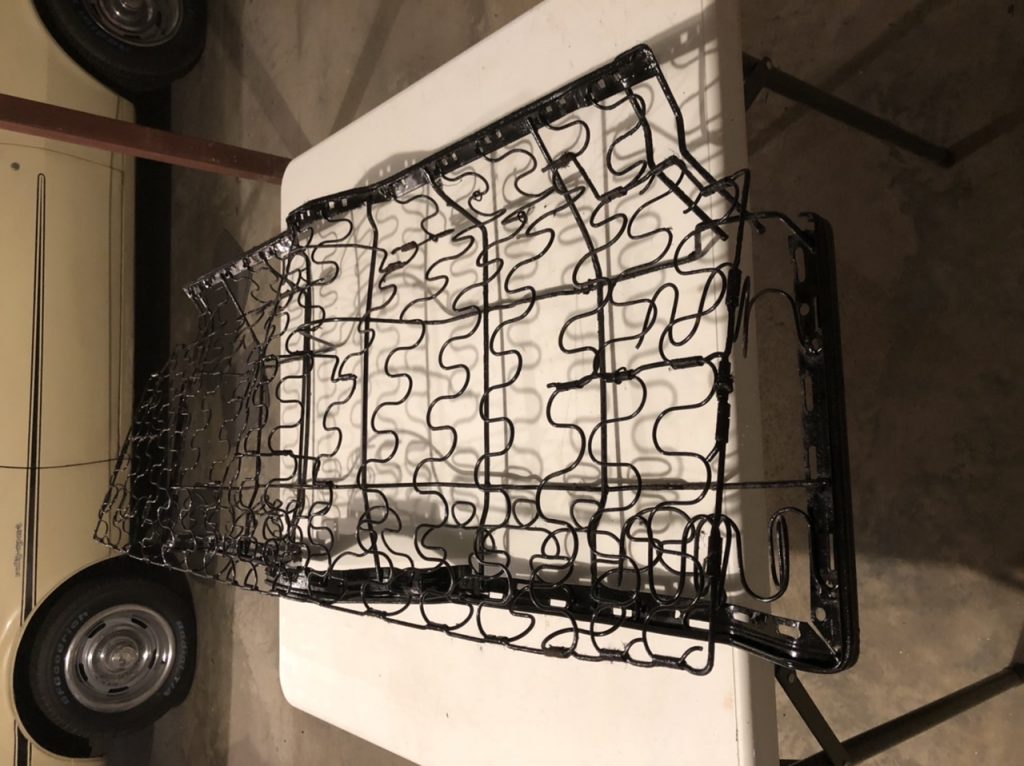
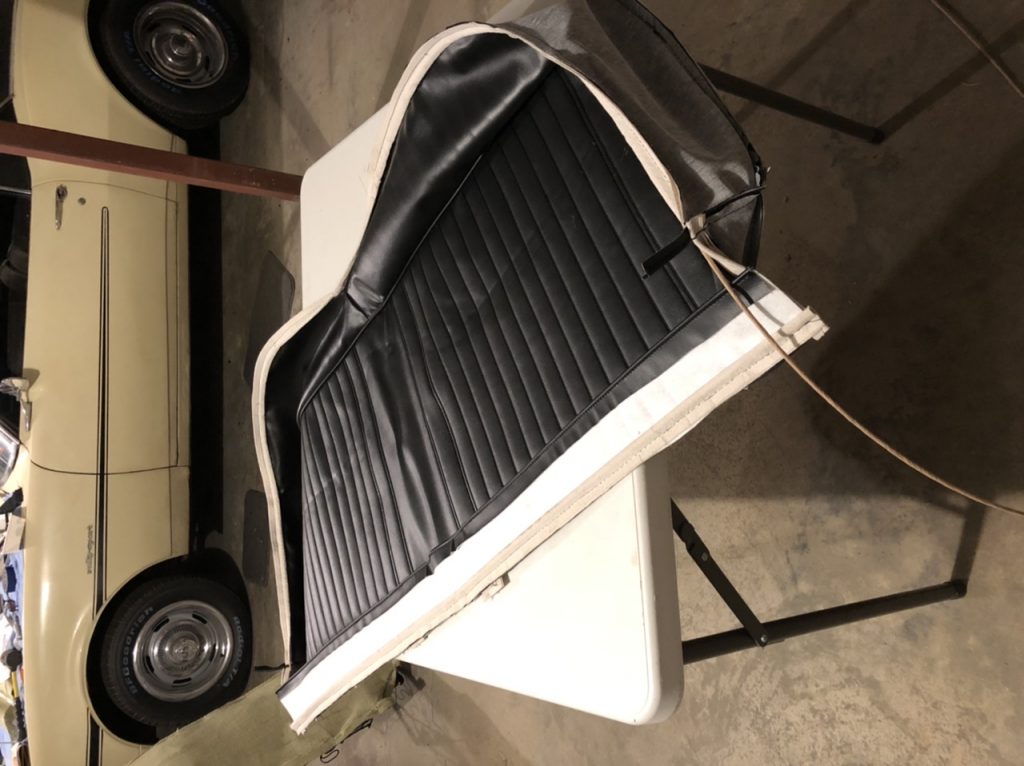
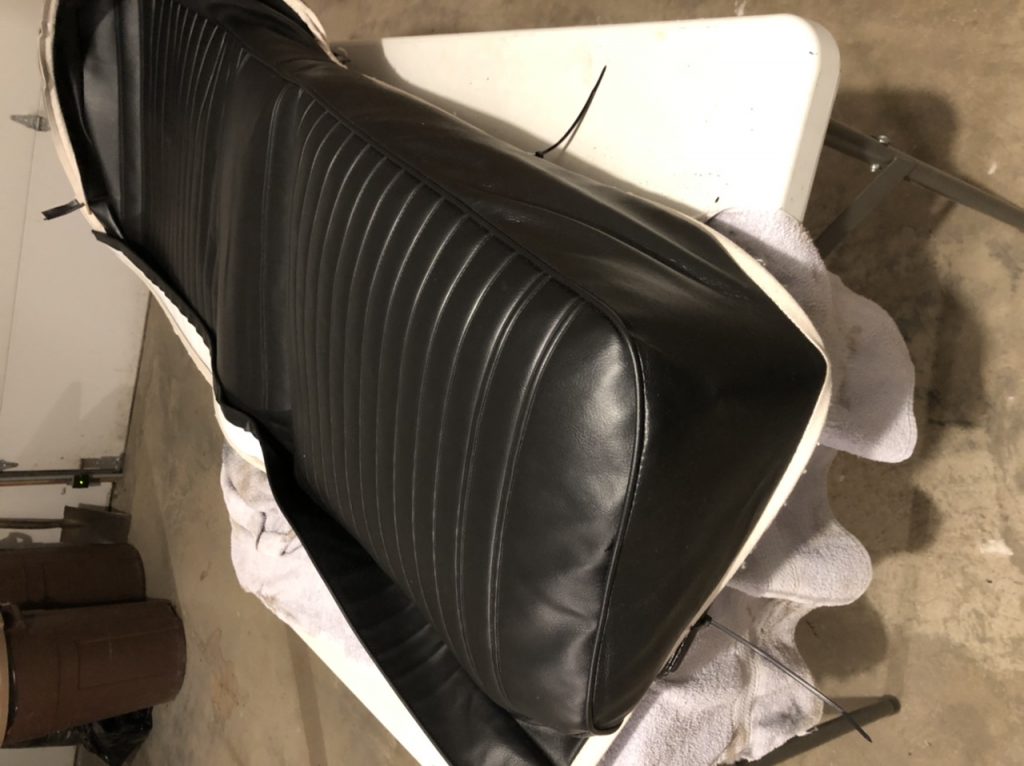
Almost done…  I got the seat base mostly done tonight.  I have to do the final batting adjustments and hog ring the outer edges down, but it’s looking like a seat again.  Good progress for the evening.

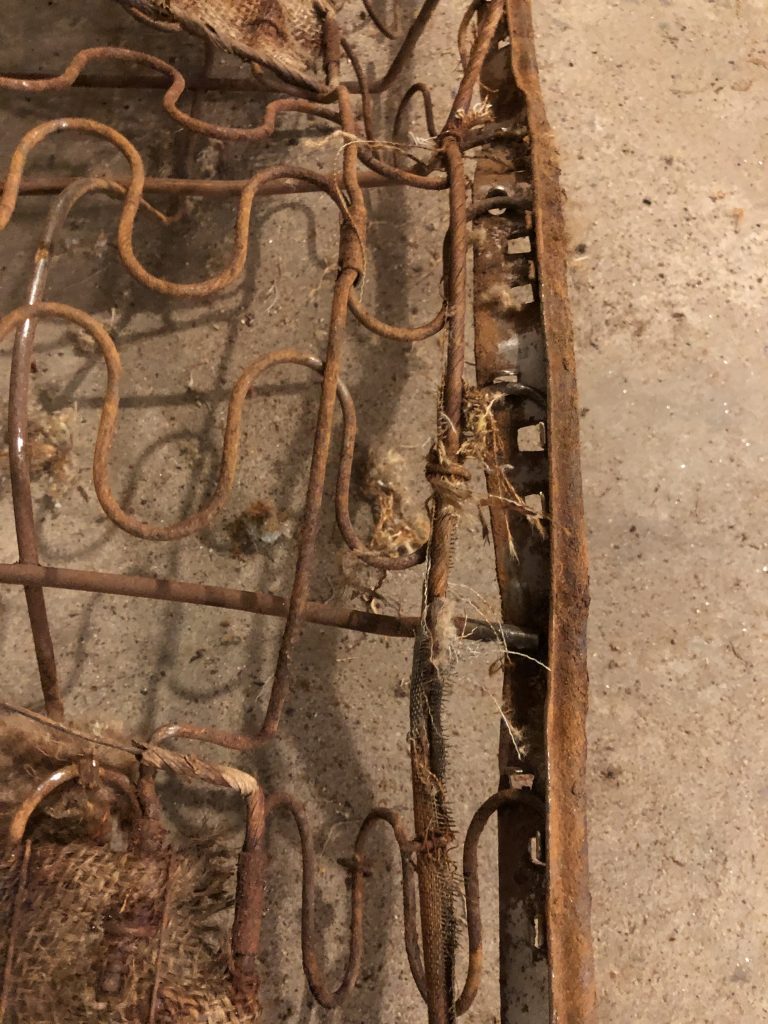
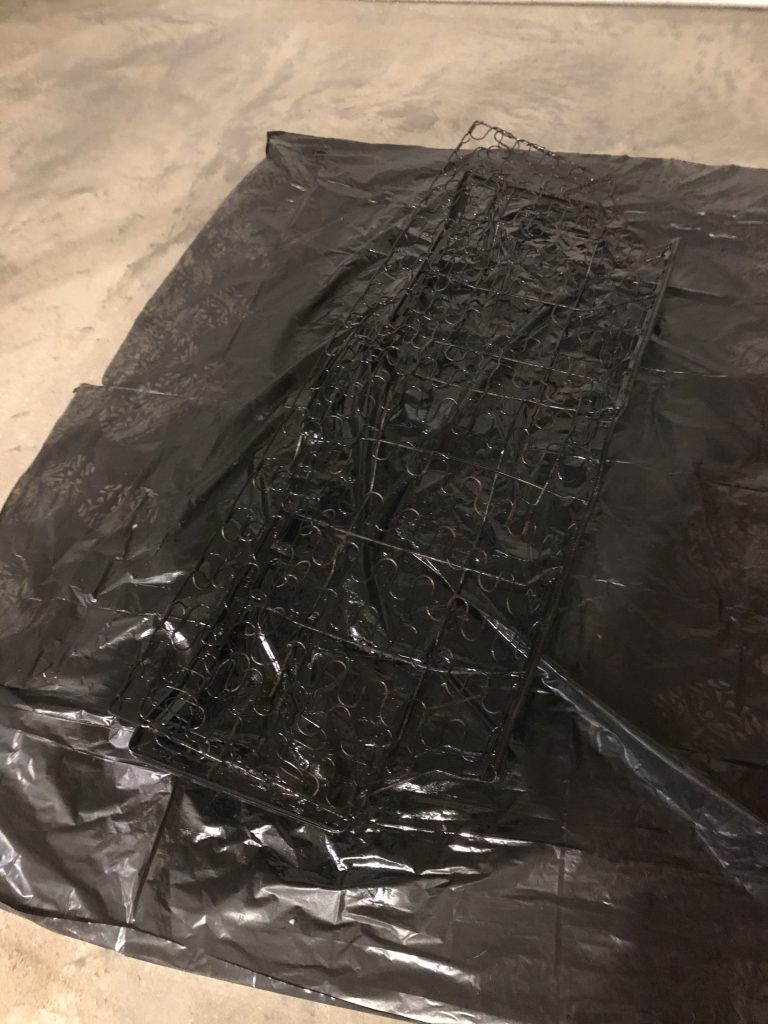
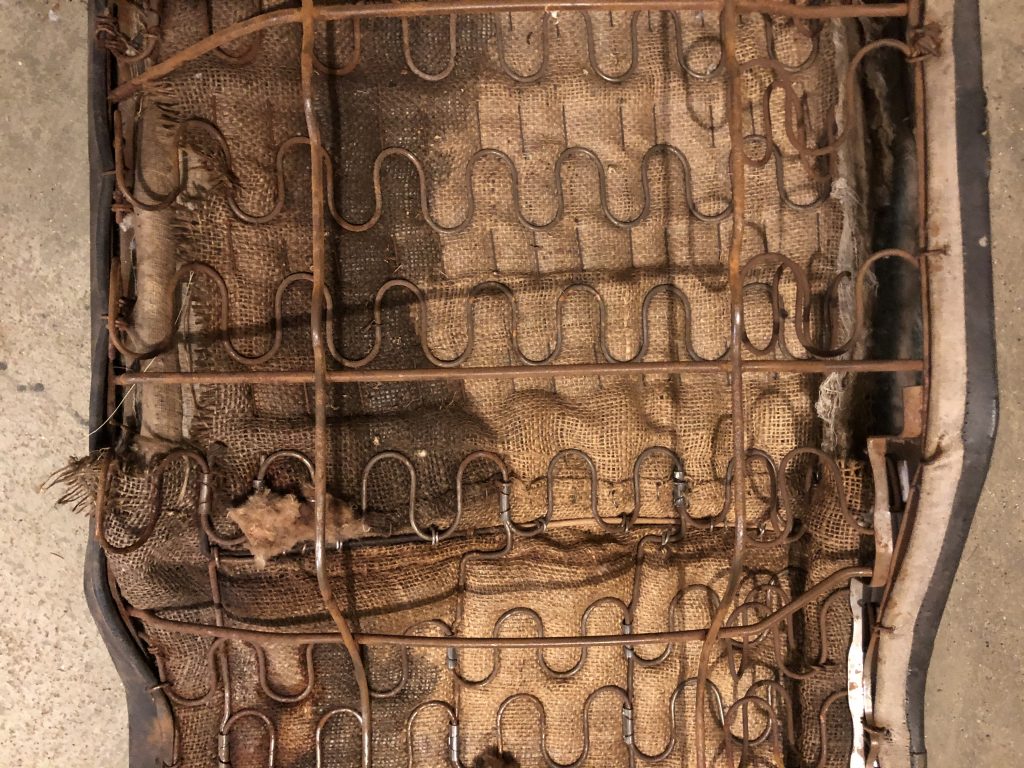
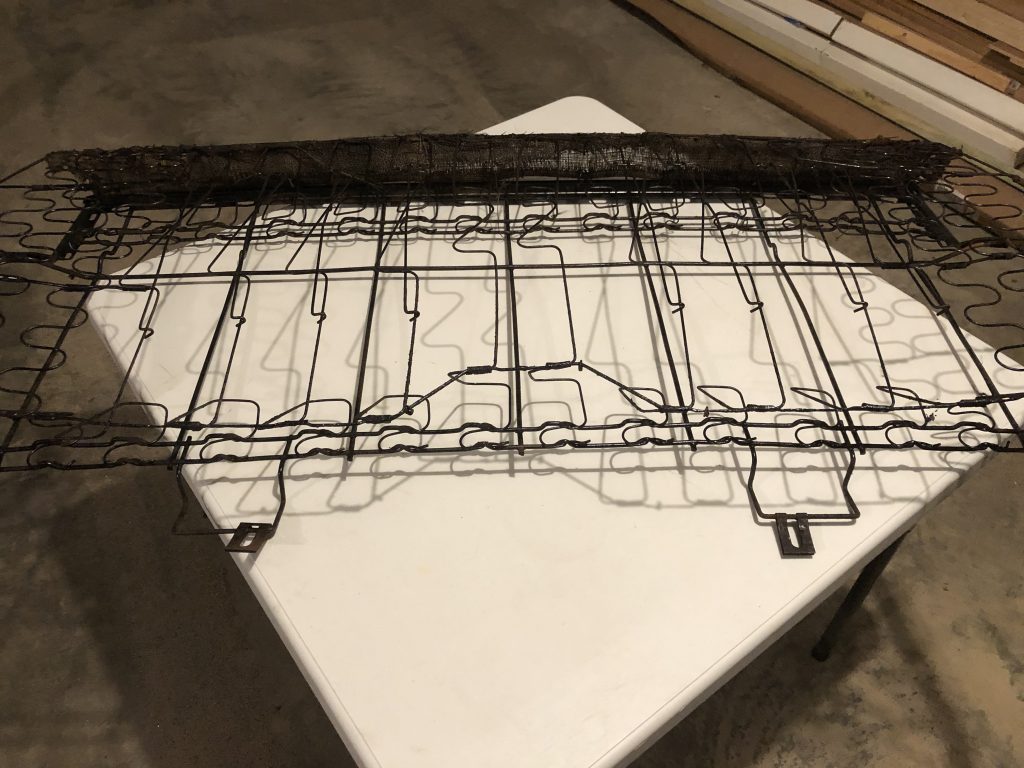
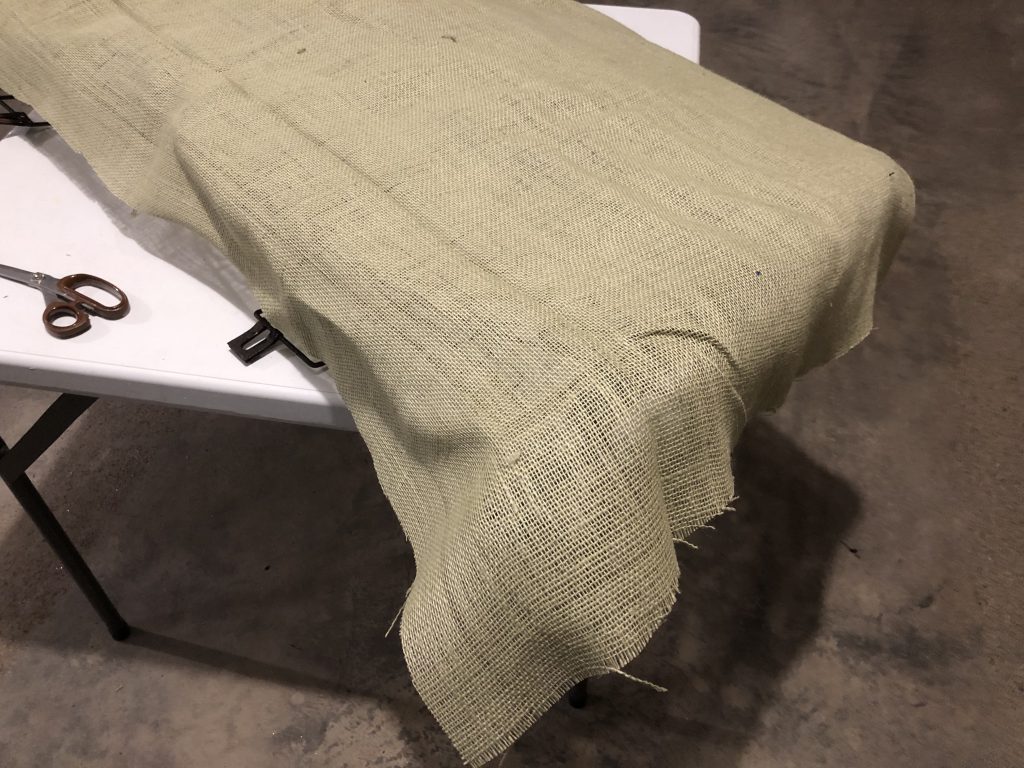
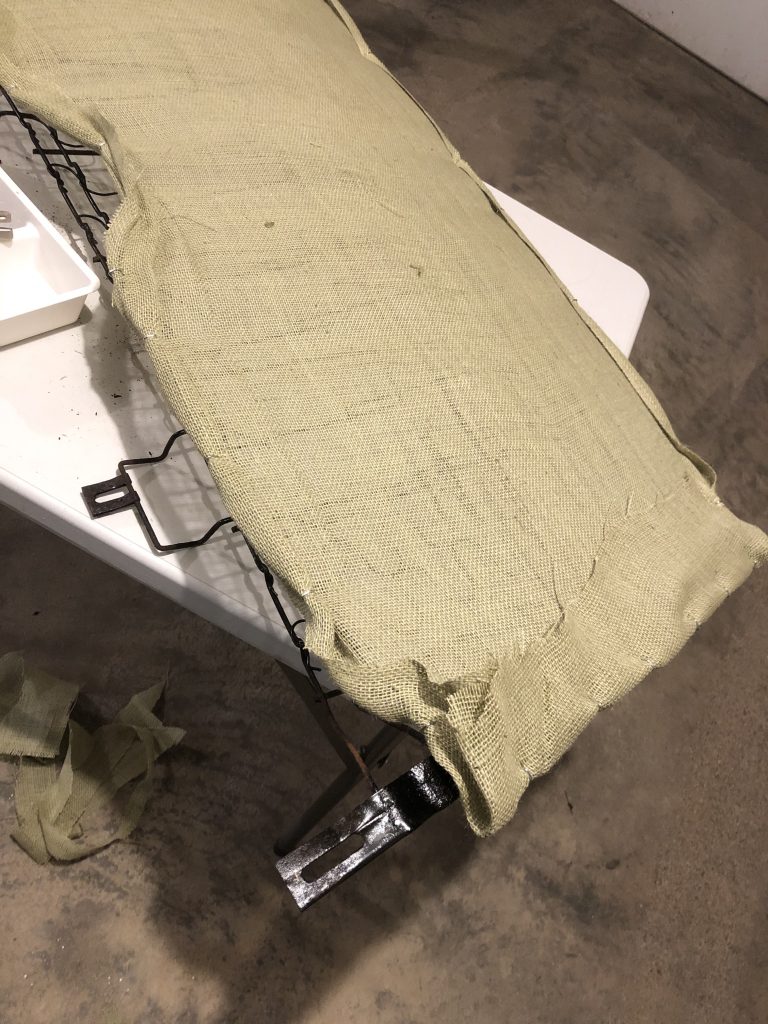
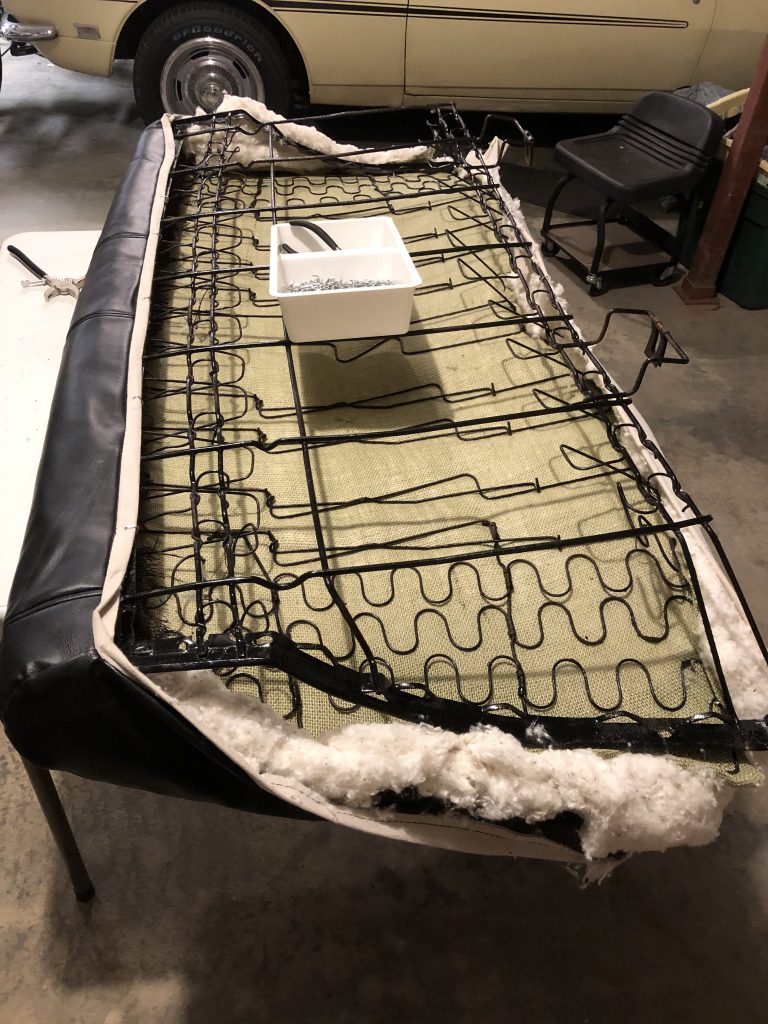
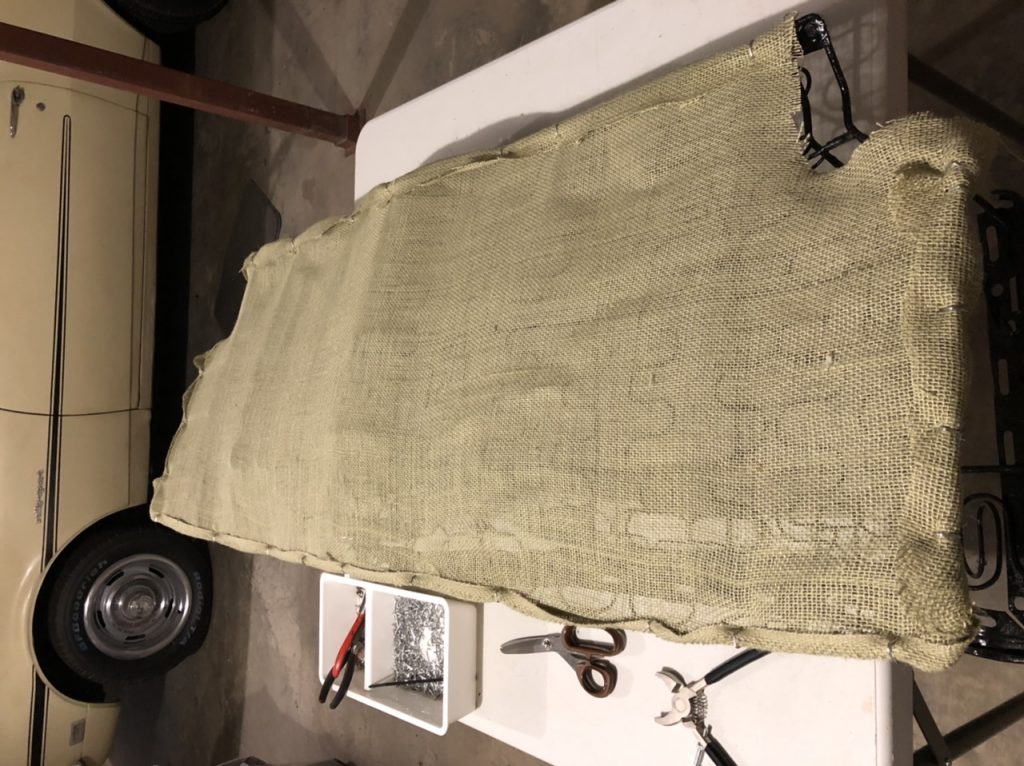
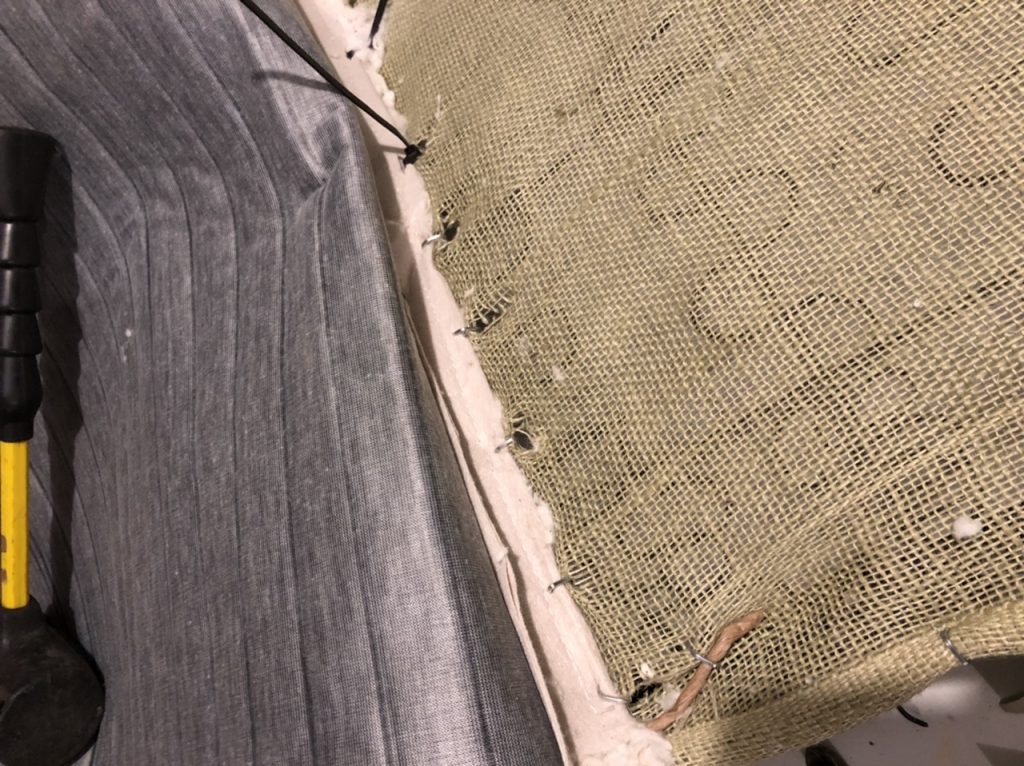
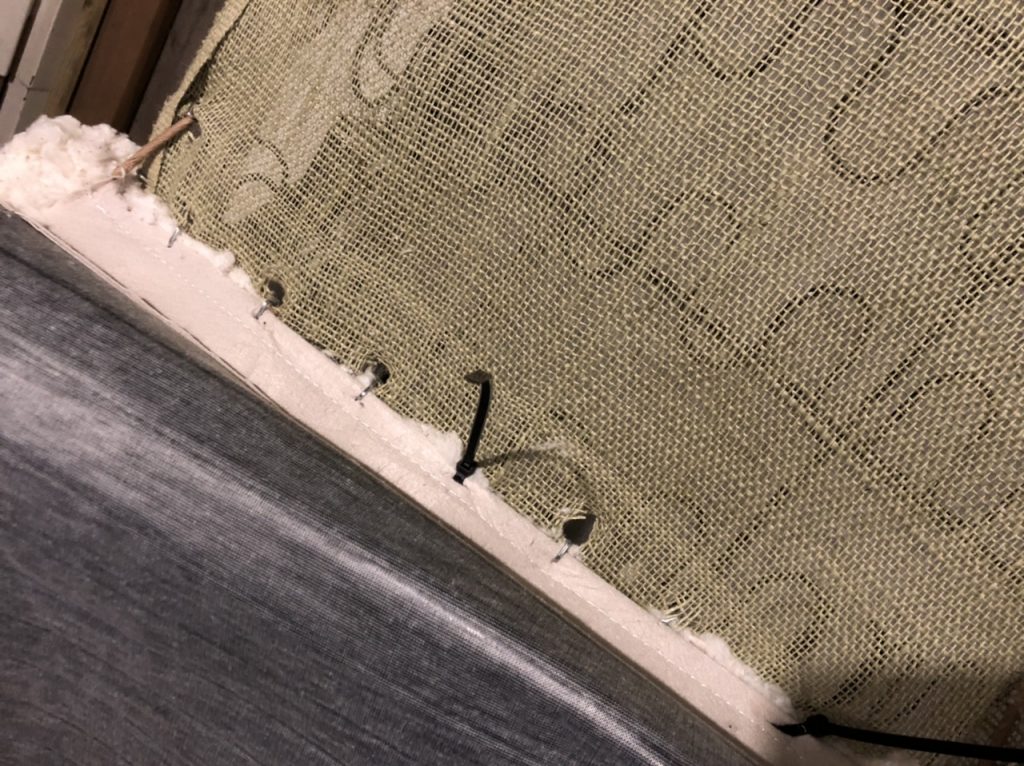
I started by attaching the burlap base and attached it around the edges.

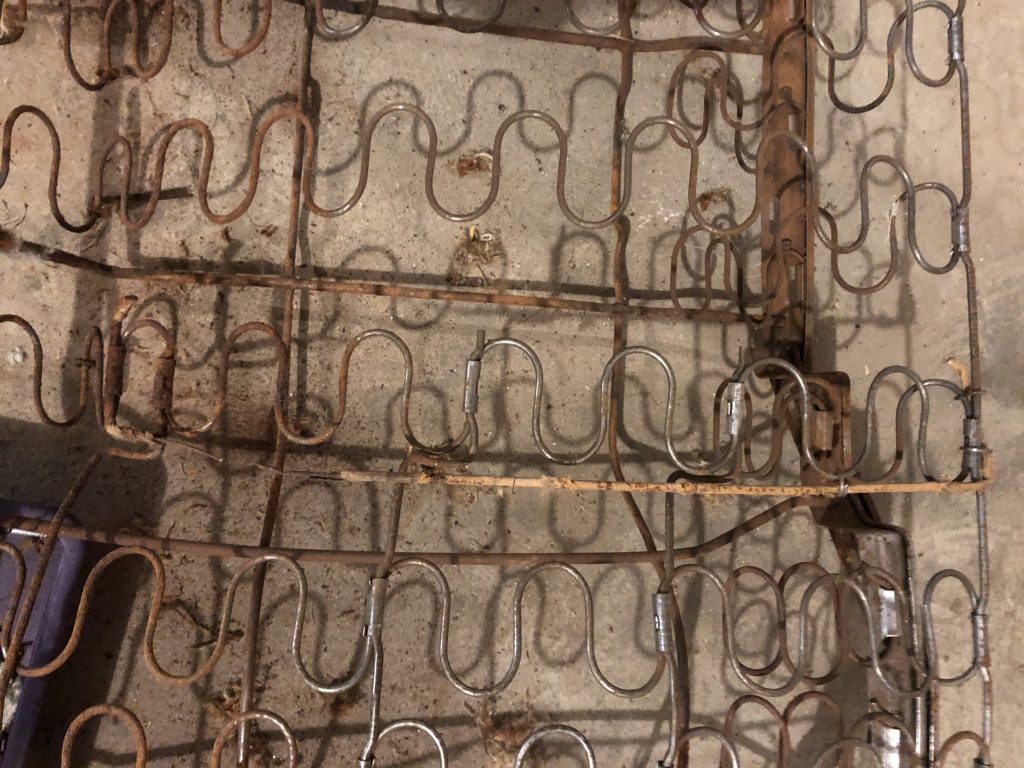
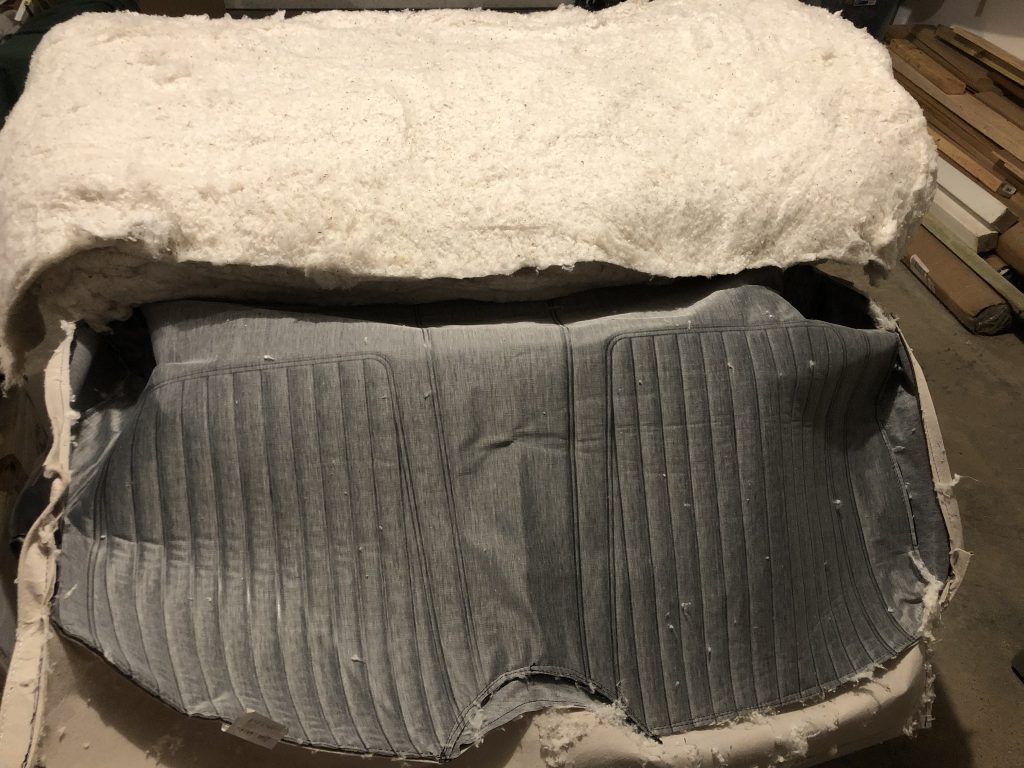
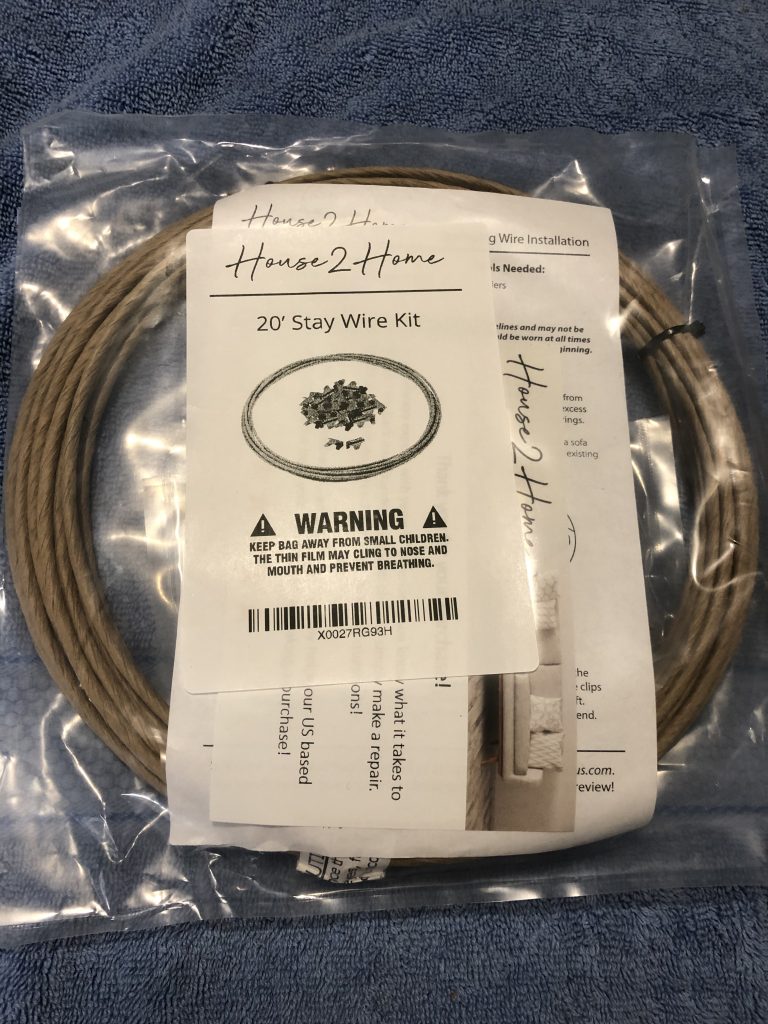
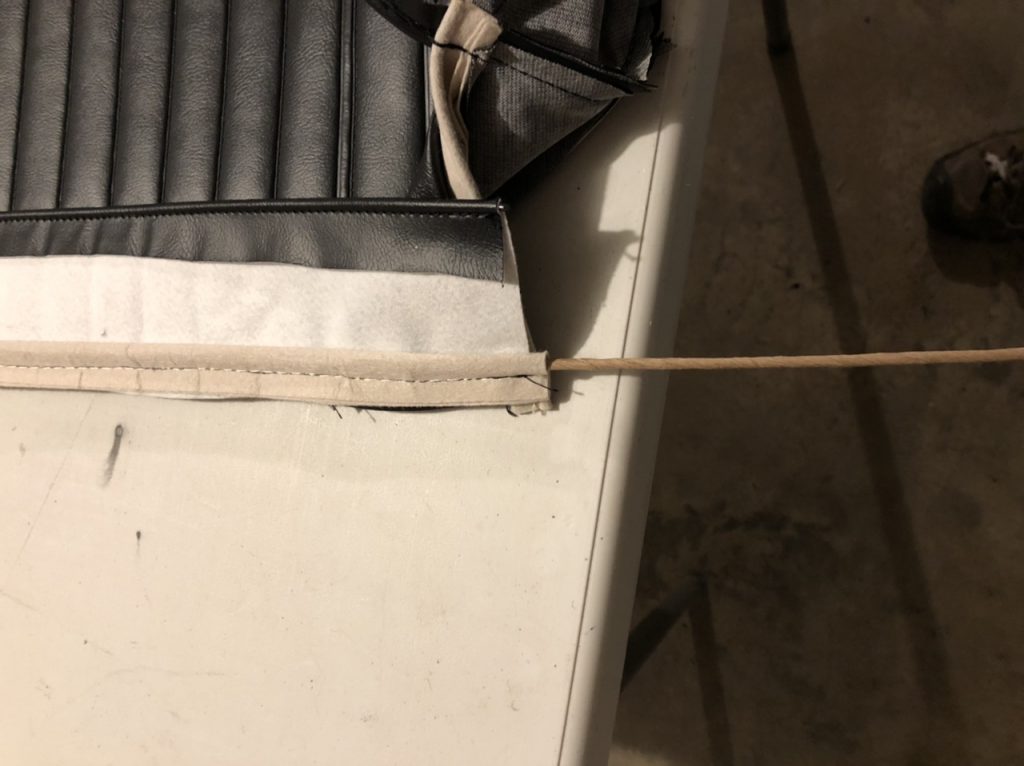
next was inserting the new listing wire into the sleeves on the cover


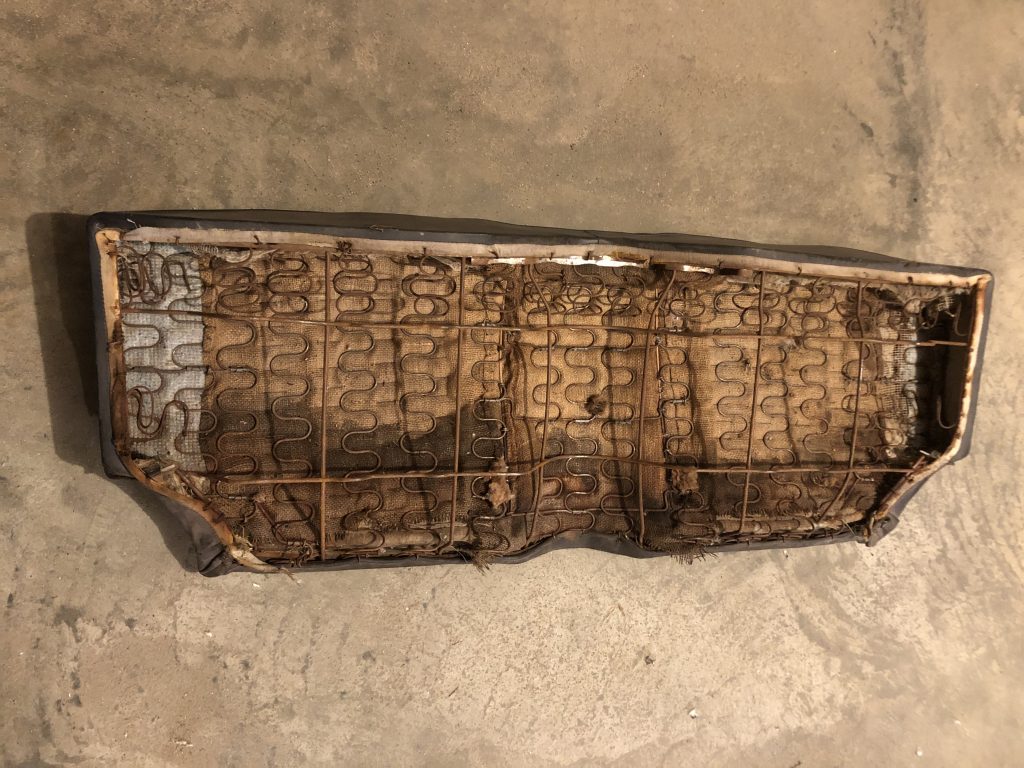
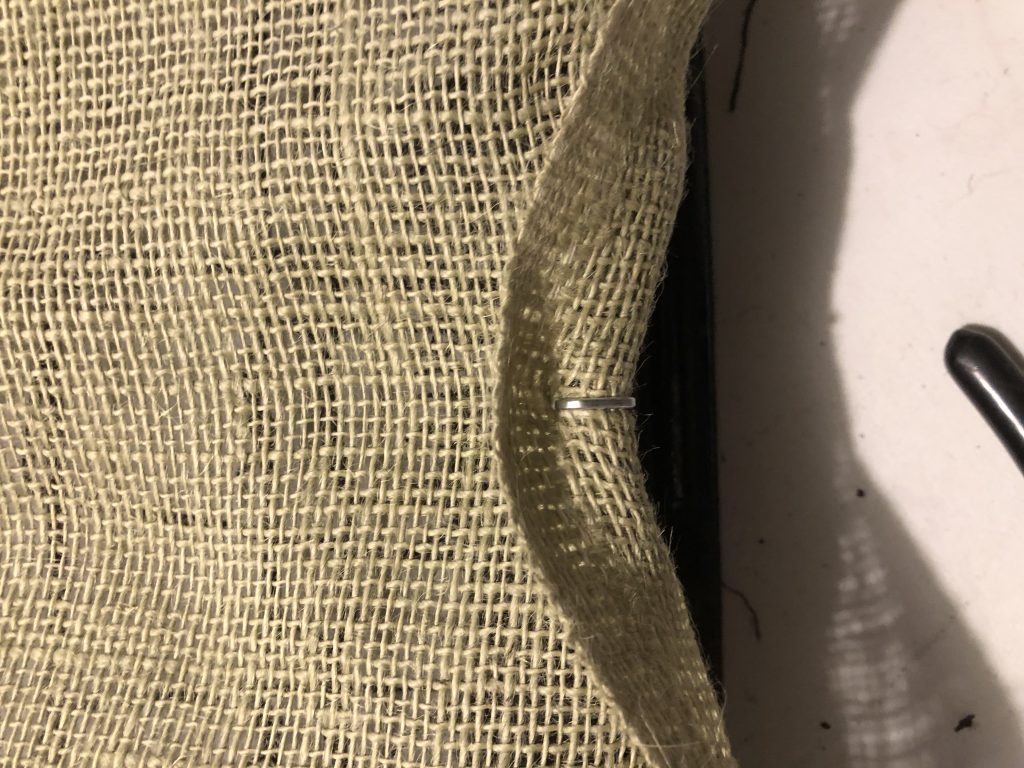
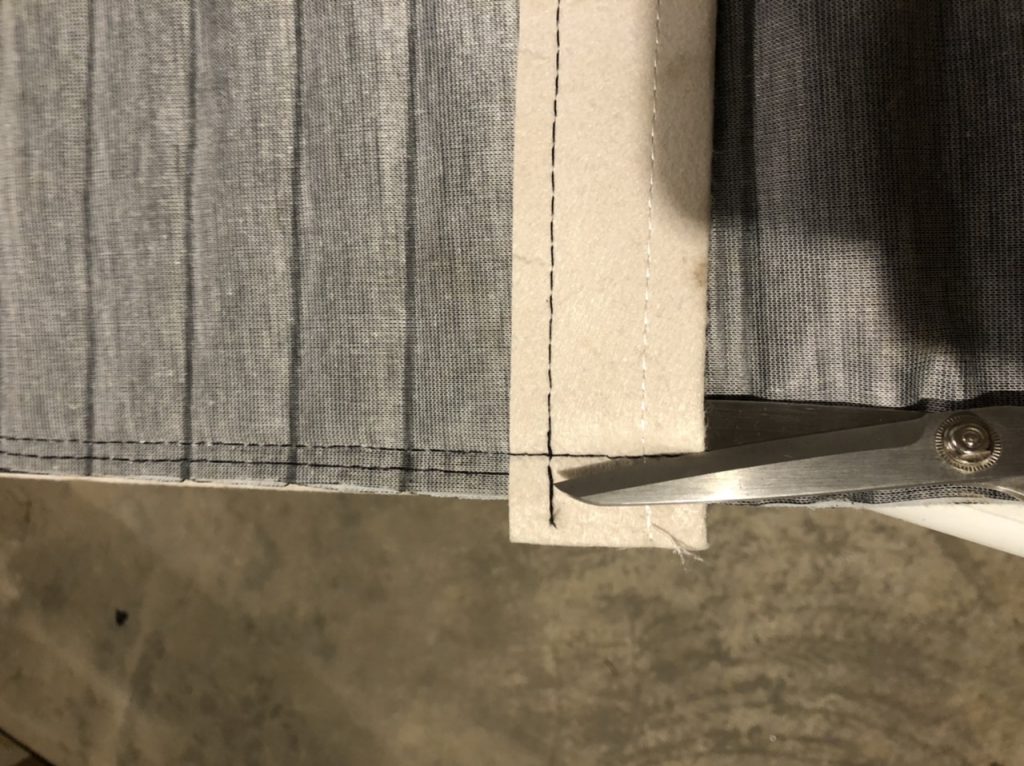
for the sleeves on either side of the driveshaft hump I had to clip the ends free just inside the topstitching.  I’m not sure why they are assembled this way, but it seemed like the right thing to do.

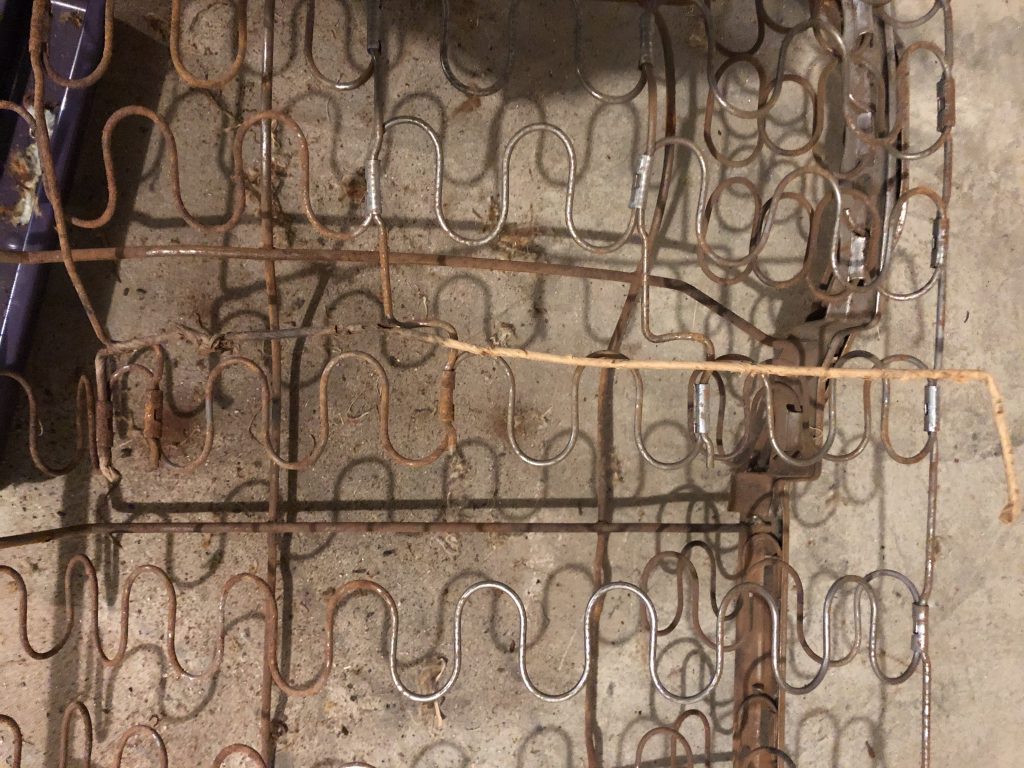
I cut these long because the original ones were done that way with a bend at the ends.

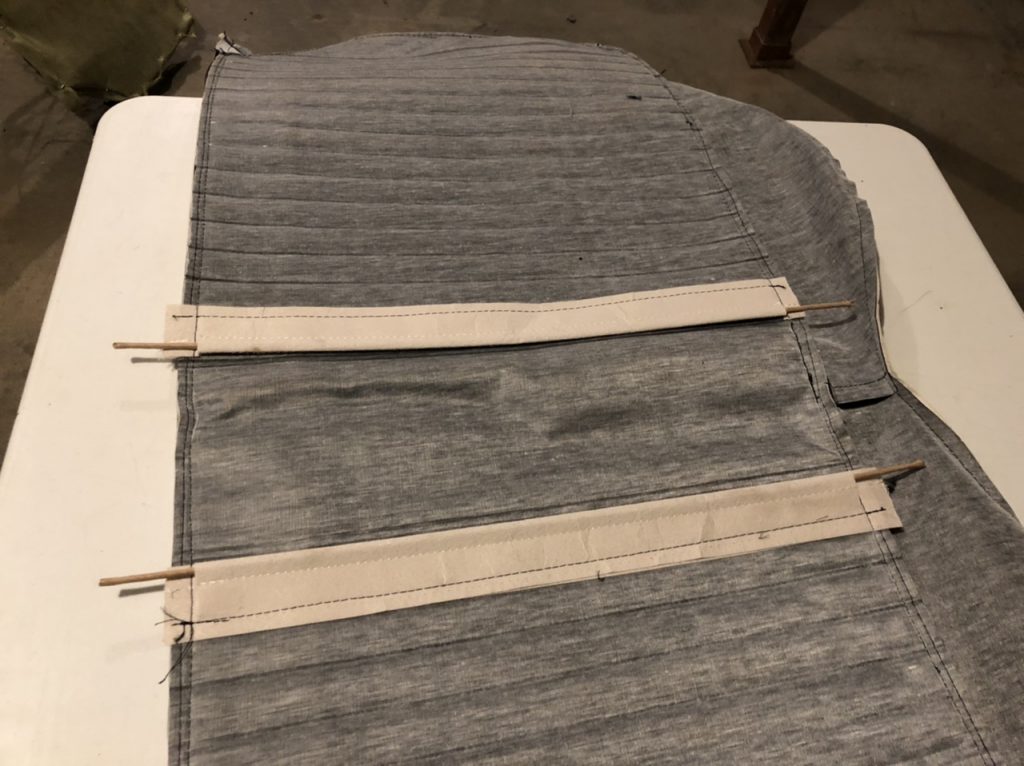
the longest piece goes from the back corner, across the front, finishing at the other back corner.

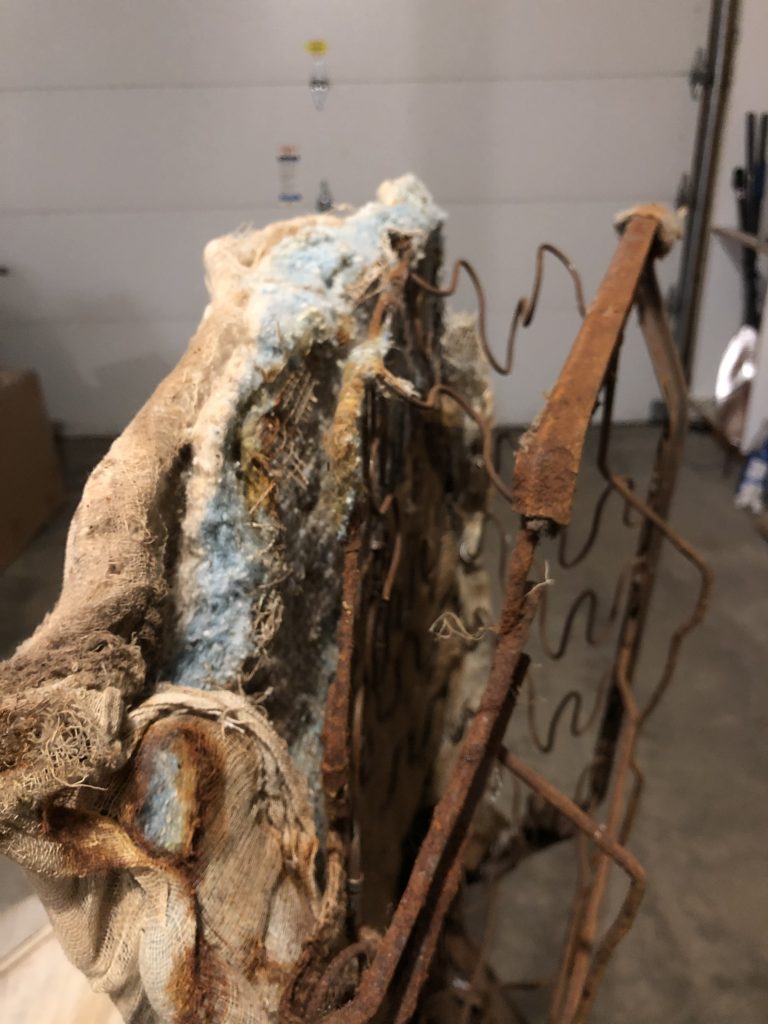
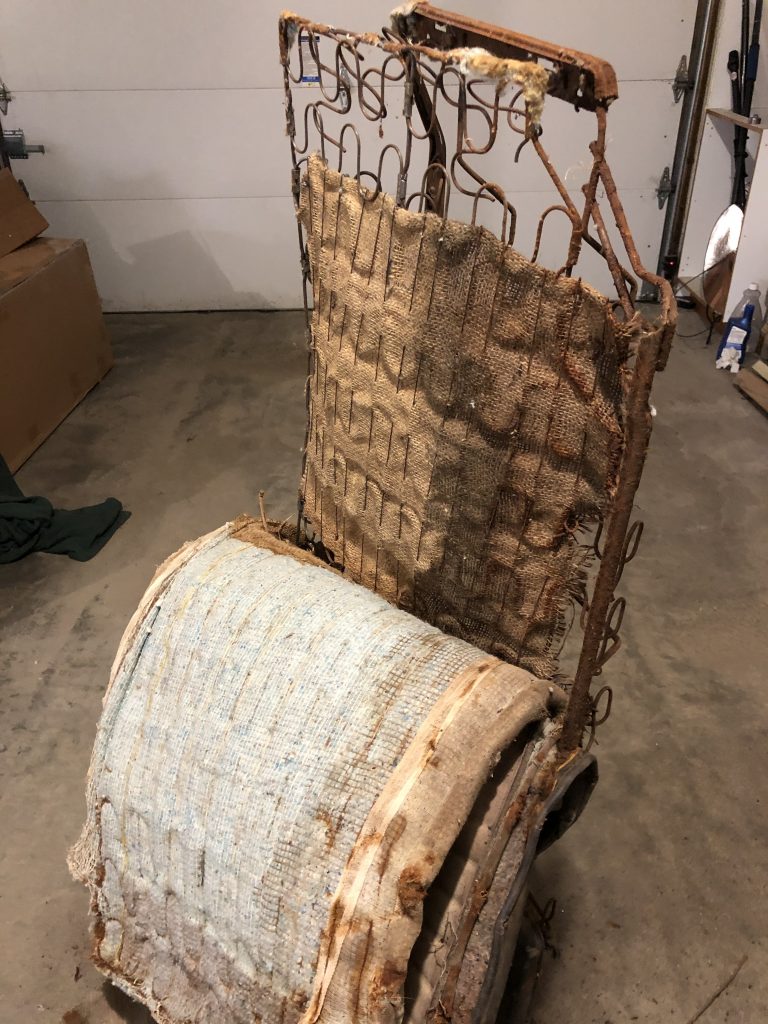
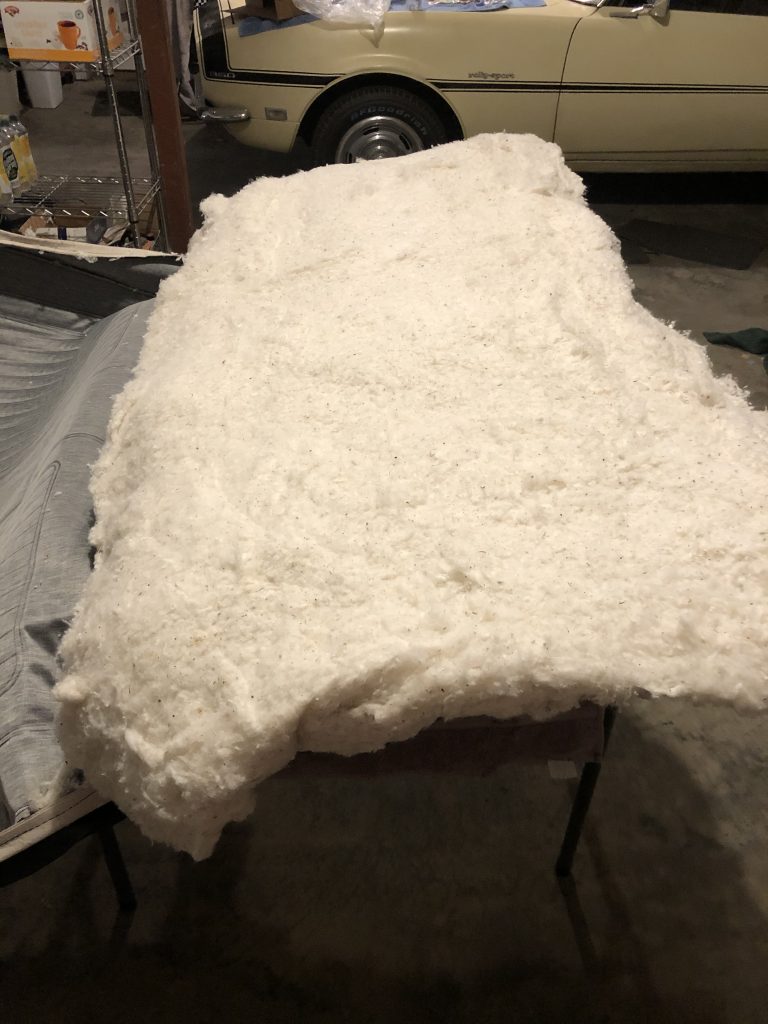
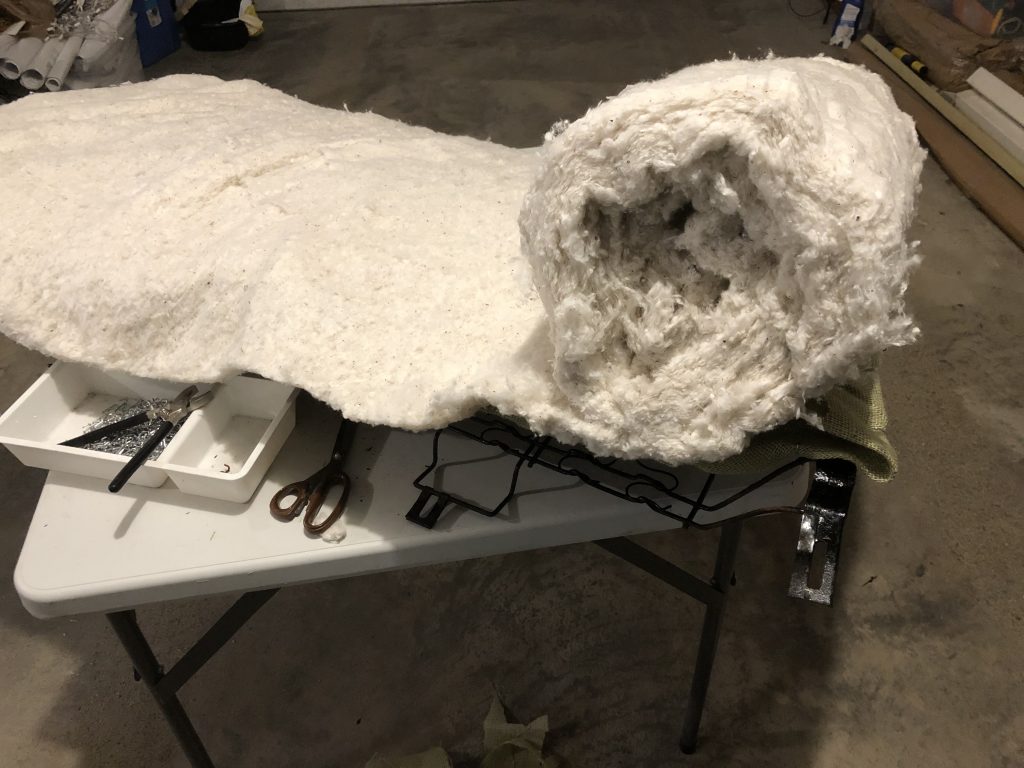
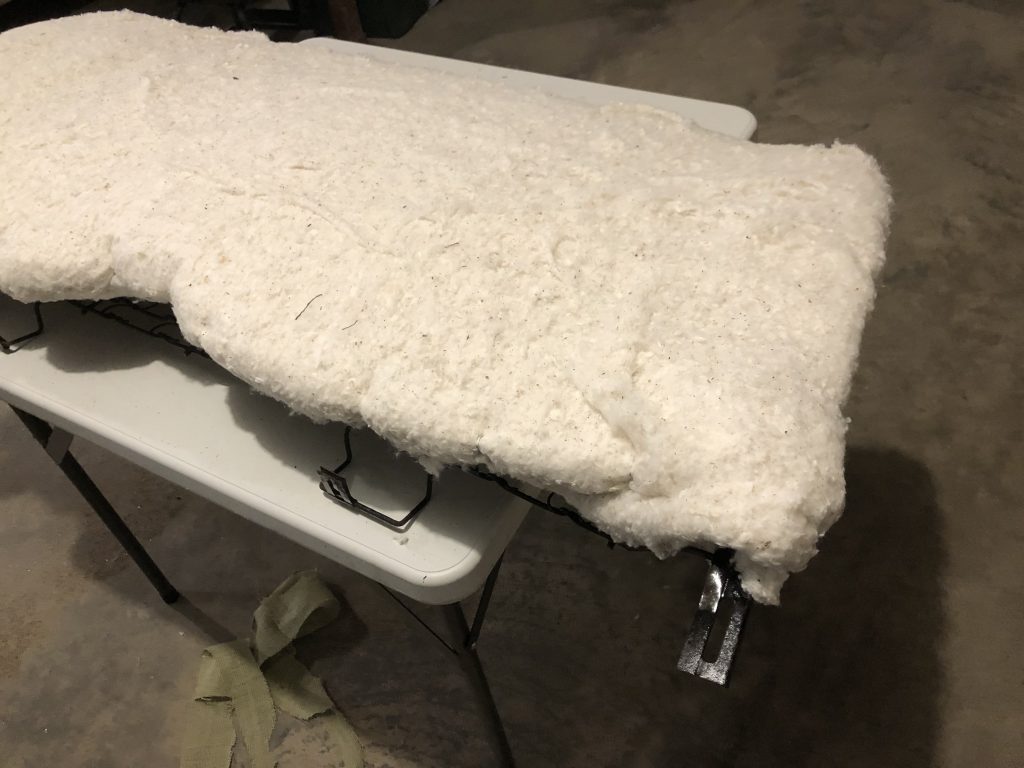
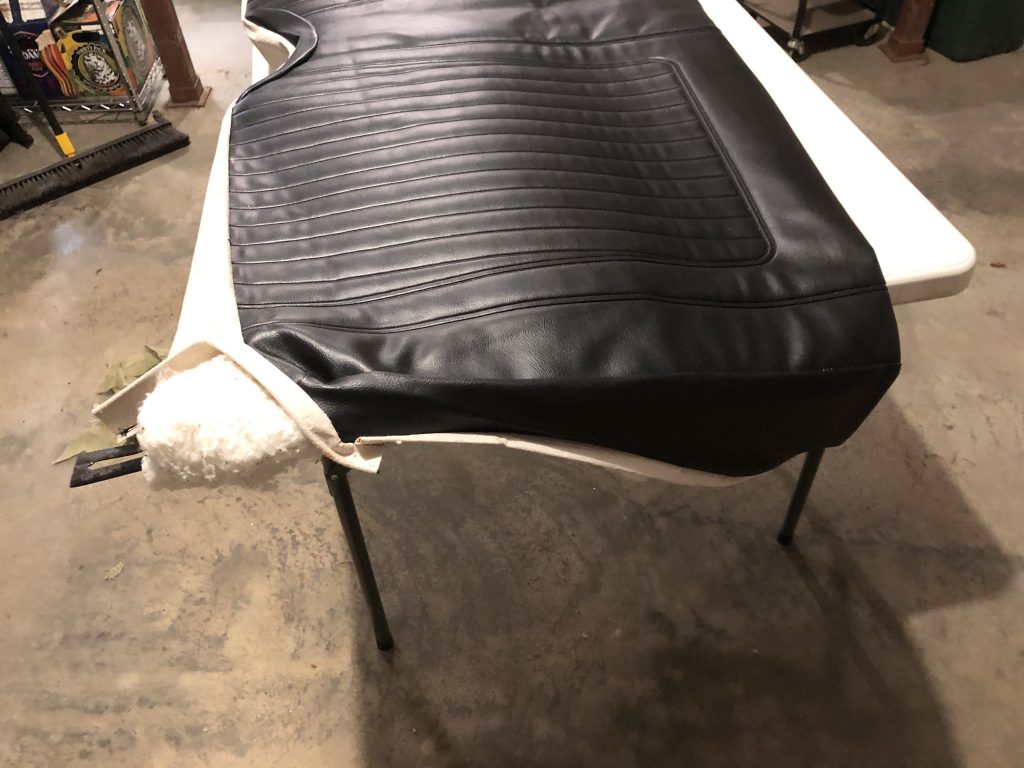
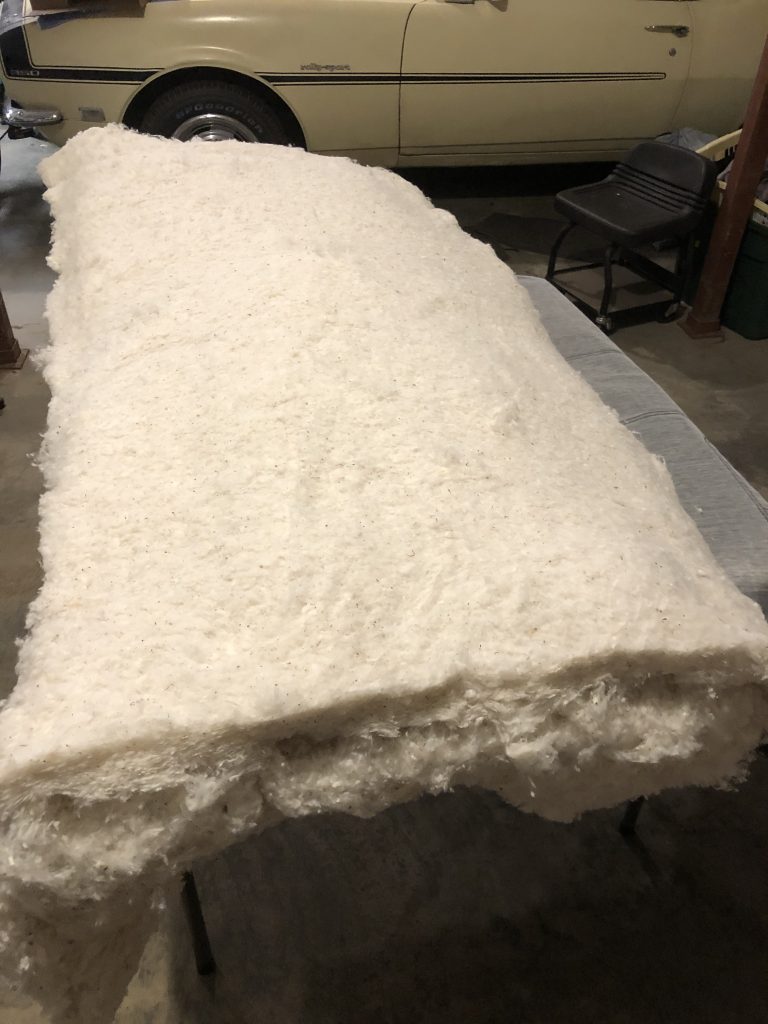
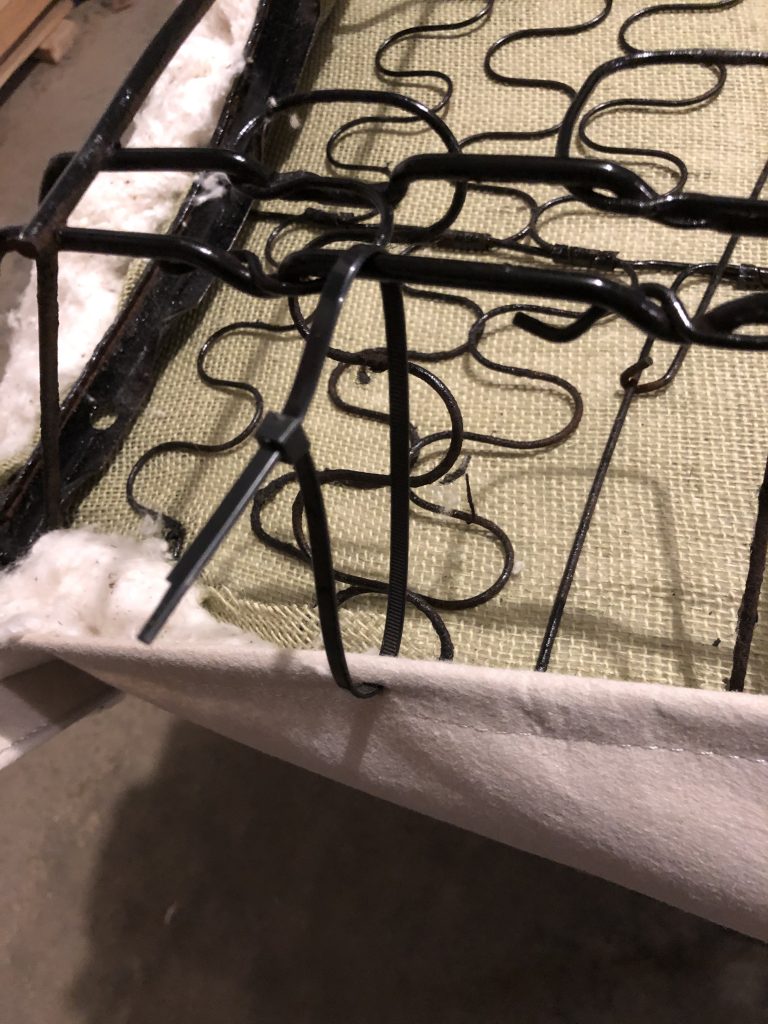
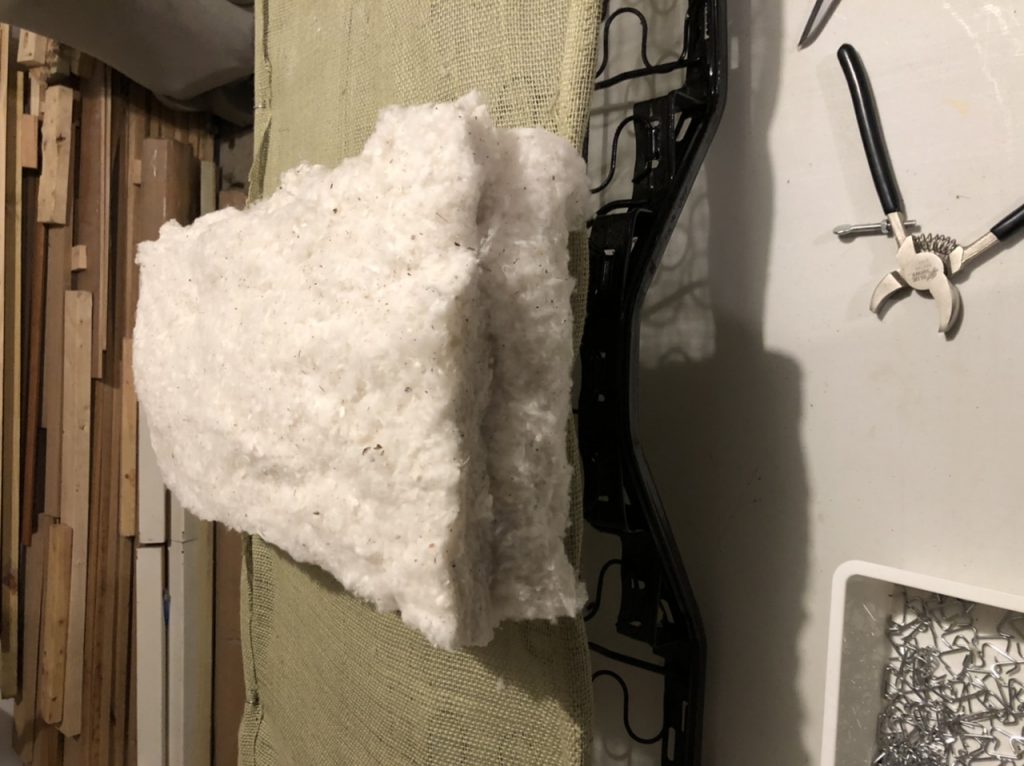
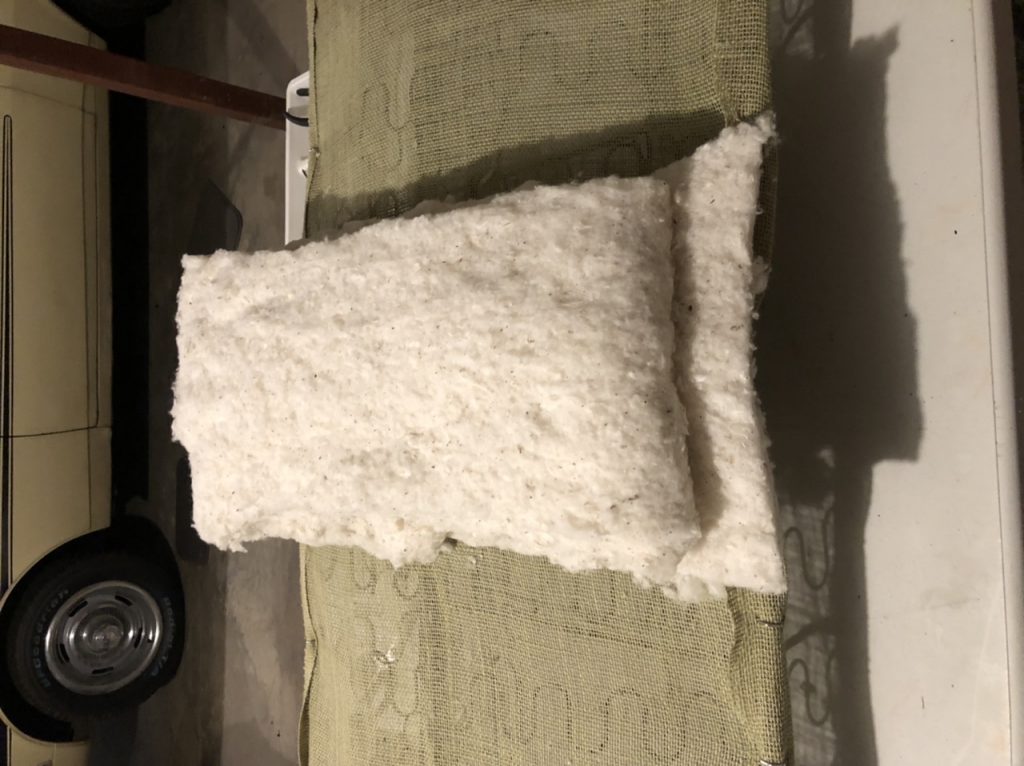
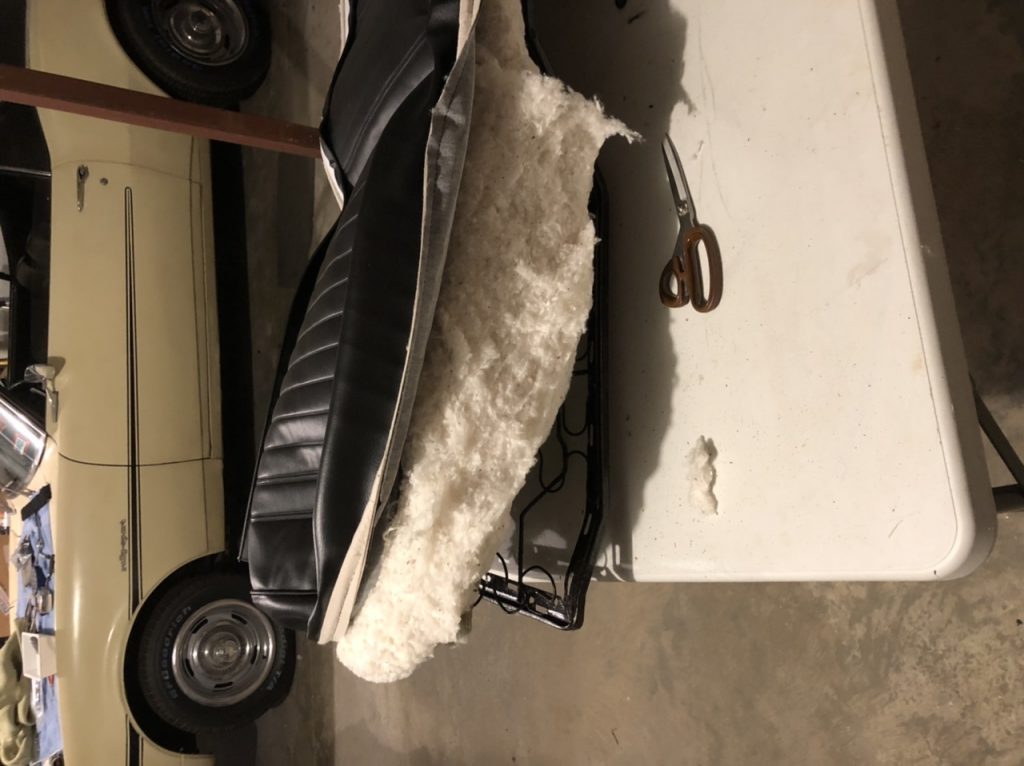
I worked on the center section first.  It’s a bit of a guess at how much batting to use but the original wasn’t padded as much here, and it has to fit underneath the seat back.  It’s also tougher to go back and redo this so I tried hard to get it right the first time.  It’s also tough to get the hof rings in olace, so the ziptie trick helps a lot here.


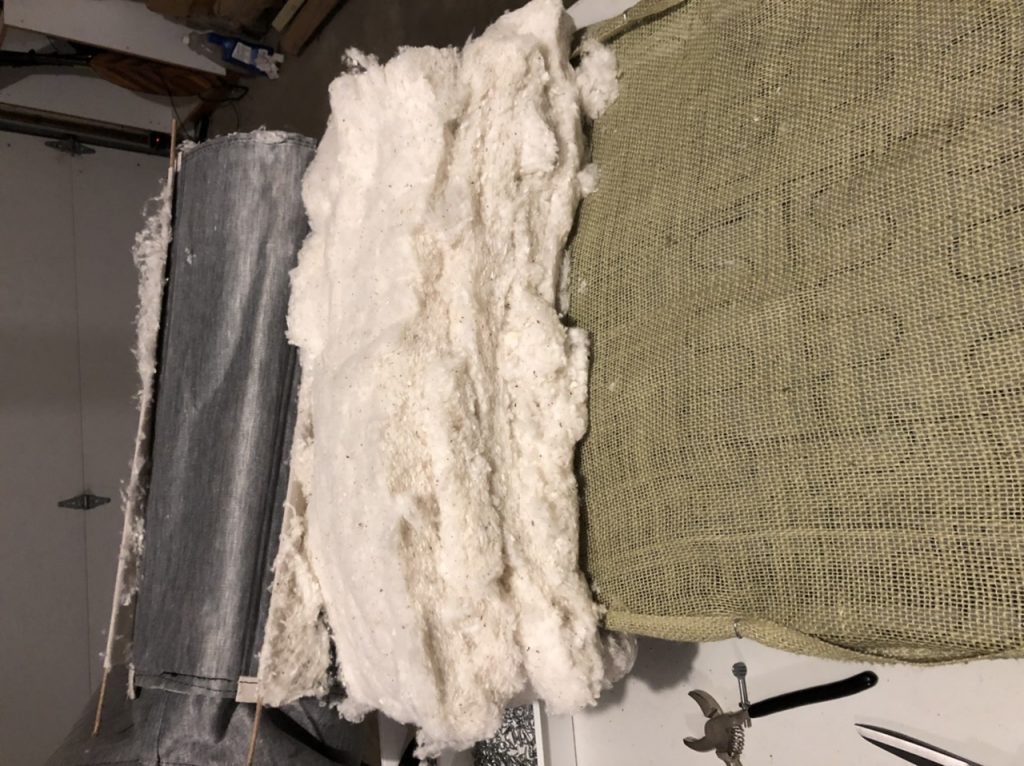
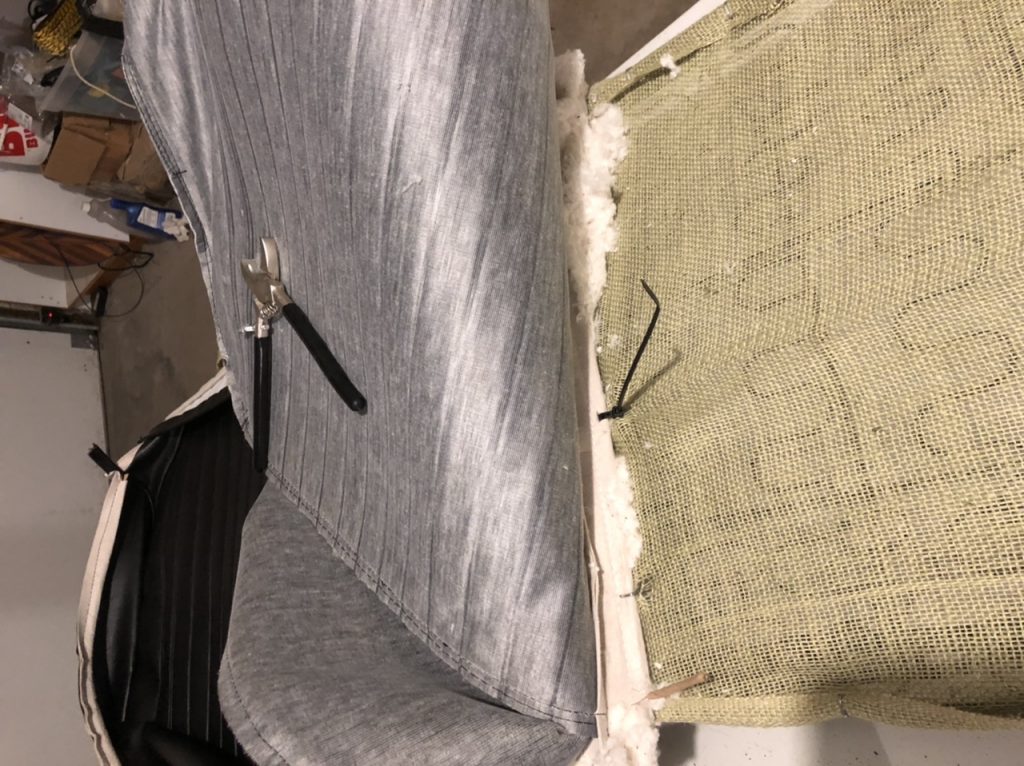
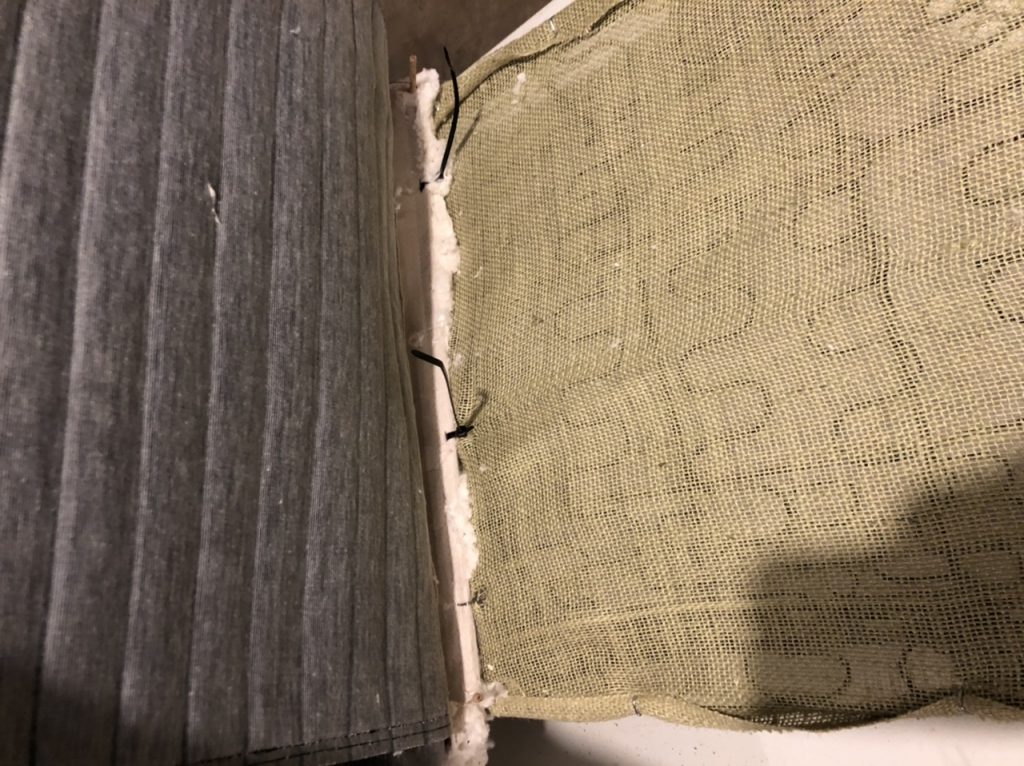
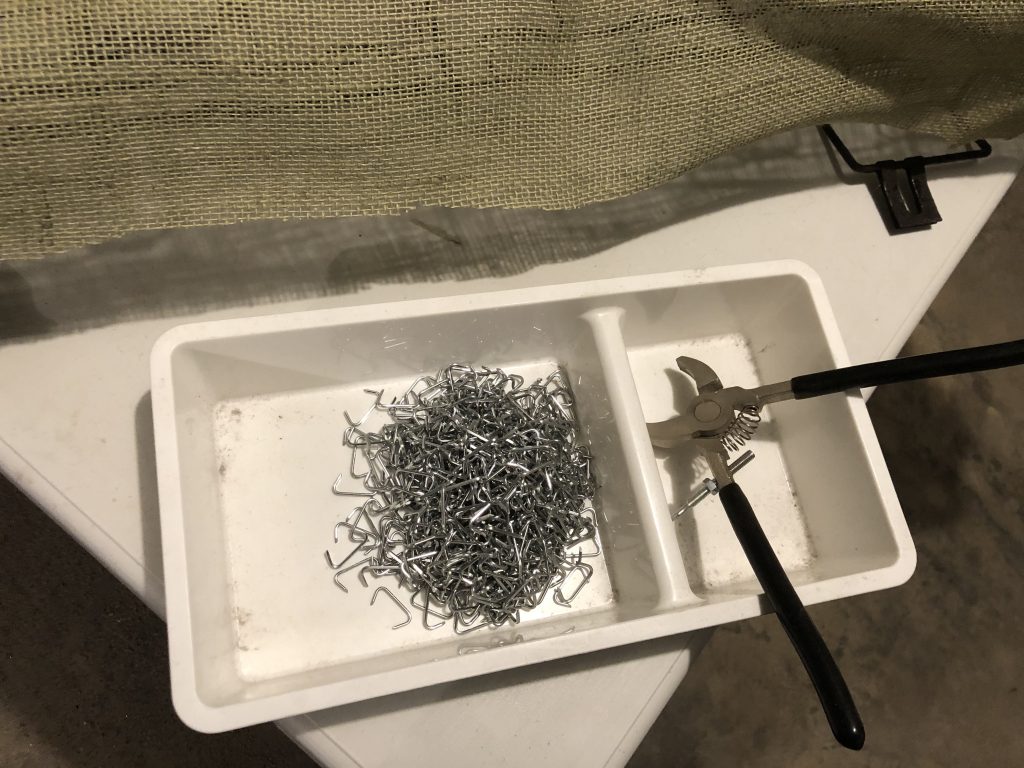
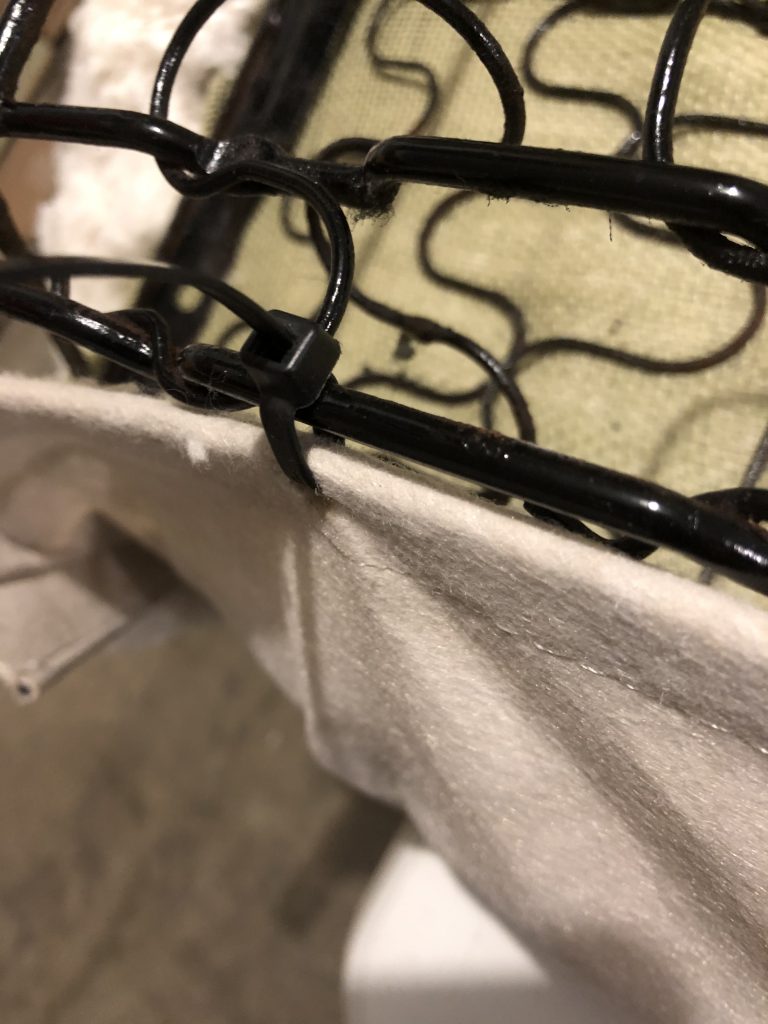
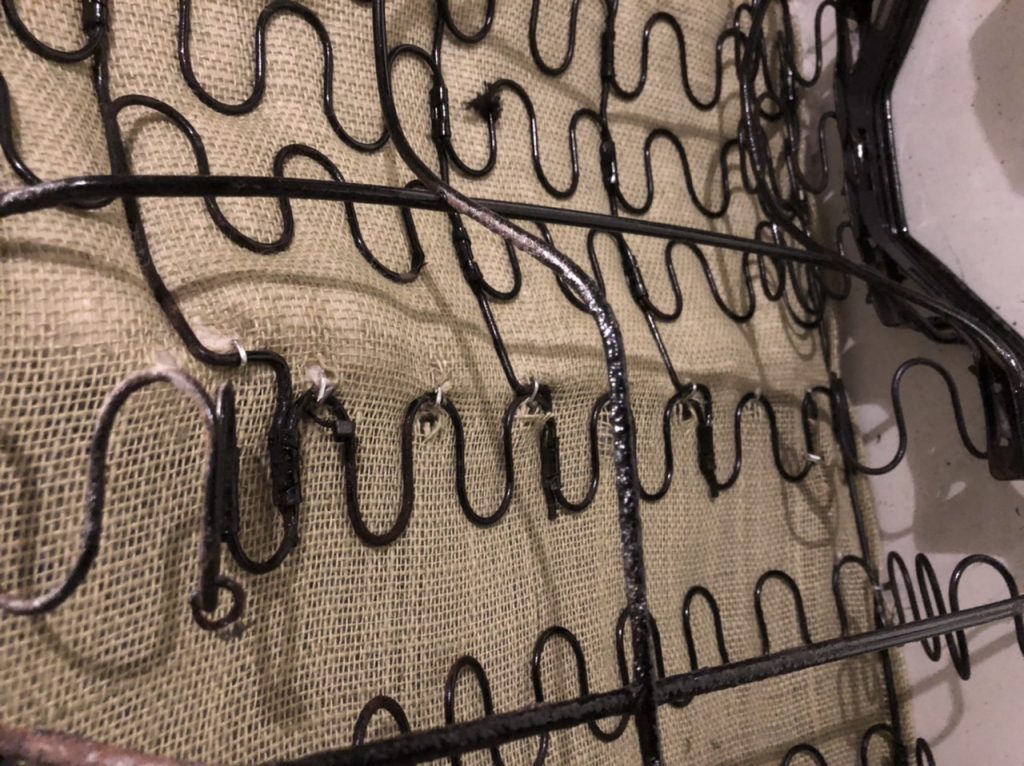
once it was snugged down, i added hog rings at each speing loop

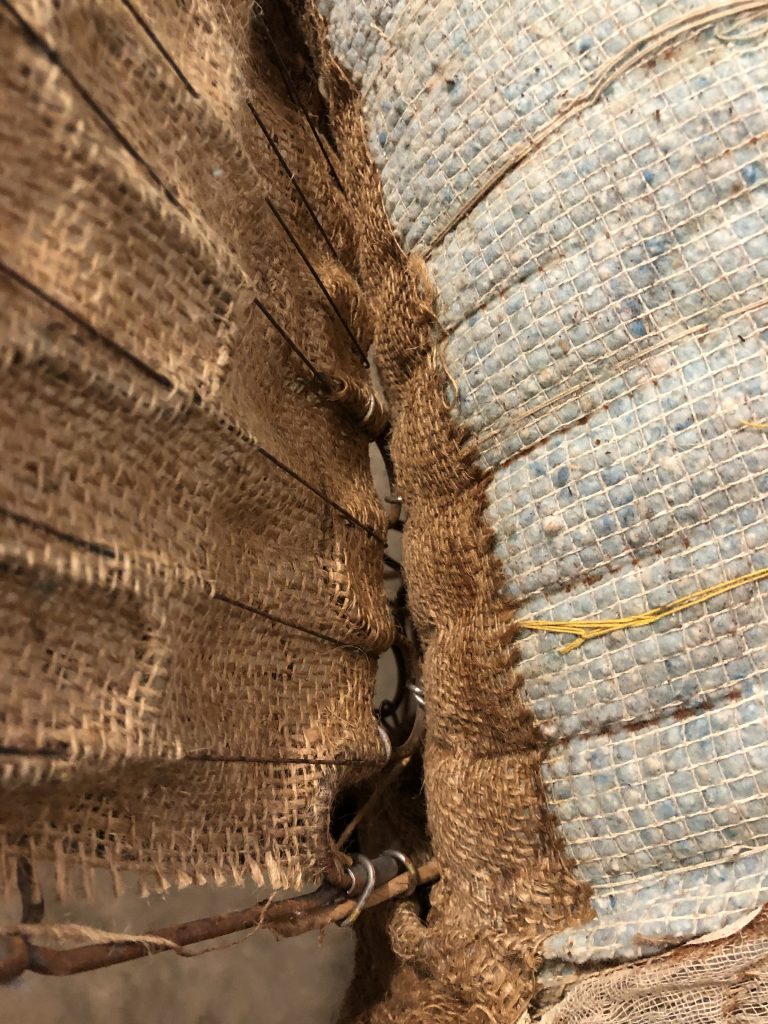
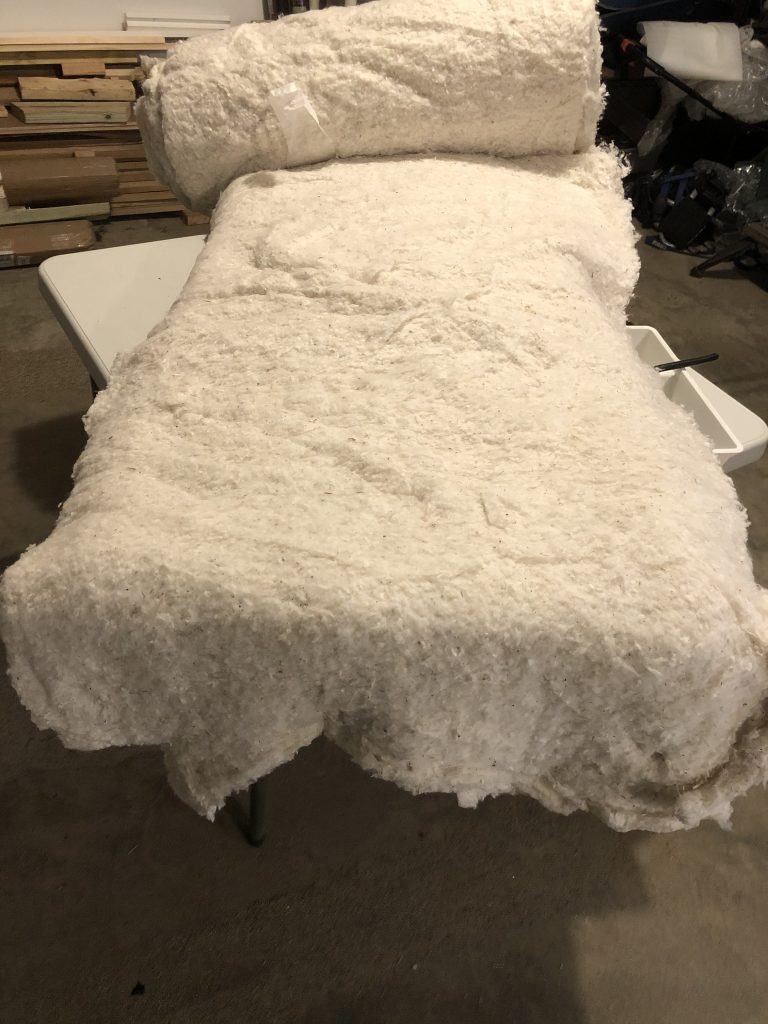
Next was the sections between the center and the side.  I kept guessing at the right amount of batting.  I adjusted it a few times and snugged the cover into place with zipties each time.


and once more for the other side


Posted on

Yet More Seat Work

A little progress, I finished stripping the springs and got them painted.  Again, it’s not really necessary to paint it, but it’s nicer to work on something that is clean.

There is listing wire across the back, as well as on either side of the driveshaft hump.  Last pictures of the old stuff before I took it off:

A bit of wire brush work and time for paint:

The listing wire arrived in the mail, time to put it all back together again

Posted on

Rear Seat Install – Part 1

While I was waiting for the new listing wire for the seat bottom cover to arrive in the mail, I installed the upper part of the back seat.  I’m not happy with the wrinkle on the lower part of the driver’s side of the seat.  I’m hoping it will improve when I get the bottom part of the seat installed.  It’s still a huge improvement over what was there originally, so I’m very happy about the overall effect.

Posted on

Reupholstering the Back Seat – Part 4

The seat bottom is next to be redone.  The first step is to strip the old cover and padding off.  The seat back had the cover attached only at the edges.  The seat bottom is going to be more challenging as there is also an attachment on either side of the driveshaft hump.  There were a lot more hog rings used in the bottom than there were on the back.  I’m glad I got a package of 500.

There is no padding on the front or sides of the seat.  The padding wraps around the top edge of the frame a little, and then stops.  This is to make sure that the seat will fit in between the two side panels.

This is where the seat cover and batting is attached on the side of the driveshaft hump.  There is a listing wire that goes into a pocket on the cover, burlap and padding is added to the frame, then the listing wire is hog-ringed to the spring assembly.  This center section needs to be attached before the outer edges of the cover is attached.

Separated at last…

Posted on

Reupholstering the Back Seat – Part 3

Third time’s a charm…  After using up all 5 yards of batting, I ordered another 15 yards.  I took the cover off again, and put another layer of batting on, including some extra at the top edge and at the corners.

This time the cover fit very tightly, and I had to use the ziptie trick to get the wire into position to attach the hog rings

Finished product.  I think some time in the sun and some heat will take care of the remaining wrinkles.  Time to start stripping down the seat base next.


Posted on

Reupholstering the Back Seat – Part 2

I started with the upright part of the seat.  The first step is attaching the burlap to the frame.  I cut the burlap to the rough size of the frame and attached it in a few spots with hog rings.  I found a good tip online about folding the burlap over the edge, then back up again before putting the hog rings on.  That puts the hog rings through 4 layers of burlap, which is a much sturdier way to attach it.

Next is the cotton batting.  I had ordered 5 yards of 2″ loose cotton batting, expecting that I could do both the seat back and bottom with it.  After test-fitting the cover a few times, I kept adding more batting, and ended up using all 5 yards.  I think it could even use some more.

I got the batting from https://fabricwarehouse.com/ which sells it by the yard.

I put the first layer on and tacked it down with some hog rings.

I cleaned up the original stay wires and put them into the sleeves in the new cover.

Then I put the cover on top edge first:

A few rings to tack it down, then over to tuck the bottom edge in and snug it up

The result with one layer of batting was really too loose

So I added more batting…twice…

I found another trick to snugging the cover on easily.  Thread a ziptie through the frame, and through the sleeve with the stay wire, and then zip it up until it is tight.  Then it’s easy to add the hog rings.

More hog rings, and it’s tacked down

I’m still not happy with the result, I am going to open it back up again and add more batting…once I buy more.