Posted on

Dummy Cigarette Lighter Element

When I had the center of the dash apart to fix the heater controls, I also replaced the cigarette lighter socket.  I don’t smoke, but I wanted the socket to work so I could charge my phone, or run a GPS.

The lighter element was rusted into the old socket, so when I pulled on the chrome knob, it pulled off of the rest of the lighter.  I didn’t want to put the old rusty element in my nice new lighter socket, so I made a dummy one to hold the chrome knob so nothing looked like it was missing.  I created a 3-D printer design for this, which I uploaded to Thingiverse.

https://www.thingiverse.com/thing:5136514

The final photo shows it in the dash, and the flash managed to highlight all of the dirt and scratches on the dashboard.  It looks better in person.

Posted on

Paint Fix

This car has been repainted several times from what I can tell.  The most recent paint is some version of Butternut Yellow, with black stripes, and black taillight panel.  The strange thing about it is the black stripes are done fairly well, but the overall finish is terrible.  It looked like someone had gone back and fogged some muddy dirty version of the yellow over the base yellow.  This didn’t make sense, because that would have covered up the black stripes.  The driver’s side fender was the worst offender, there were big runs and puddles on the top, pooling into the middle of the fender.

I like driving this car, and I actually kind of liked that the paint was so-so because then I didn’t have to be worried about it getting scratched in a parking lot.  But still…it would be nice if it was at least a little nicer looking.

I was discussing this with someone at the Castle car show, who suggested the dull finish was really just a very badly applied clearcoat.  Bingo…that would explain how it could be applied after the black stripes were added.  There were some spots where the yellow showed through because of poor surface prep or something, and it was obvious that a muddy clear had been sprayed over a lot of the car.  In some spots it was very thick, but in other spots it was barely fogged on.

I decided to see what would happen with some elbow grease and some aggressive paste wax.  Turns out…it shines up pretty good if you really hit it hard.  It’s tough taking a picture to show how shiny something is, but here’s my attempt.  The front part of the fender has about 30 minutes of hard scrubbing with the paste wax in a 6″x6″ area, while the front header panel is the original finish.

This needed some power to make the job go faster, so I got some 1000 and 1500 grit foam sanding blocks, and started wet sanding.

After about 3 hours of working on the top of the fender, most of the clear was removed.  There’s still some remnants of the puddles and runs that were there, but I didn’t want to sand through the paint, so I stopped for now.

One nice thing was that several black marks in the paint disappeared.  I had assumed they were chips that went down to the blue paint under the yellow, but it was actually just pieces of dirt stuck in the clear.

I got a polisher and some polishing compound, and went over the area I had wet sanded, then put some wax on it.  Not perfect by any means, but a lot better looking at least.  This is going to be a long-term project, I’ll keep doing sections until I work my way all around the car.

Posted on

Fixing the Defrost Lever: Part 2

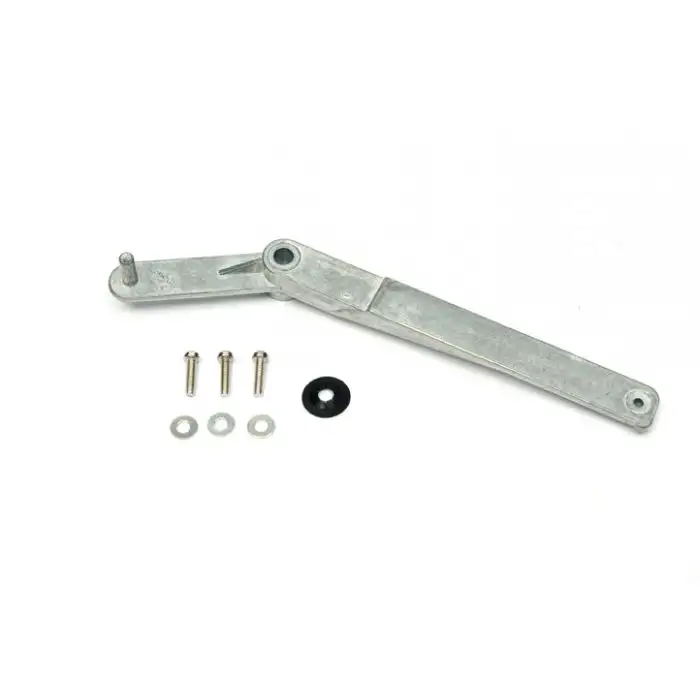
Get the repair kit they said.  It’ll be great they said.

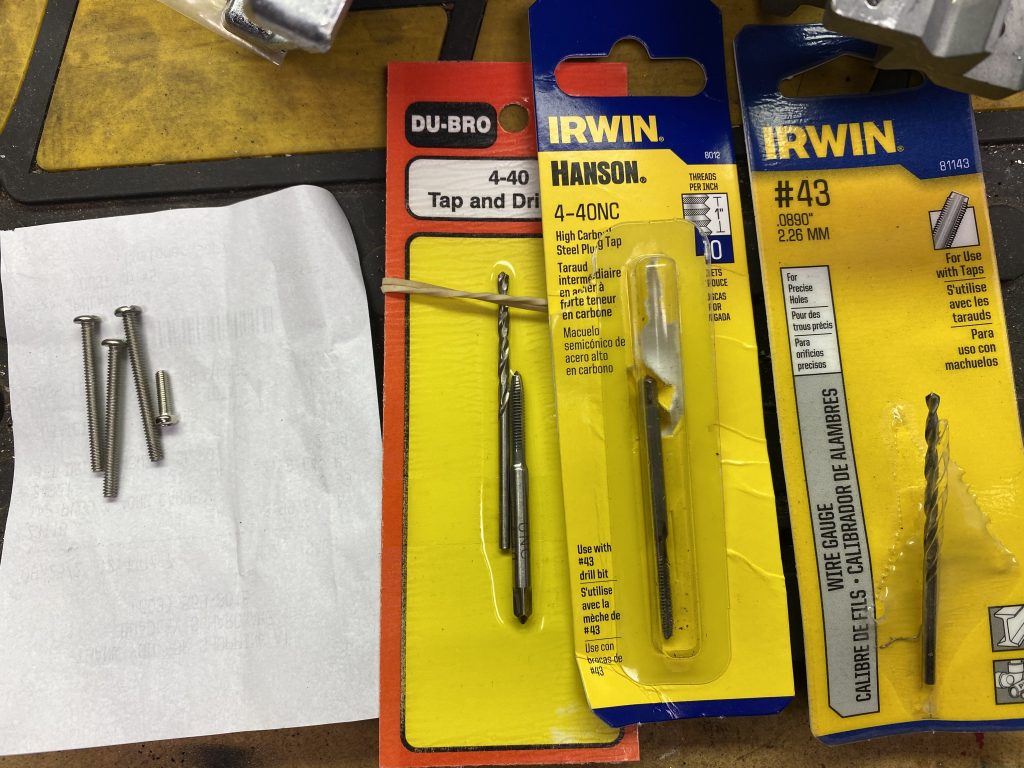
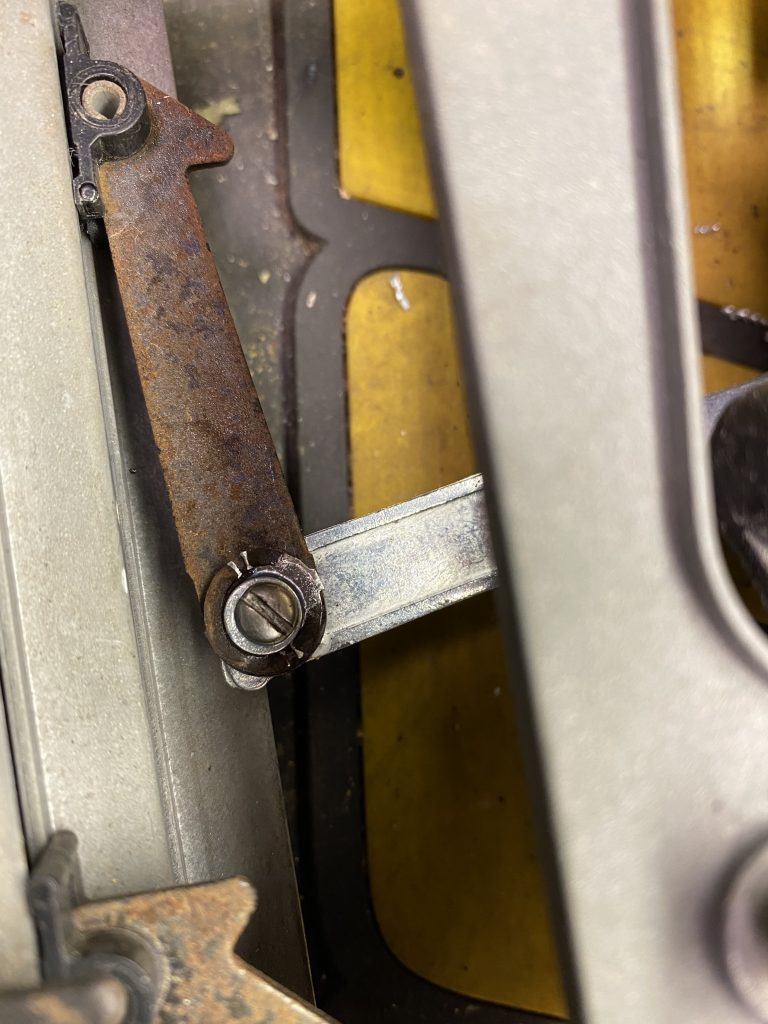
The kit consists of a new arm, and some screws to attach joints that were originally staked.  The new arm is much beefier than the original one, so it looks like a good upgrade.

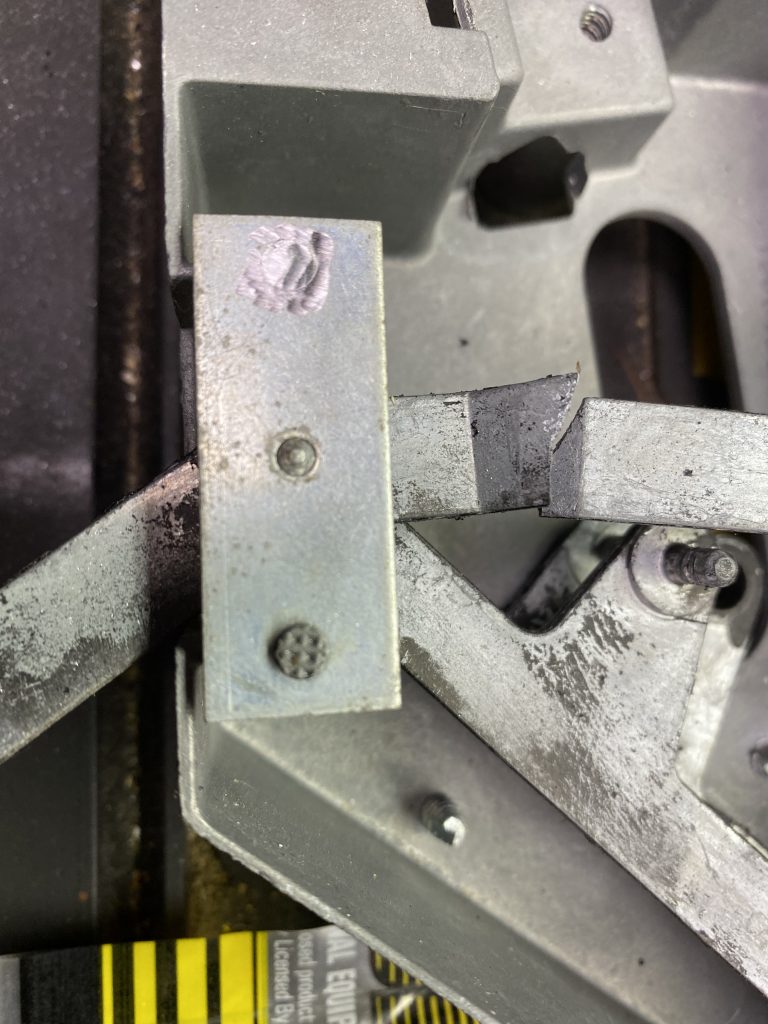
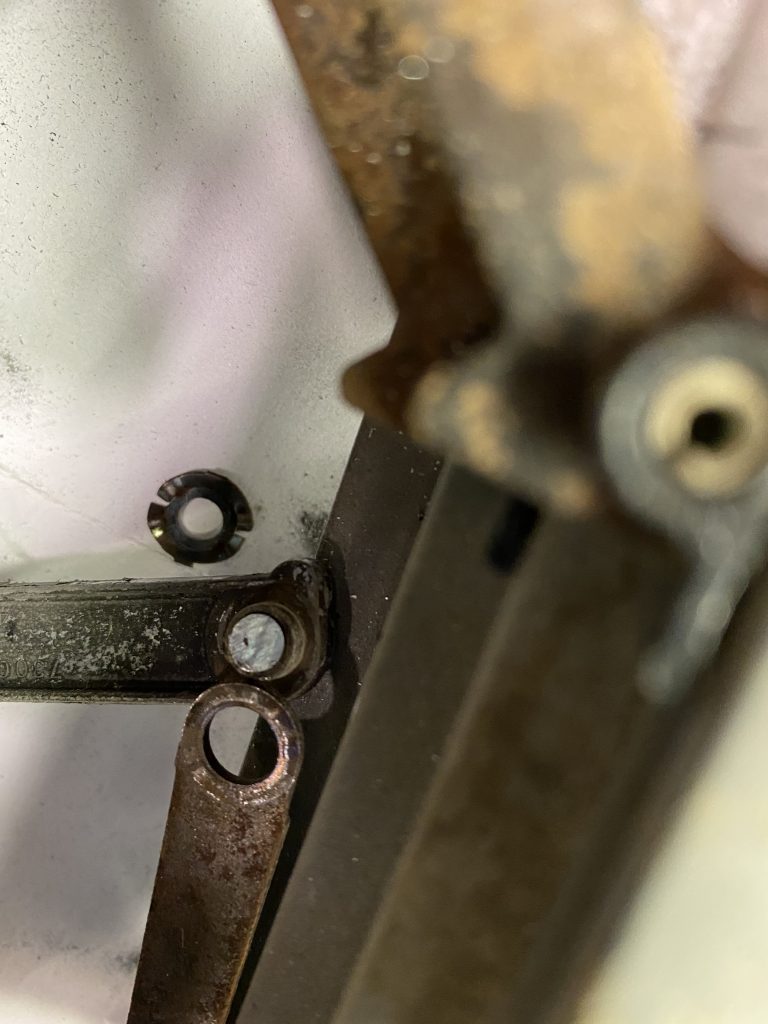
The disassembly process is pretty simple.  The first step is grinding off the two staked pegs holding the pivot end plate.

The third point is the pivot at the end of the defroster lever.  Once that is ground off, the old lever can be removed.

At this point, the instructions say to drill and tap the two pegs holding the pivot end plate.  The supplied screws are 4-40, but it’s up to you to find the appropriate drill and tap.  It turns out that is harder than it sounds.  I hit several large box stores, none of them had anything that small.  I finally broke down and hit eBay, and ordered a Du-Bro drill and tap set, intended for model hobbies.

It was shipped and supposed to arrive in the mail on Friday, so I figured I’d be able to work on it for the weekend.  Wednesday it disappeared off the tracking, so on Friday I hit a real hardware store and found a 4-40 tap and the correct size drill to go with it.  I drilled and tapped a test hole, but it turned out that the tap was UNC, and the screws were UNF.  Friday night the package was on the tracking again scheduled for Monday.

When it arrived, it turned out to also be a coarse-thread tap.  I decided the universe was trying to tell me something, and I dug up some 4-40 coarse thread screws and used those instead of the supplied ones.

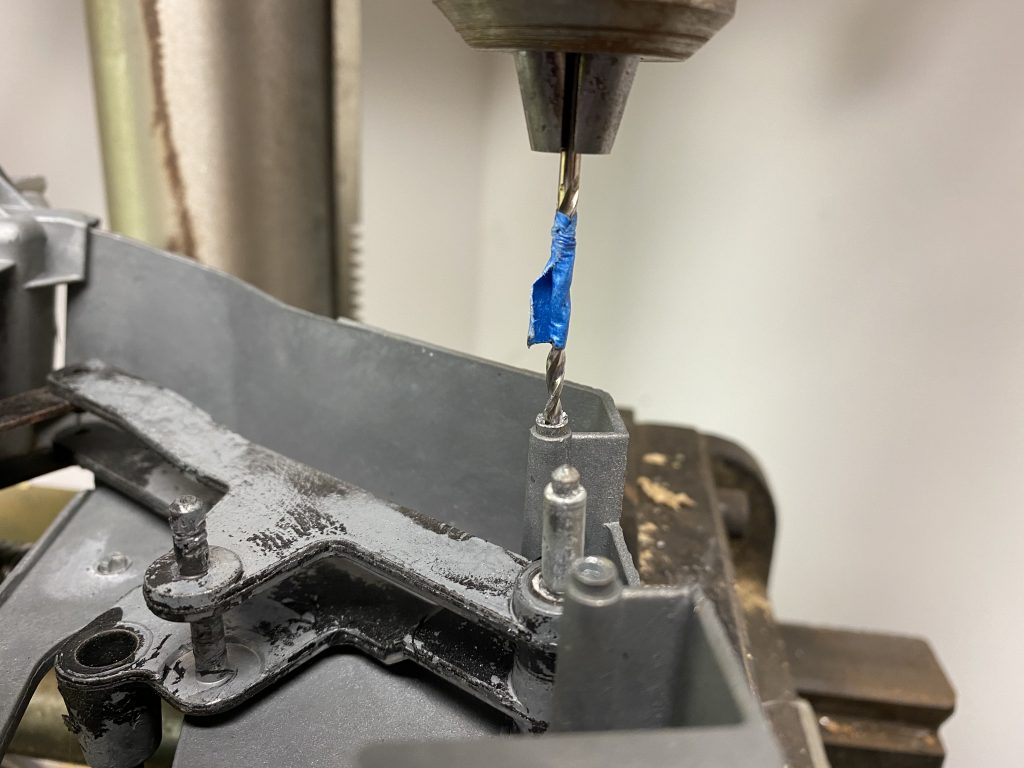
Drilling the holes.  The tape marks the correct depth for the hole.

Tapping the holes

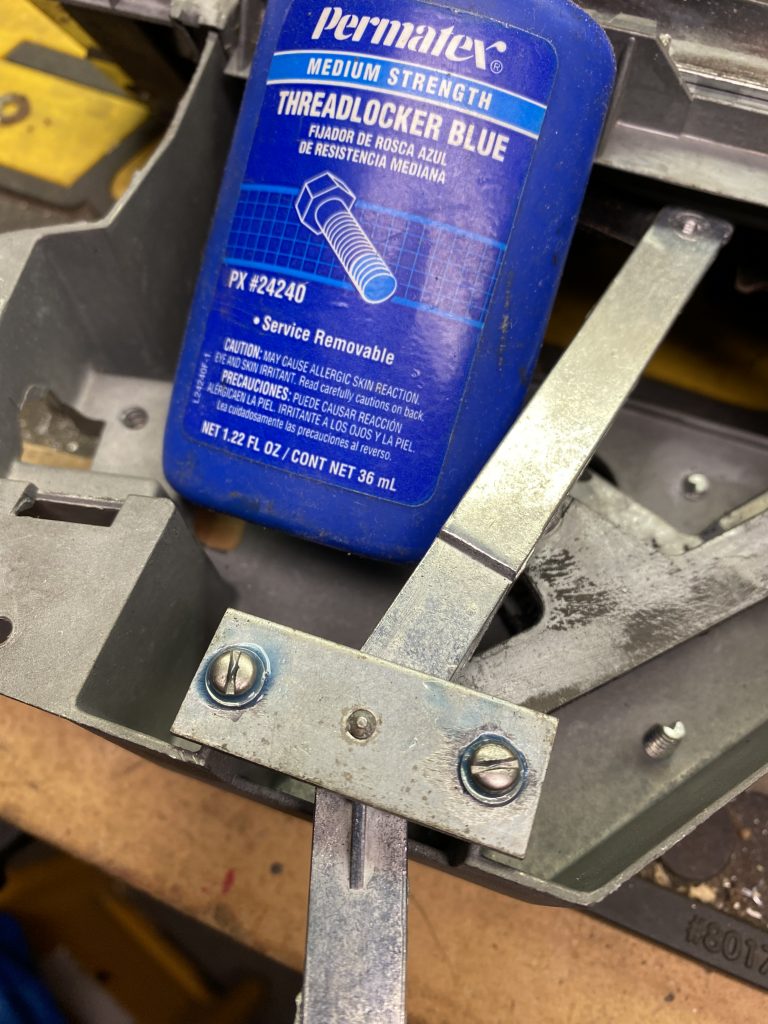
Once past that hurdle it was a matter of putting the screws in with some locktite and reassembling it.

The hole in the end of the new lever also needed to be tapped so it can be reconnected with a screw.

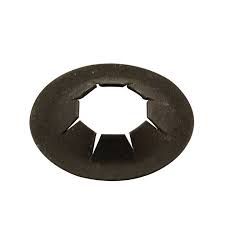
Back together again…mostly.  Each cable has a loop on the end that fits on a peg on one of the levers.  The loop is supposed to be secured by a push nut, which looks like a washer with cuts radiating from the center hole that grip the peg.

I managed to lose or break all of the original three push nuts, plus a fourth one that came with the repair kit.  Someday I’ll buy some and install them, but it looks like it will work for now.  Tip: buy extras when you buy your kit.

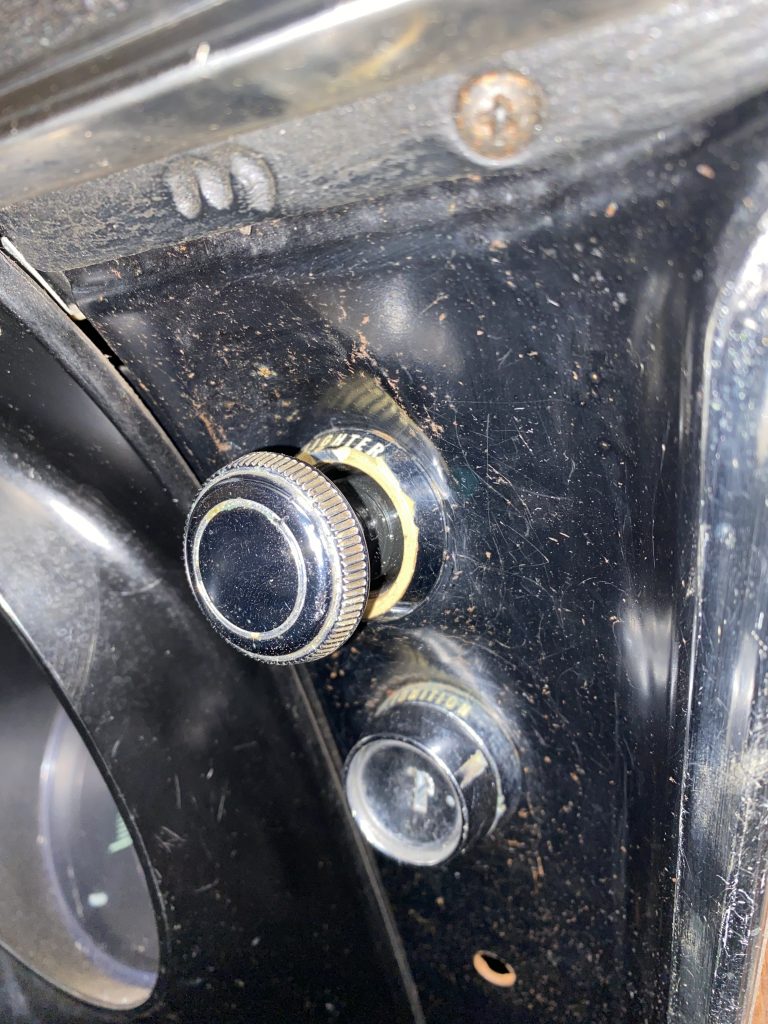
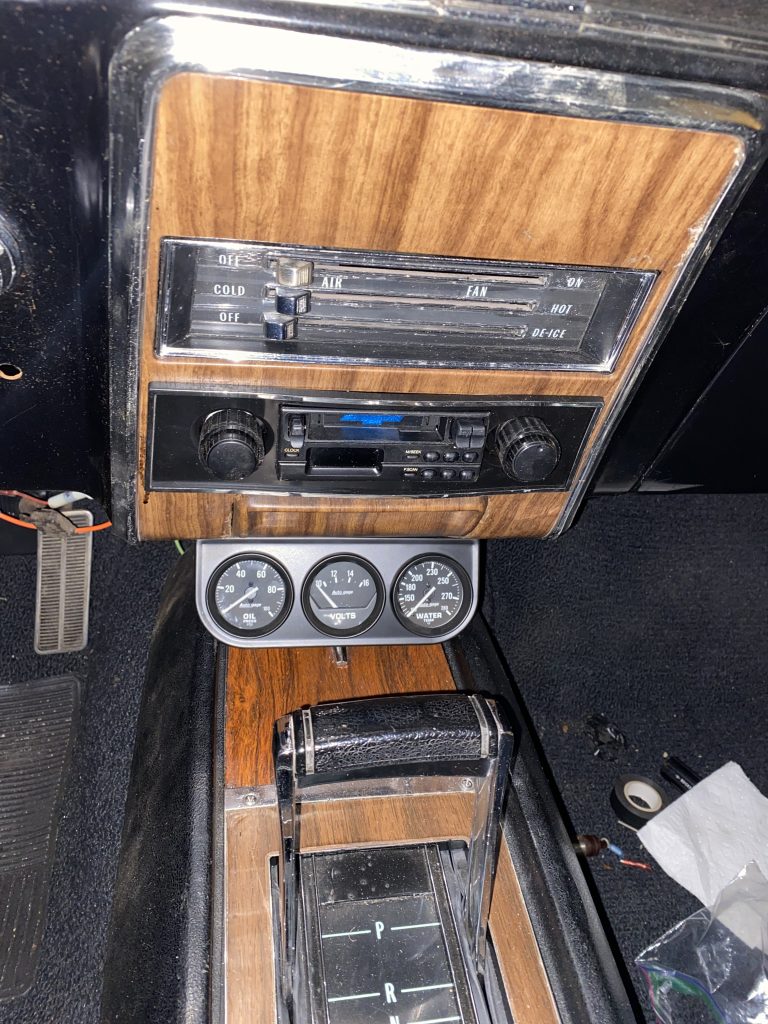
This does actually work, and the defroster diverter valve does open and close as you slide the defrost lever, but…it’s a fix that doesn’t really show up well in pictures.  Looks about the same as when I started!