It took me 21 months to go from this:
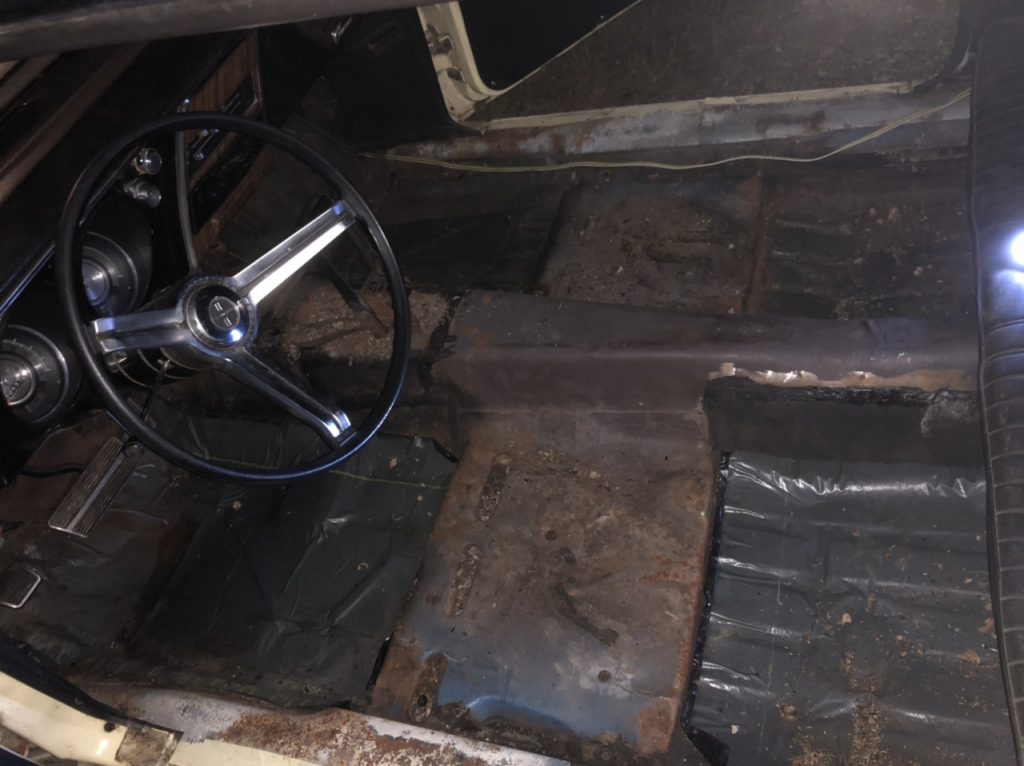
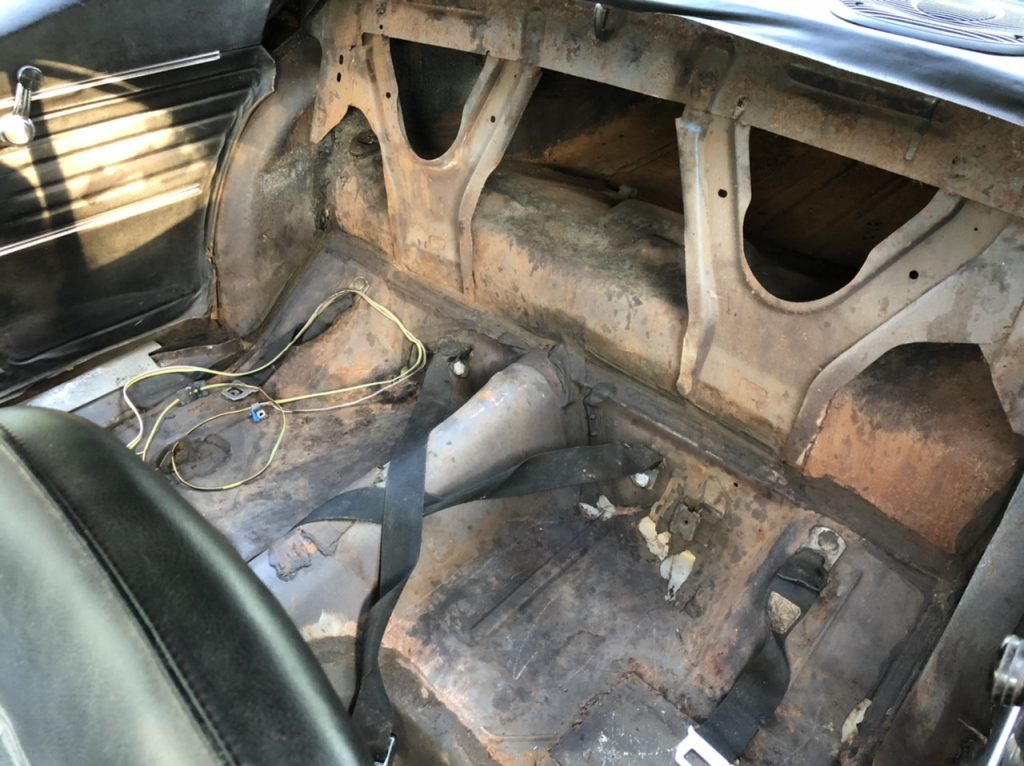
To this:
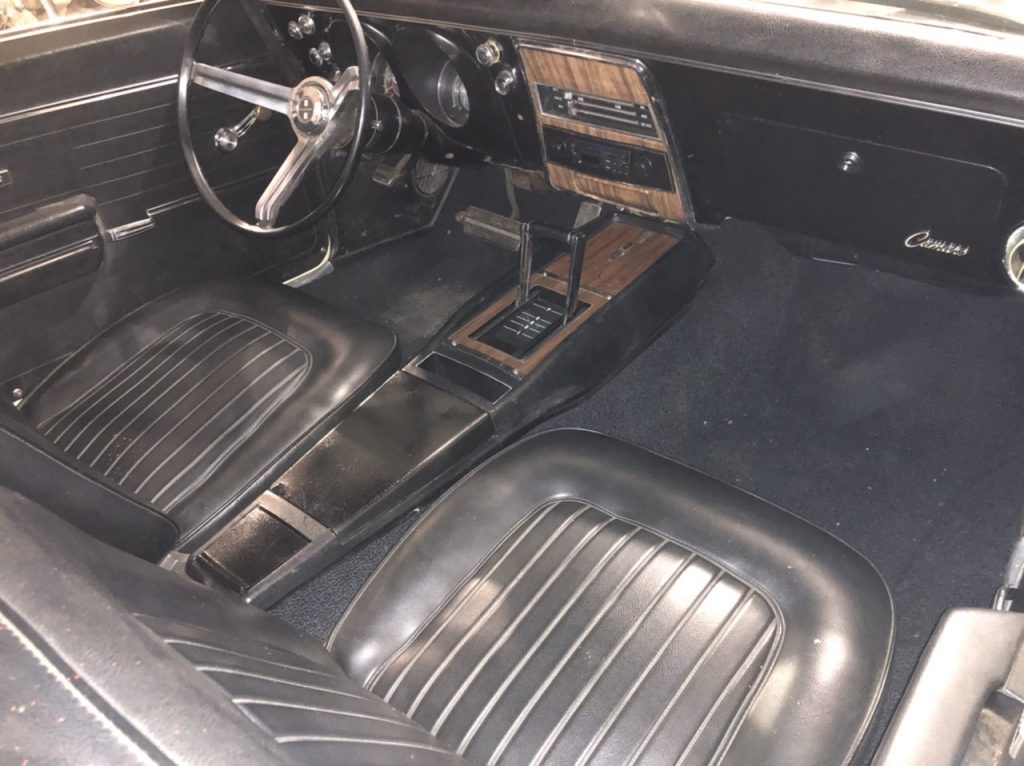
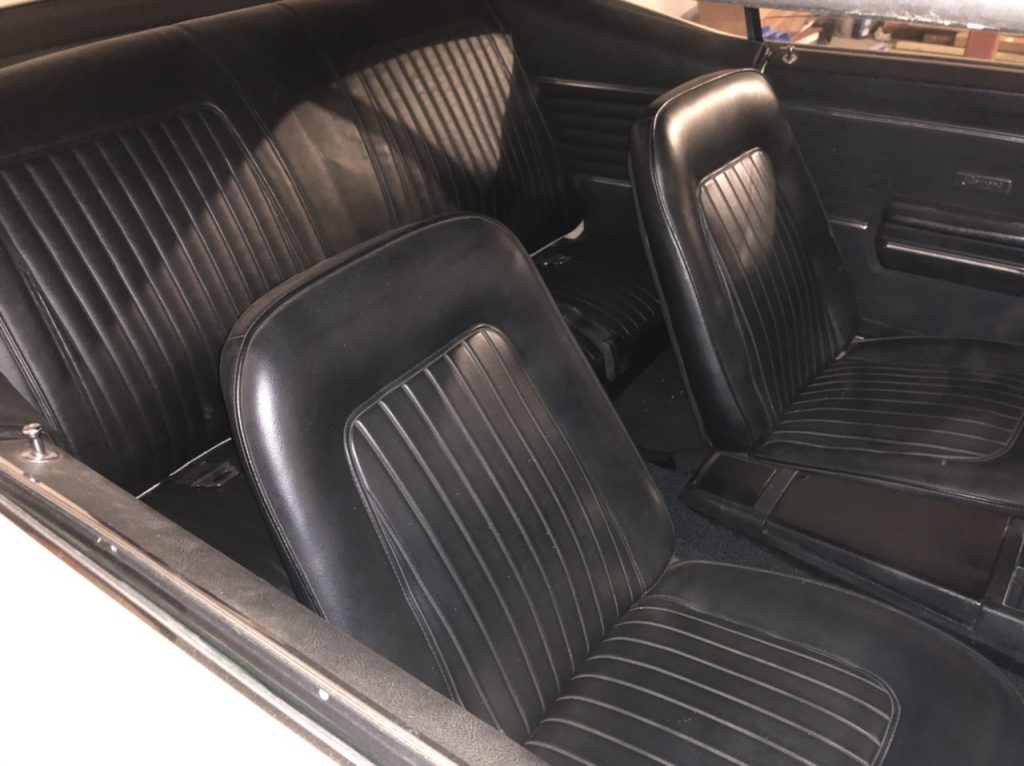
It took me 21 months to go from this:


To this:


I managed to get the console installed finally…
There was a bit of last minute drama when the dashboard ashtray did not fit correctly, and the screws for the bracket are much much MUCH easier to get to with the console out, so I decided to spent a little time on that.
Somehow the previous owner had managed to screw up the opening so it was rounded on the sides. I am still puzzled about why this was done. I could believe the radio hole getting cut out to a larger rectangle, but that section of the dash is intact. Why (and how?) they rounded the sides of the ashtray opening I will never understand.
I took the face plate off of the dash, and poked at it a bit, enough to get the bracket to aim the ashtray low enough to actually seat into the opening.
I also did some caveman hammer-and-dolly work on the trim plate to get that sort of back into shape again. Someday I’ll get the ashtray fitting better and I’ll spring for a new trim plate, but it’s good enough for now.
I buttoned it all back up, and…it’s passable. I wasn’t planning on using the ashtray anyway.
With that last hurdle out of the way, a little paint, new rubber gaskets on the shift plate, and…bolted into the car at last.
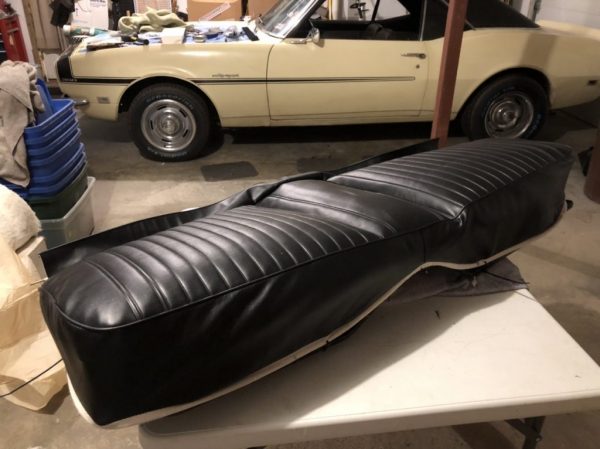
I got the seat base edges tacked down with zipties…and then decided I didn’t like the way it was fitting. Note the white shows on the edges on the front and sides. Too far back on the frame. So, I took it apart again.
The edges were not landing where they needed to, and it was crooked. Since the center section listing wire gets attached first, you can’t shift it afterwards.
I started over by ziptieing the middle of the listing wire to the center back attachment point of the frame. This is about 2” in from the back edge of the frame. That leaves enough room for the cover flap to wrap around the edge about even with the inner edge of the frame
From there, I Hinged the cover back and put batting in for the center section between the listing wires. I ziptied the center wires to the springs, then replaced them with hogrings.
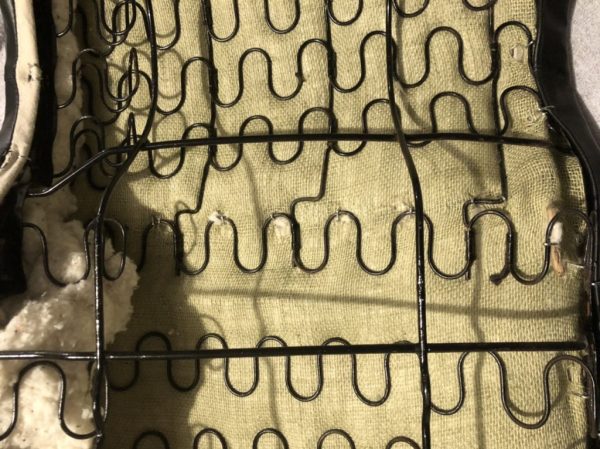
Then I moved on to filling each side section and attaching them with zipties.
…and then replaced the zipties with hogrings, and attached the rear edge flap on the cover around the rear edge of the frame.
The seat bottom looks fine, but the seat back looks terrible. It’s showing the white backing, and it looks wrinkled. I’m taking it out again to redo that soon.