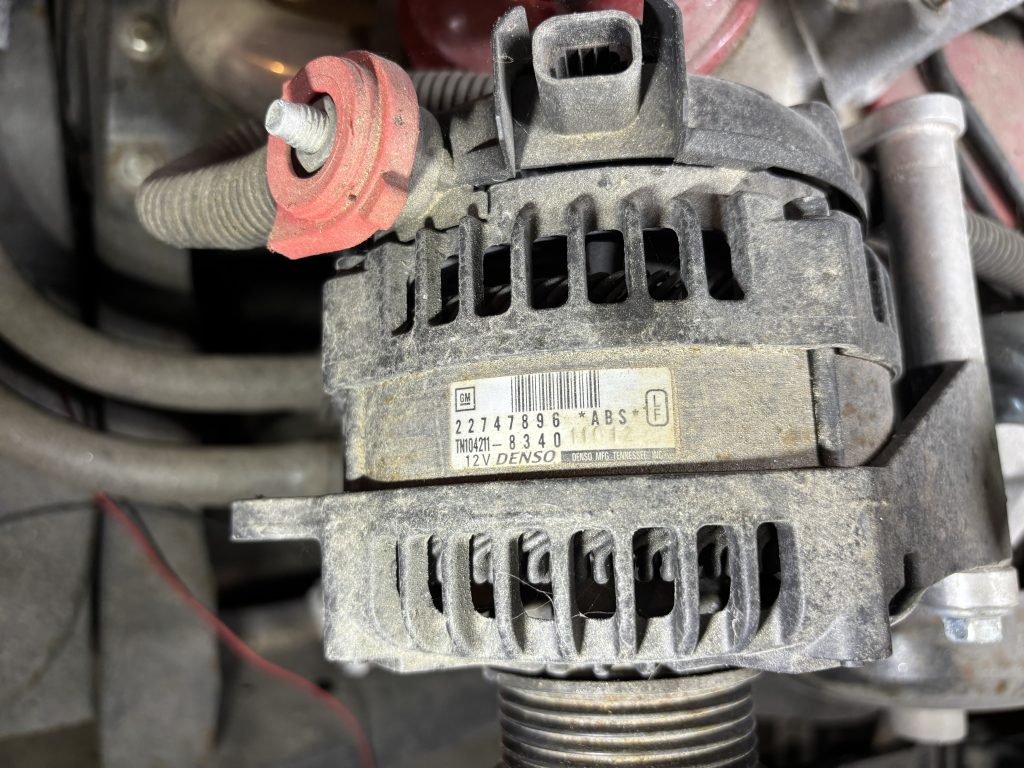
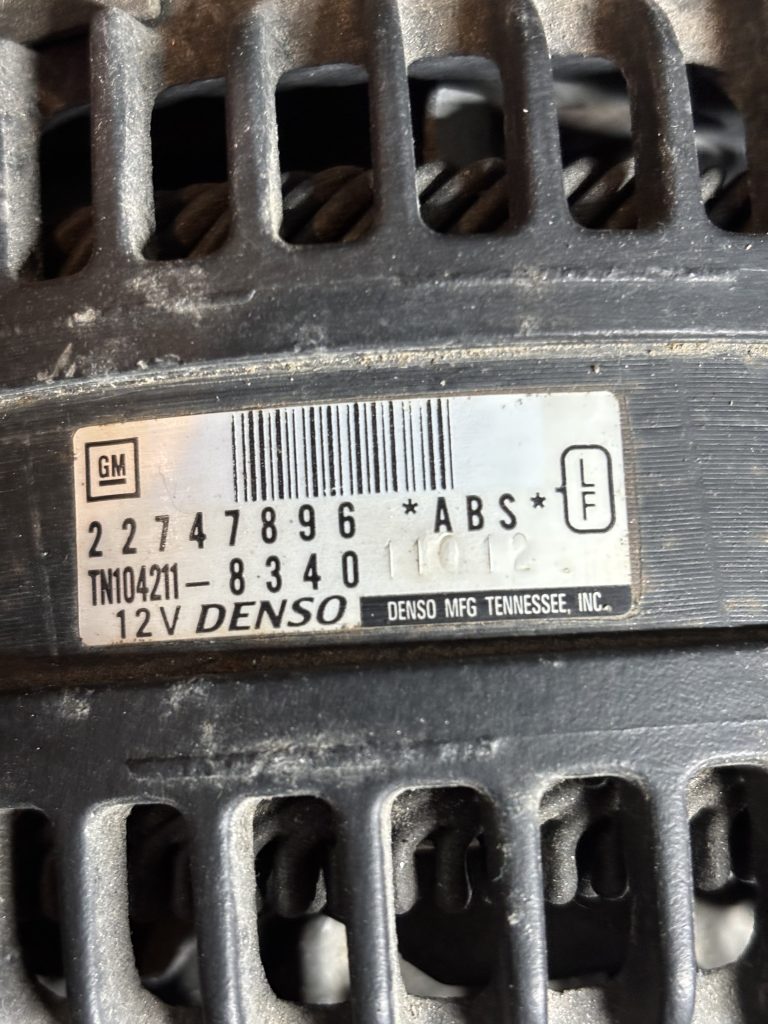
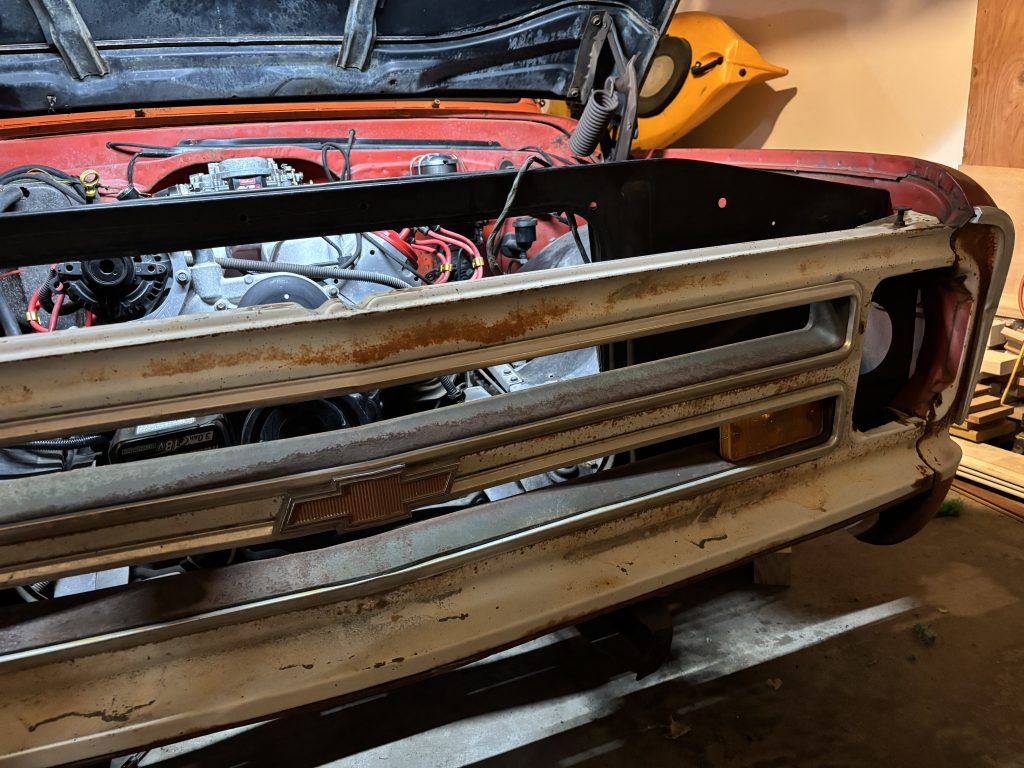
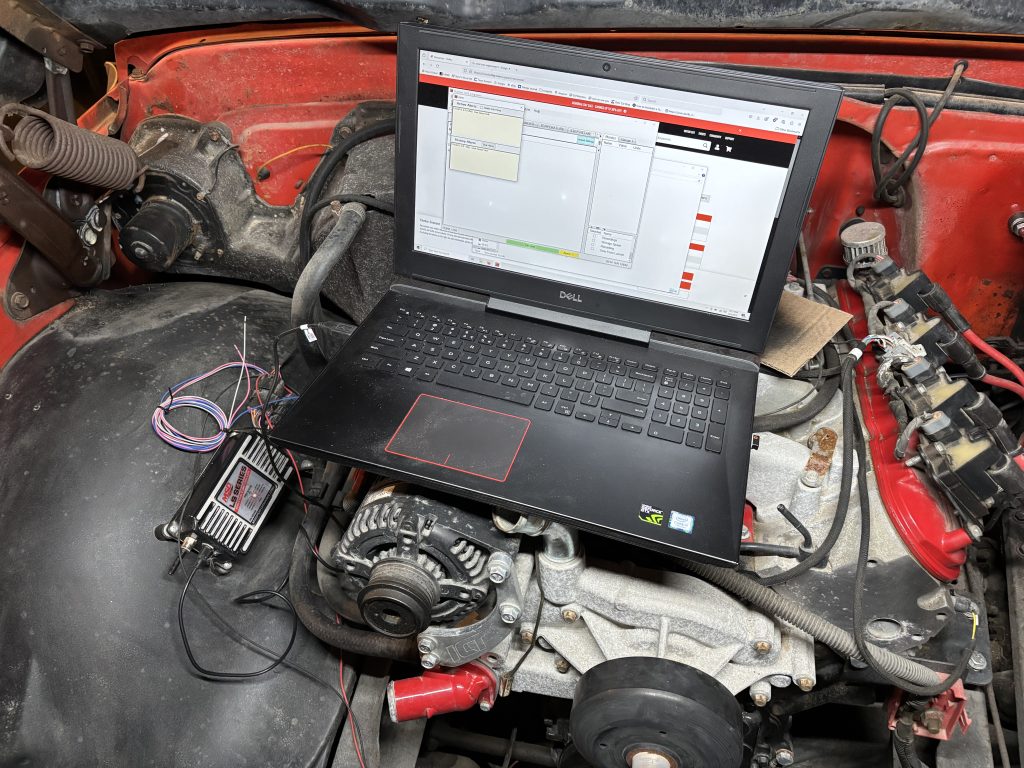
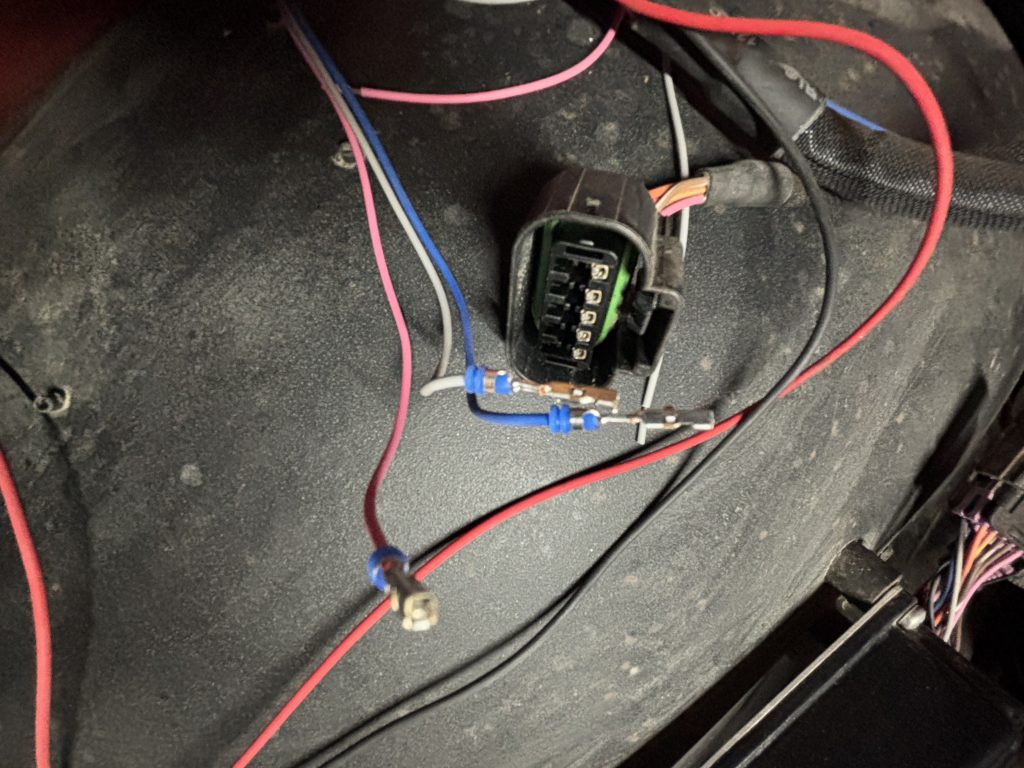
Posted on Leave a comment

Grille and headlights

The grille and radiator support was removed to get room to install the new engine. All of the parts came with the truck, they just needed to be reassembled. I had put the grille and radiator support on temporarily, but this time I put all the bolts back in, and made sure everything was aligned properly. The final touch was installing the hood latch. The bumper still needs to be installed.

Posted on Leave a comment

Fuel tank

The previous owner disconnected the stock tank behind the seat, and installed a fuel cell at the rear of the frame, where the spare tire was originally. This is a generic tank, probably 15 gallons, with tabs on the lower corners to mount it. There is all-thread holding the tank up to the frame crossmembers. This was done before the PO purchased a bed for the truck, so everything was added and plumbed before the bed was put on the truck. This created a problem because there was no access to the fill cap with the bed installed on the truck.

I cut a hole in the bed (which is horribly rusty, so it was no big deal to have a hole there) to find that the crossmember for the bed was blocking access to the fill cap. Luckily (?) the bed is resting on the nuts holding the fill assembly on the tank, which gave it just barely enough room for the cap to be removed. This has to be fixed at some point, but I can work with it this way for now.

I drained the old fuel in the tank, which had a bunch of jelly and water in it. I also flushed out the fuel line from the tank to the carburetor

Posted on Leave a comment

New plugs

The plugs that were installed originally were NGK BR7EF. Shopping online showed it was cheaper for me to get a set of 10 (for a Jaguar?) than a set of 8. I re-gapped the plugs to .040 and installed them.

Posted on Leave a comment

Engine wakeup

Before I tried to start the engine, there are a few things I wanted to check. I pulled all the spark plugs out, they looked dark and a little oily, but not terrible.

While the plugs were out, I turned the crank pulley by hand to verify that everything turned freely. The oil on the dipstick looked good enough, with no signs of water. Then I finished the heavy wiring to the starter, and cranked the engine over to make sure everything sounded OK. That went well.

I also hooked an ohmmeter up to the oil pressure sender to make sure there was decent pressure.

Posted on Leave a comment

Spark control

This engine originally had a computer-controlled EFI fuel system on it, which also controlled the ignition timing. The engine now has an Edelbrock intake and AVS2 carburetor on it, and the original computer stuff is long gone. There is an MSD ignition box connected that controls the spark firing and timing. I wasn’t sure if this was still operational, so I hooked up the power and plugged in a notebook computer. MSD supplies an application for the notebook that lets you configure the MSD box and see any error codes that are stored. Luckily the MSD box seemed to be healthy and ready to go.

As part of the wiring prep, I removed 3 control wires I am not going to be using, tach, and launch control rev limiter.

Posted on

Carburetor

The engine originally had computer controlled fuel injection. The PO replaced this with an Edelbrock intake, and an AVS2 carburetor. By his description, he put fuel in the tank about 5 years ago, and got the engine started. I’m pretty sure that the carb and intake was brand new at that time, along with the fuel tank, fuel pump, and the fuel lines.

Unfortunately, it looks like the fuel sat for those 5 years. There was a bunch of goo in the carburetor, which used to be fuel.

I took the carb apart and cleaned it out. Not a rebuild, but a good cleaning. I may need to do an actual rebuild, but I think this will work for now.

Posted on

Electrical

I wanted to see what shape the electrical systyem was in, so I hooked up a small 12v power supply. That let me test a few things out without risking a meltdown with the big amperage of the battery connected. Luckily everything seemed to go without incident. There’s definitely work to do getting all the lights working, but I was very pleased with the initial results. Some of the dash backlighting works, the trouble lights work, and the cab interior light works. The turn signal indicators light up, but they do not blink. That’s probably because the rear harness to the taillights is not connected. Even the windshield wipers and the washer pump are working. The pump needs to be rebuilt as all the rubber seals have deteriorated.

I cleaned up the battery tray and mounted that, and also installed a relay enclosure that will be used to run the ignition box, electric cooling fans, and the fuel pump.

Posted on Leave a comment

Transmission and clutch

From some searching on the internet, the transmission appears to be an NV3500. This has a hydraulic clutch. The master cylinder is mounted on the firewall, the slave is integral to the throwout bearing inside the transmission. This is the setup for an early model of the transmission. Later models had an external slave cylinder that used a lever to move the throwout bearing as a traditional mechanical linkage would. The benefit of the later model is that the slave can be accessed and replaced without removing the transmission, and the master+line+slave can be bench-bled before installation. This earlier style requires removing the transmission in order to get to the throwout bearing.

There is supposed to be a ‘quick disconnect’ that allows the line to be removed from the fitting on the throwout bearing. The picture above shows a plastic piece that I haven’t found described anywhere. It seems like it should be able to be removed to access the disconnect, but I haven’t figured that out yet.

The previous owner moved the master cylinder from the donor vehicle (1998? GMC pickup?) along with the engine and transmission. They connected the existing clutch pedal to the hydraulic master using a long bolt through a hole drilled in the plastic plunger of the master. Aside from the problem of the carriage bolt eventually breaking the plastic plunger, the connection is very low on the pedal, the leverage is poor, and the clutch is very very hard to depress.

I purchased a proper retrofit from Speedway Motors that includes a plate to reinforce the firewall, a new clutch master cylinder, and some better hardware for attaching it to the original pedal. This puts the connection much closer to the pedal pivot, and provides much better mechanical advantage. The problem is that the line between the slave and the new master needs to be replaced, which means figuring out a way to disconnect it from the slave, and then bleeding the air out of it when the new line is connected.

Posted on Leave a comment

Brakes – part 2

I ordered new wheel cylinders, brake shoes, and a hardware kit for the rear brakes.

Pulling the old pieces off was straightforward.

The first problem was getting the old wheel cylinders off. The bolts were siezed solid, and I could not get them off. I ended up having to drill the bolts out and chisel the heads off. There wasn’t enough room to get the drill in the right position, so I used a 90* adapter, and a bit of contortion to get the job done.

I cleaned and painted the old parts that were to be reused, and then it was a simple matter of reassembly.

had replaced the hard line on one side, the line on the other side was not budging, so I cut it off and replaced it. I bled the brakes with the power bleeder, and got a good brake pedal.