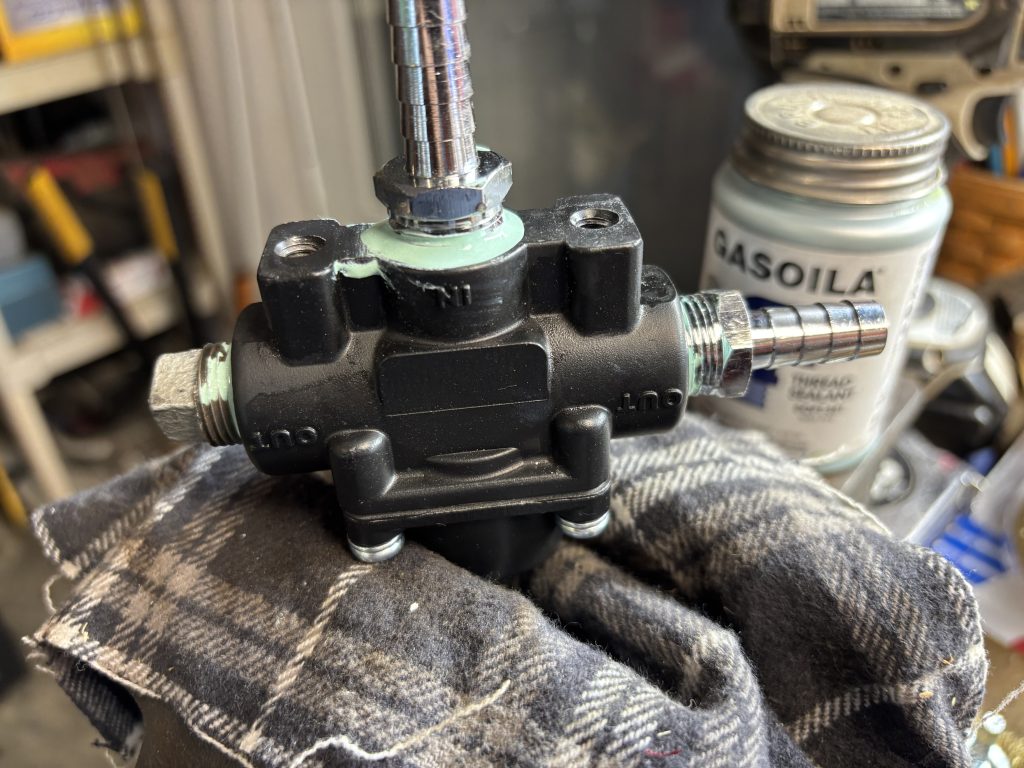
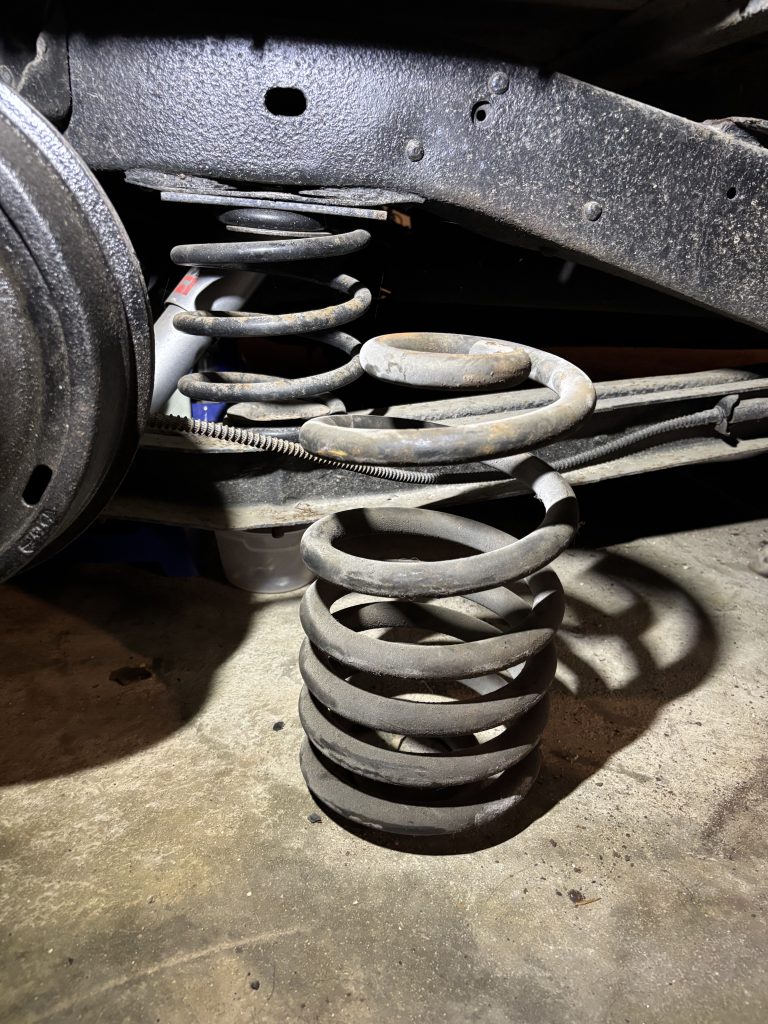
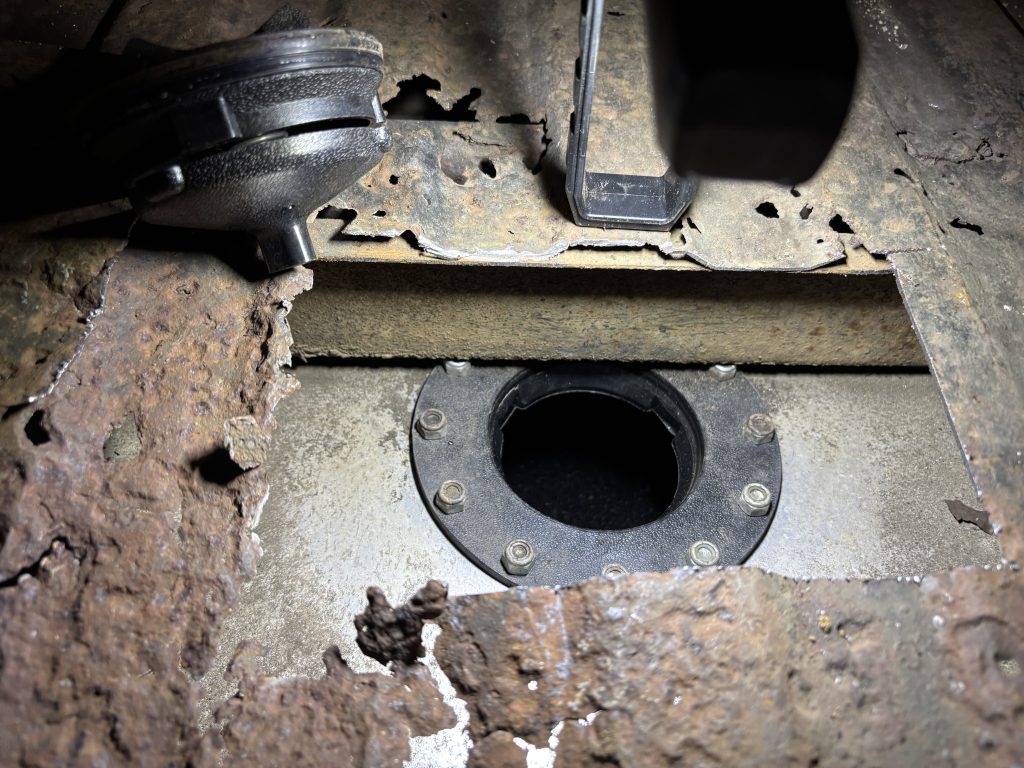
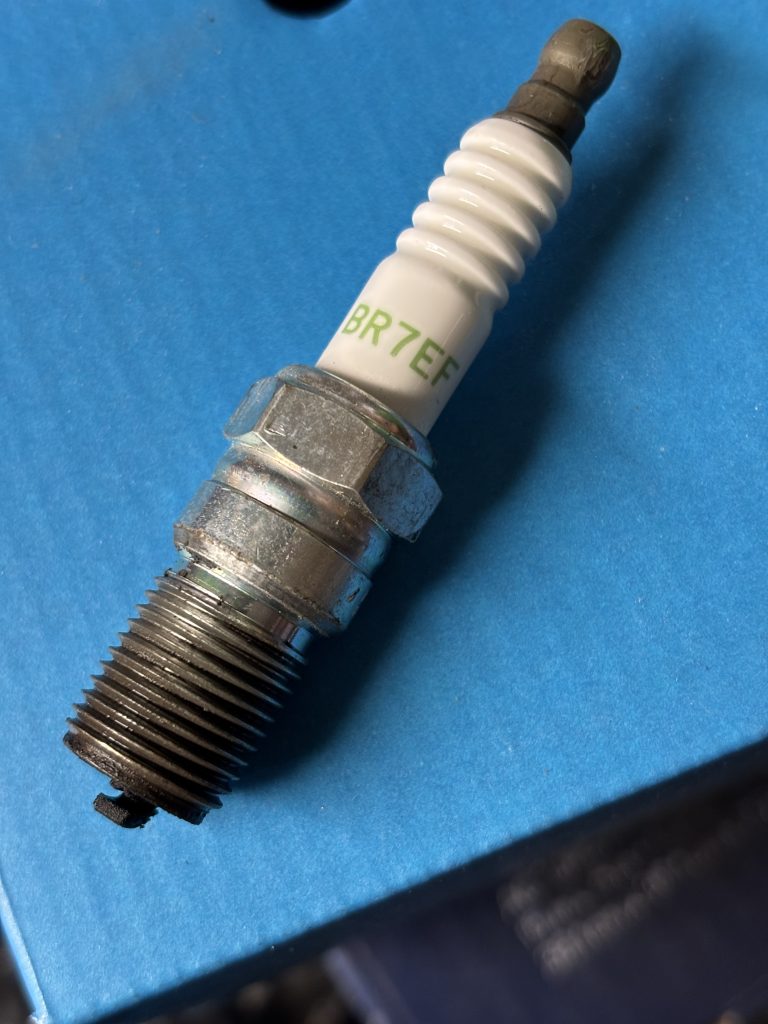
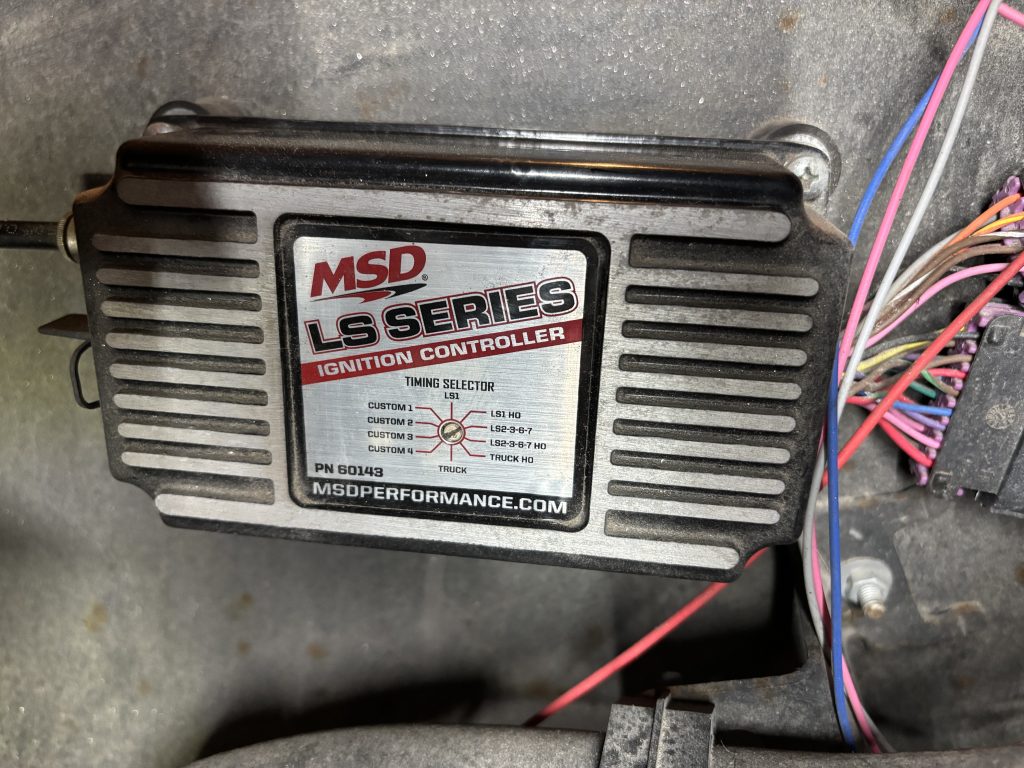
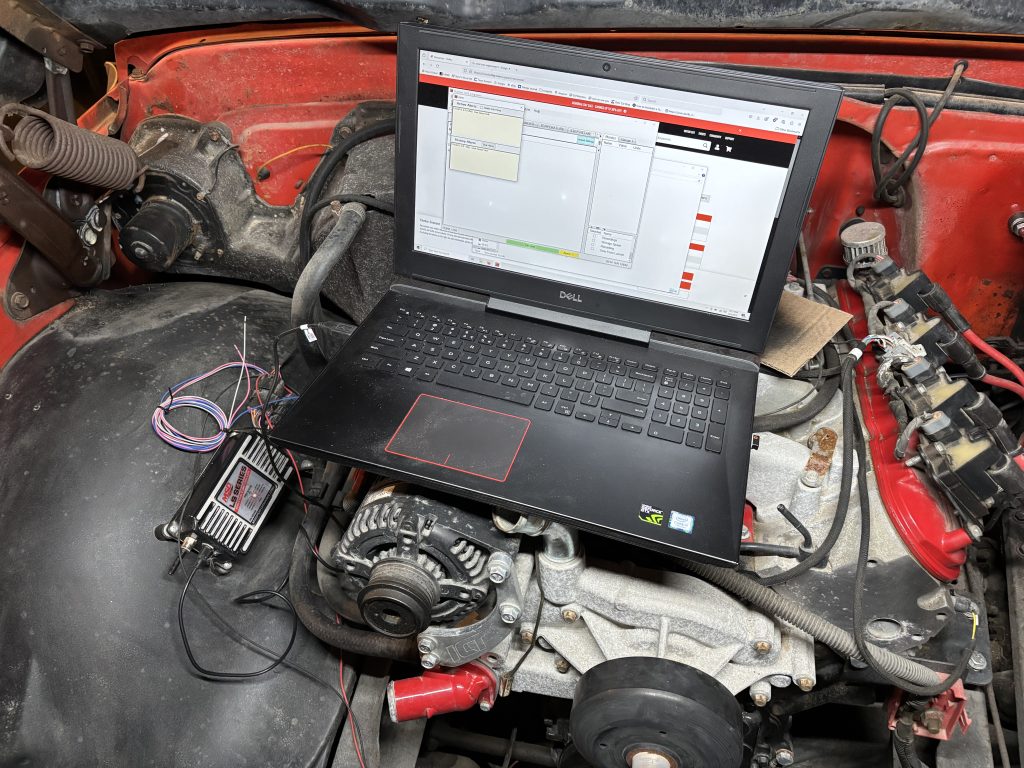
My parts order arrived, so I was able to install the fuel regulator. I installed it on the right hand inner fender, which is competing for space with the MSD box. I am going to try to move the MSD to the left inner fender, the wires look like they will be long enough. For now, it works well enough to try.
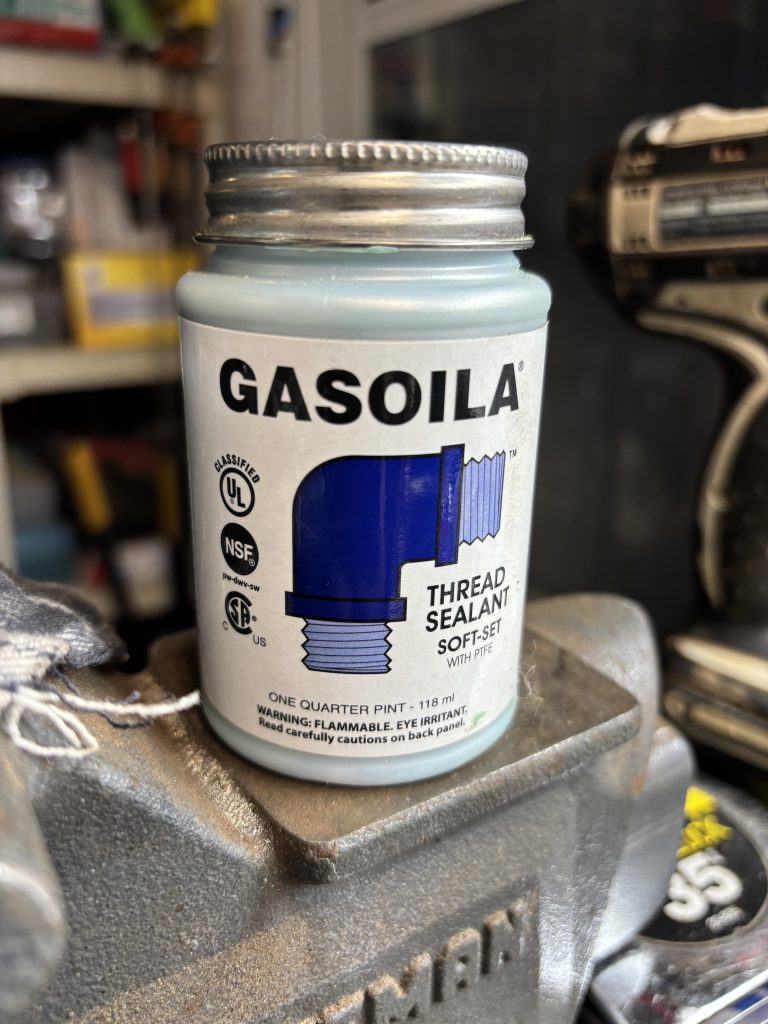
After hooking everything up, and adjusting the pressure down to about 6 PSI, the engine started right up and ran well. Unfortunately, the fittings were weeping fuel from the regulator. I had tried teflon tape on them, but it wasn’t sealing well enough. After a few retries with the tape, I decided to use Gasoila, a thread sealer that is specifically made for use on pipe threads for gasoline and propane. This has to cure though, so it’s sitting on the workbench now.