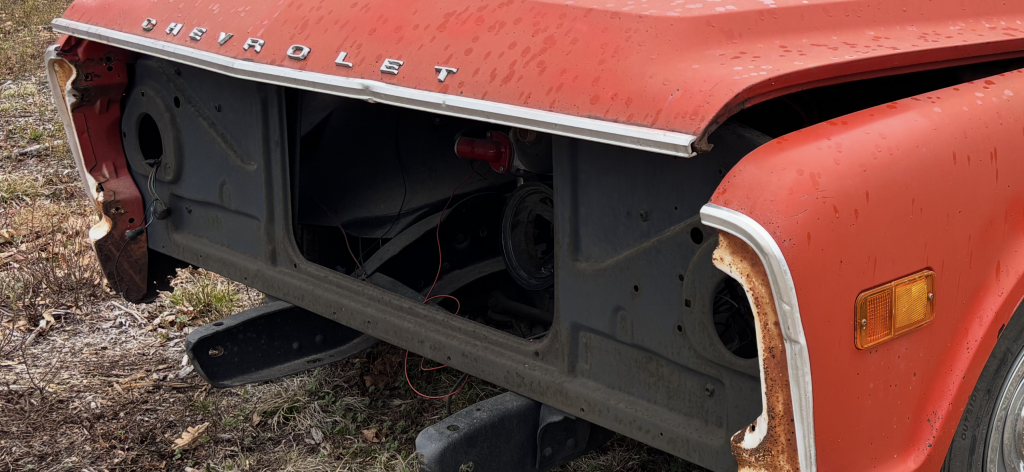
The weather here is getting cold, and although the heater is hooked up, the car wasn’t putting out any significant heat to the defroster or cabin. I took it for a drive a few days ago, and noticed this on the garage floor:

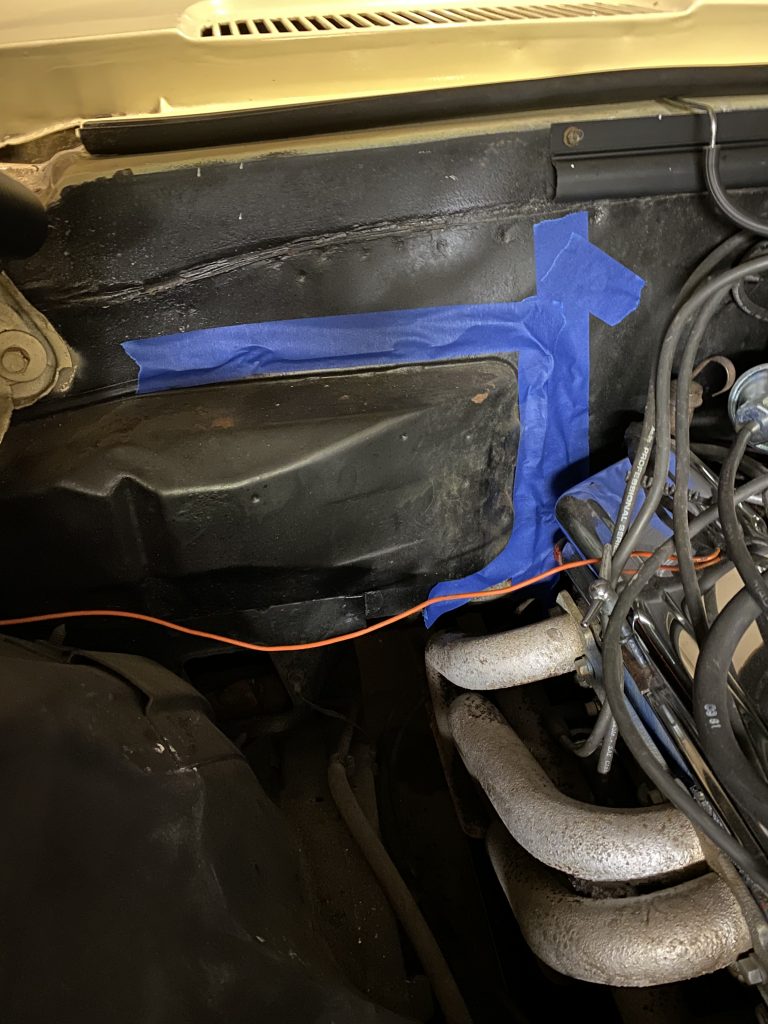
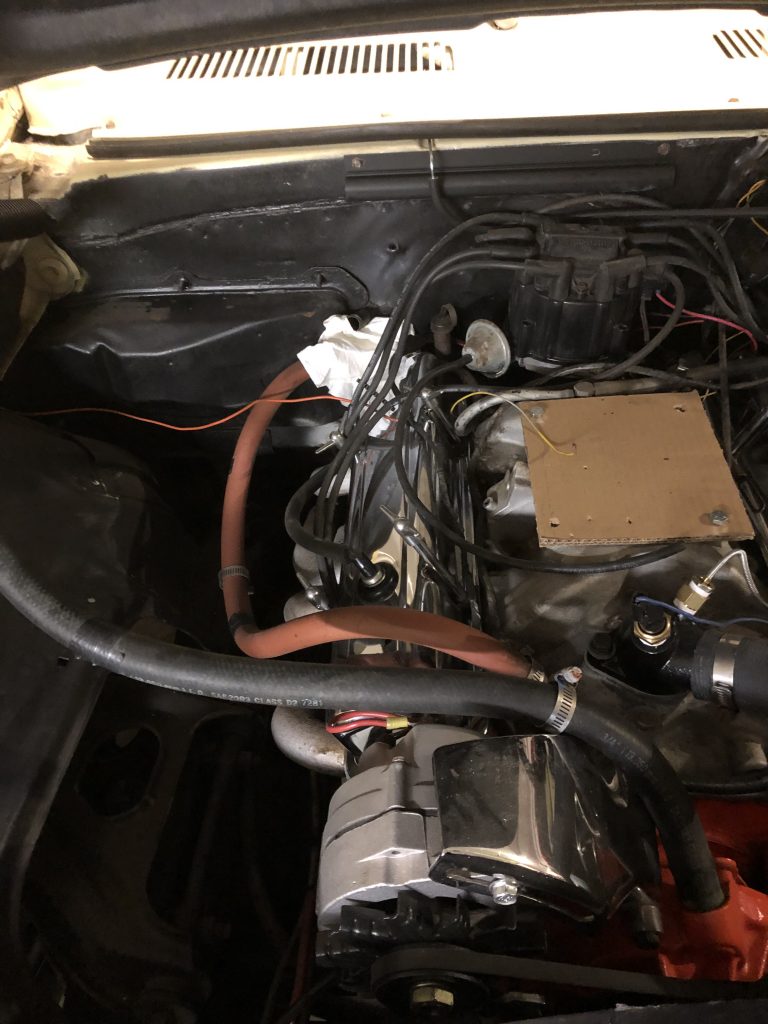
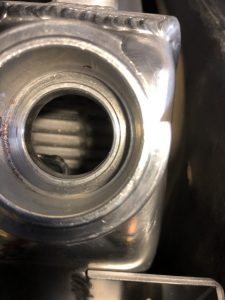
Maybe it’s a loose hose connection inside the engine compartment?
looks damp, but…looking inside the car…

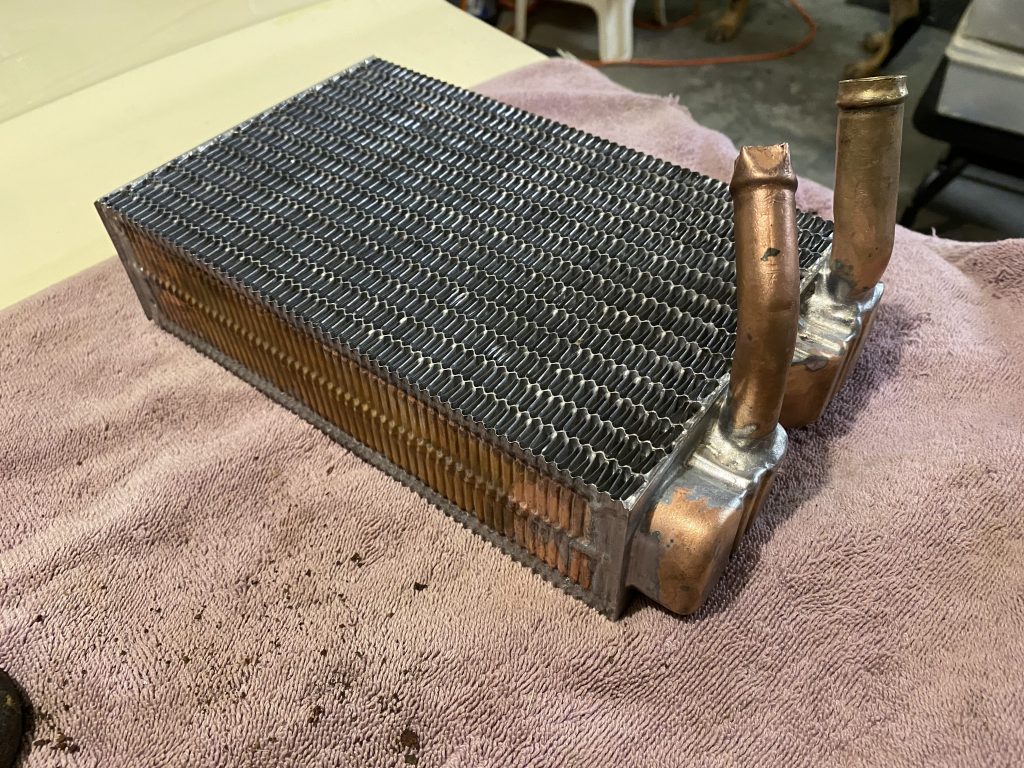
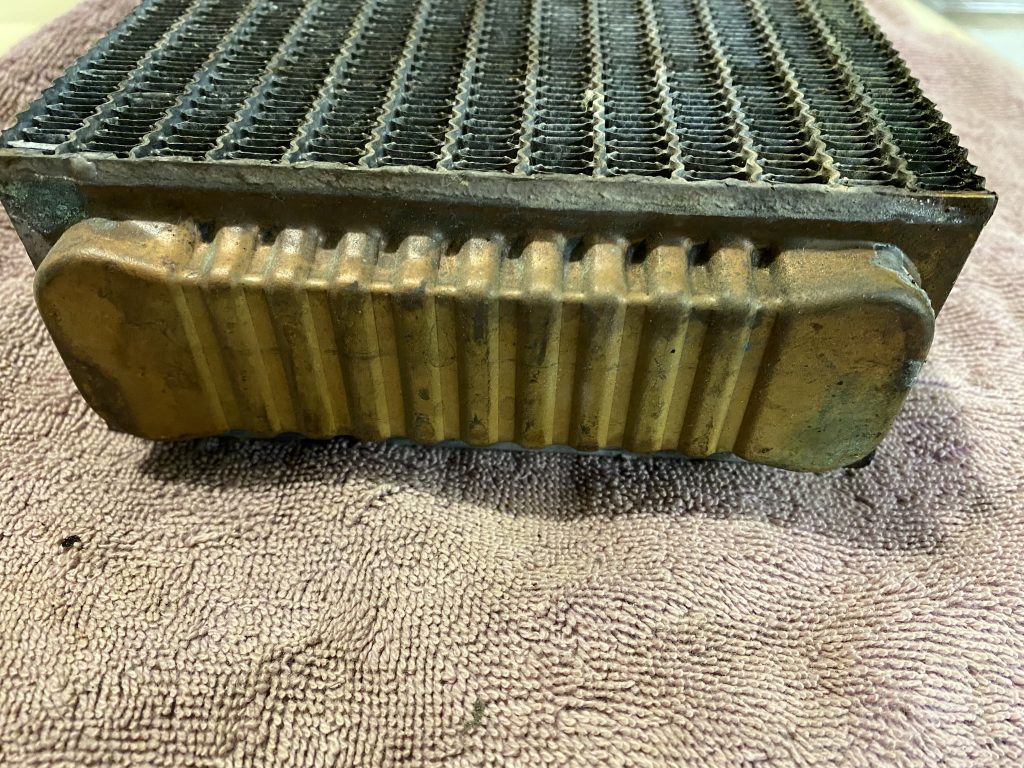
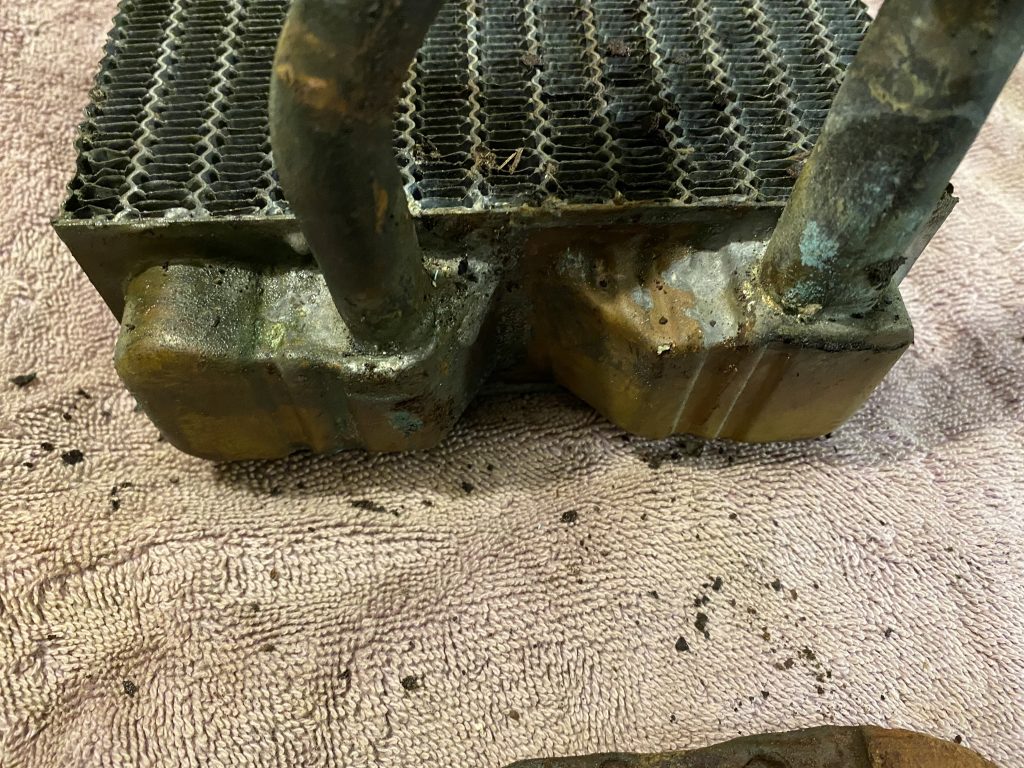
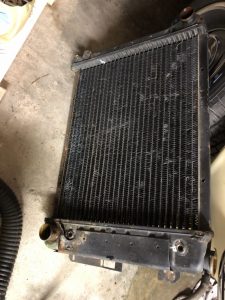
The core is leaking…no question about it.
I really hate plumbing and liquids in cars. I always seem to make a mess no matter how careful I am. I was determined to NOT make a mess this time, so I took some precautions. It ended up working out really well!
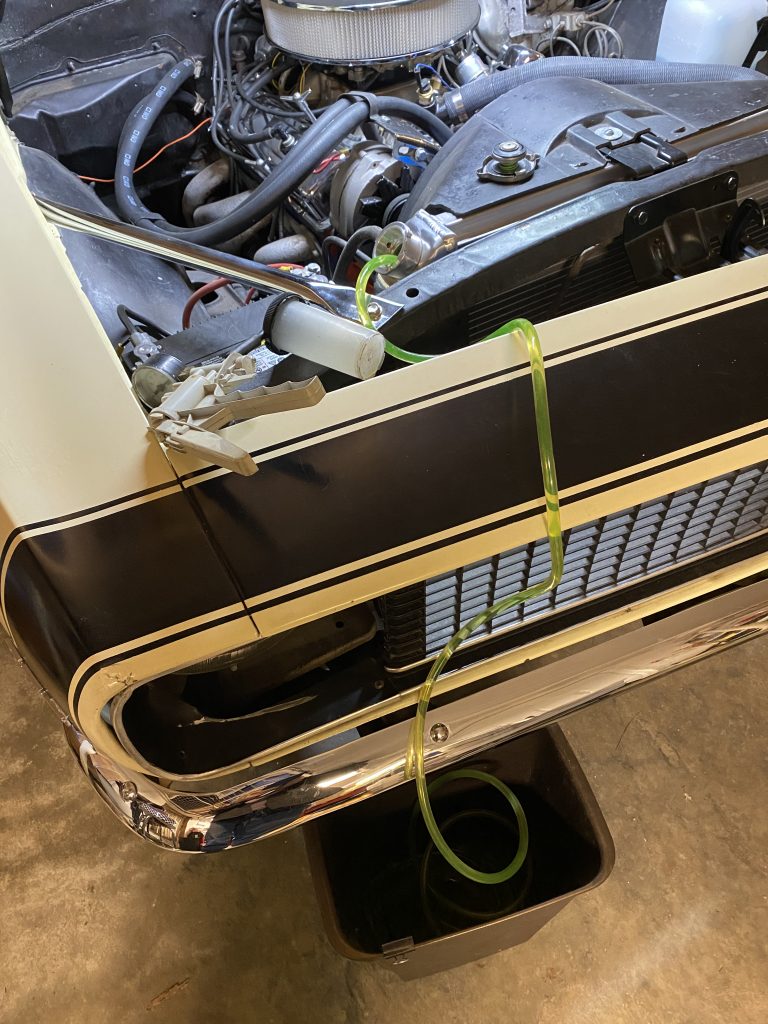
First step: drain the radiator. I threaded a piece of vinyl hose down to the bottom of the radiator, and used my mityvac to start a siphon into a trash can.
When I replaced the heater hoses this summer, it made a mess even though I was sure I had drained all the coolant out. I decide to see if I could get more coolant out of the heater core before disconnected the hoses there.
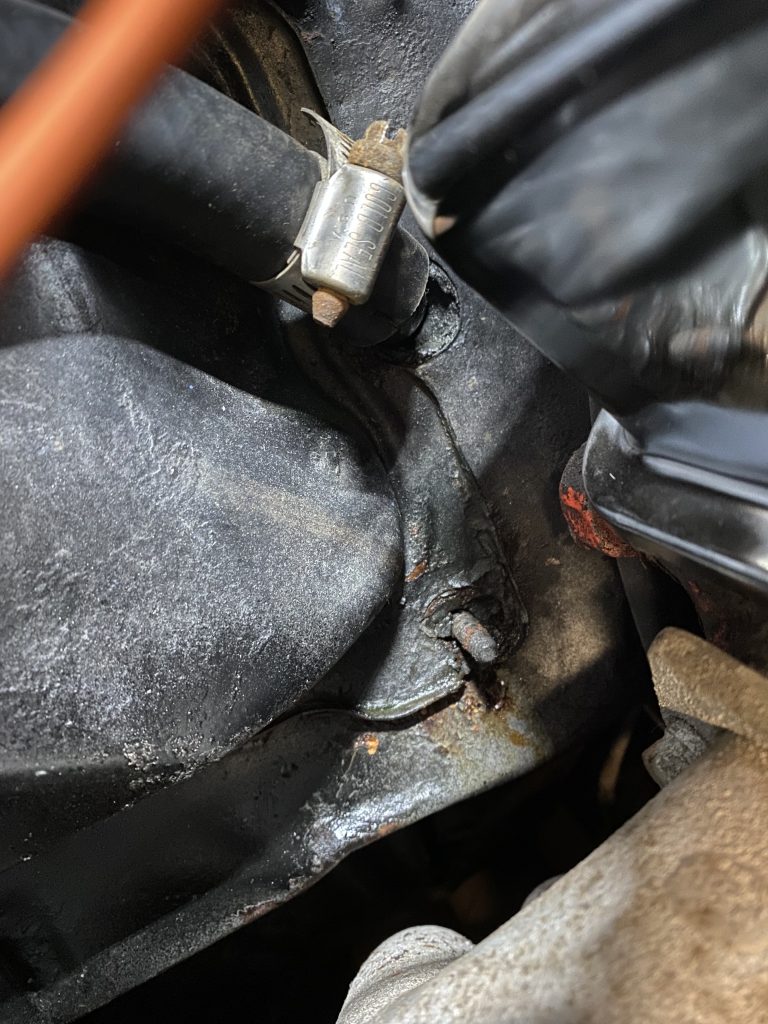
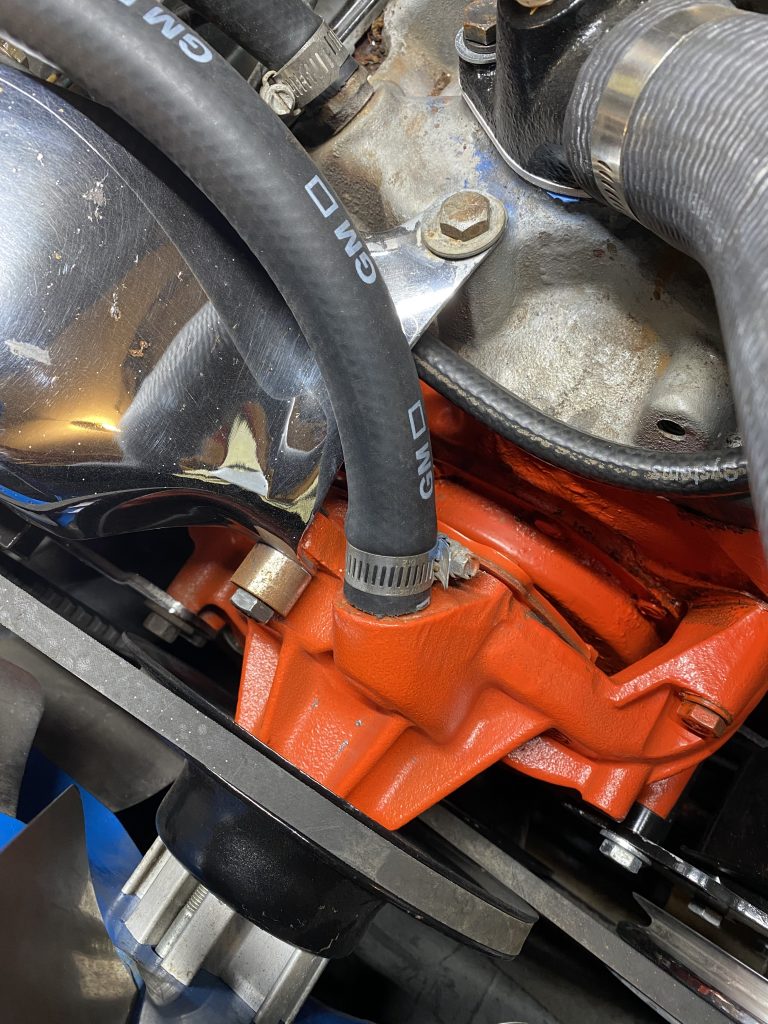
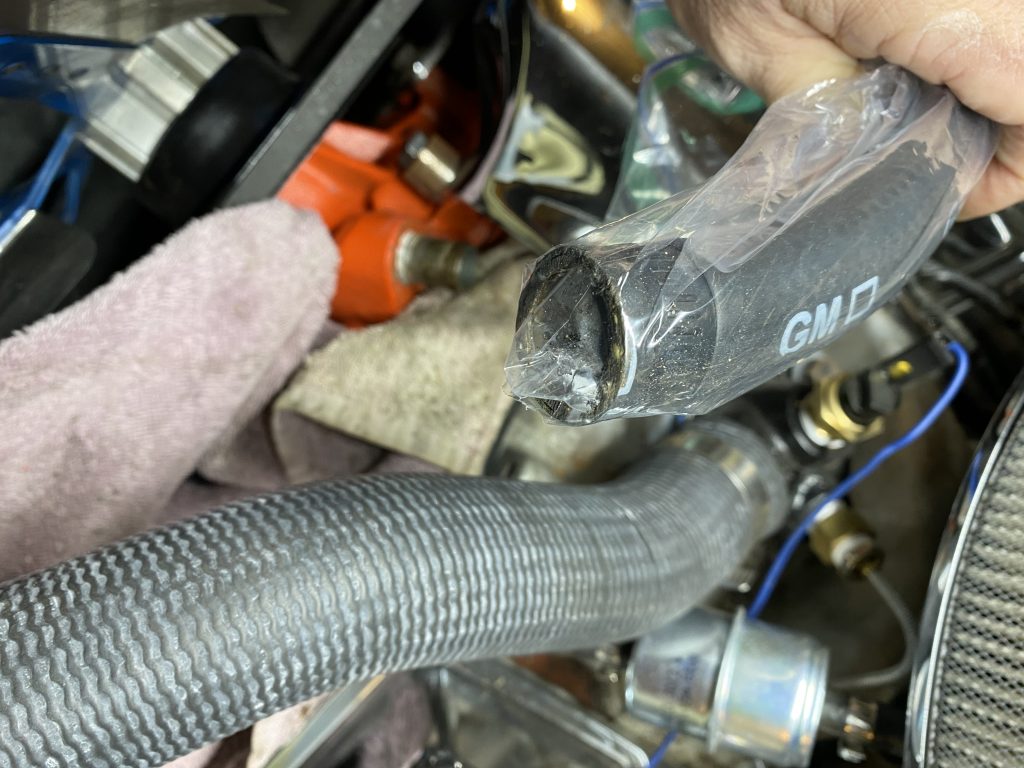
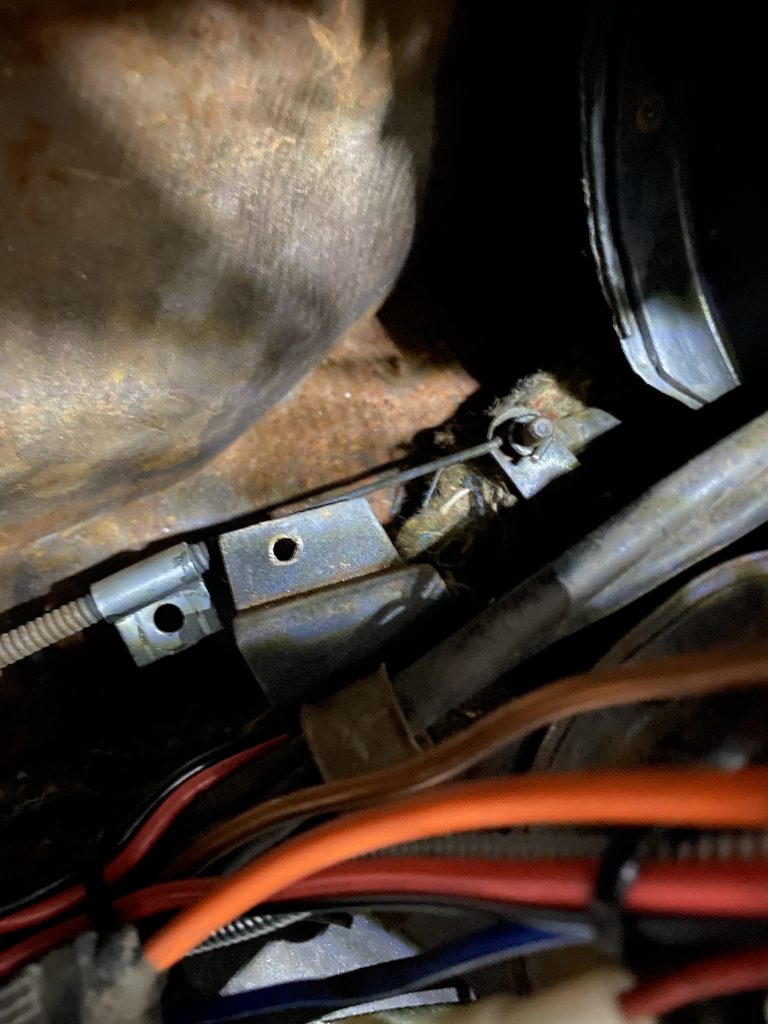
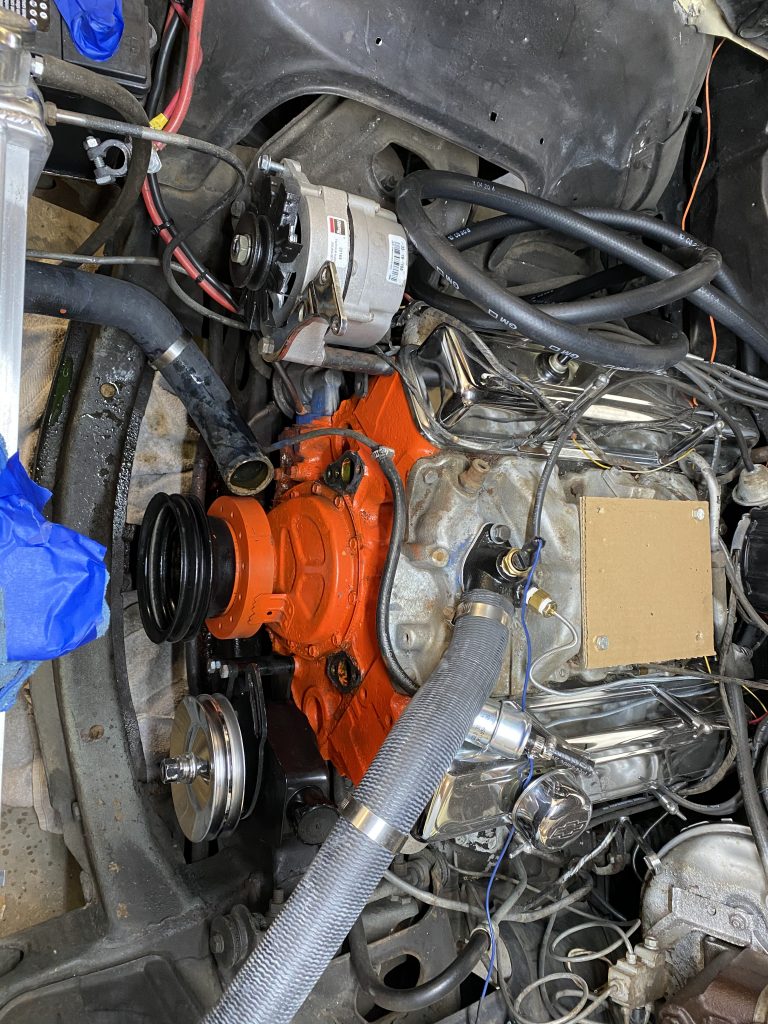
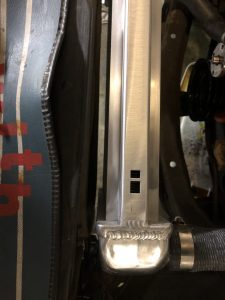
Once it had drained below the level of the water pump, I disconnected the heater hose there.
…and clipped the corner off of a plastic bag so I could blow through it without getting dirt in my mouth.
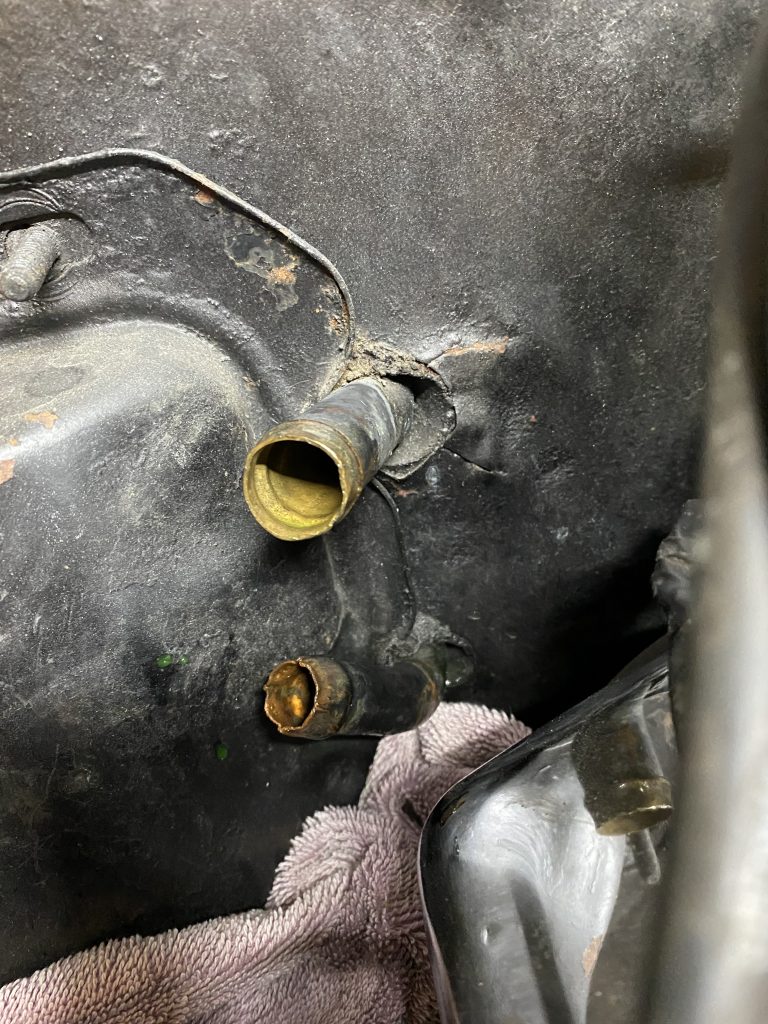
That forced most of the liquid out of the heater core and into the lower hose…which drained back into the engine block, and was siphoned out with the rest of the coolant in the radiator. After the coolant was finished draining, I removed the heater hoses from the heater core pipes, and…no mess. Nothing came out when I disconnected the hoses.
To be extra sure, I put the vinyl hose into the lower pipe, and used the mityvac to suction out any coolant I could get. I didn’t end up getting anything out, which means forcing the coolant out worked great!
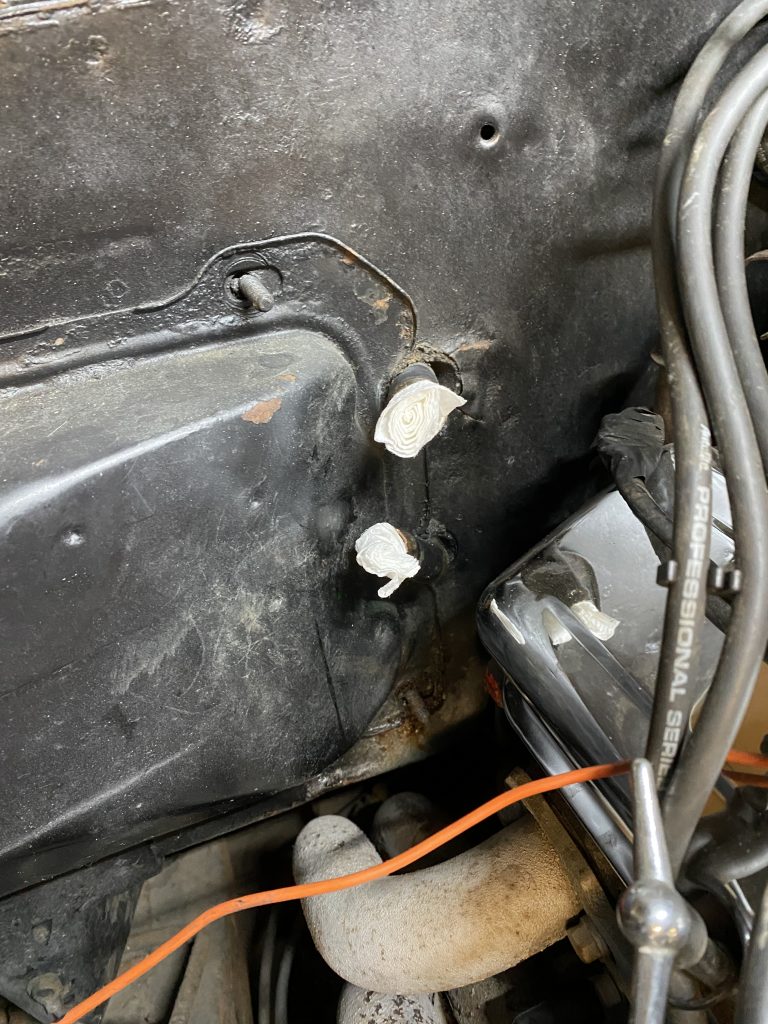
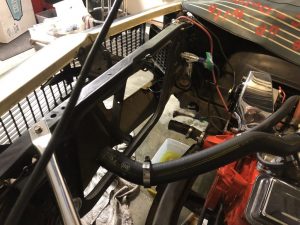
I knew the next step would involve tipping the heater core out to get the pipes out from the firewall holes, and I didn’t want to spill anything, so I rolled up some paper towels and threaded them into the heater core pipes to at least slow down anything that was going to come out.
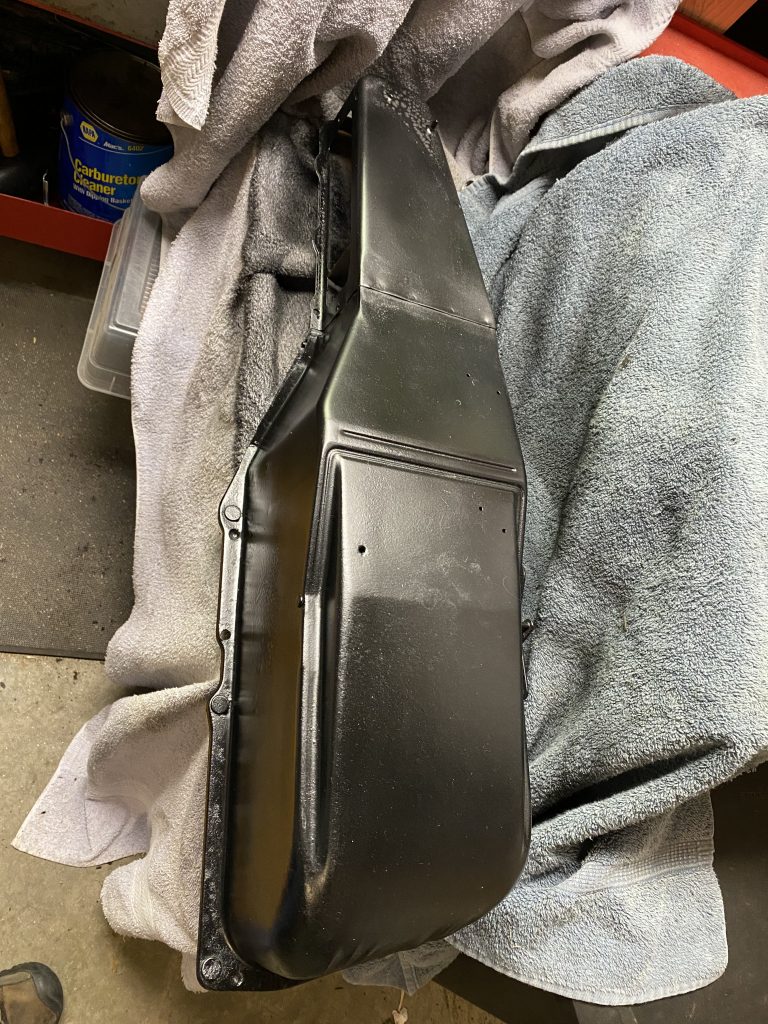
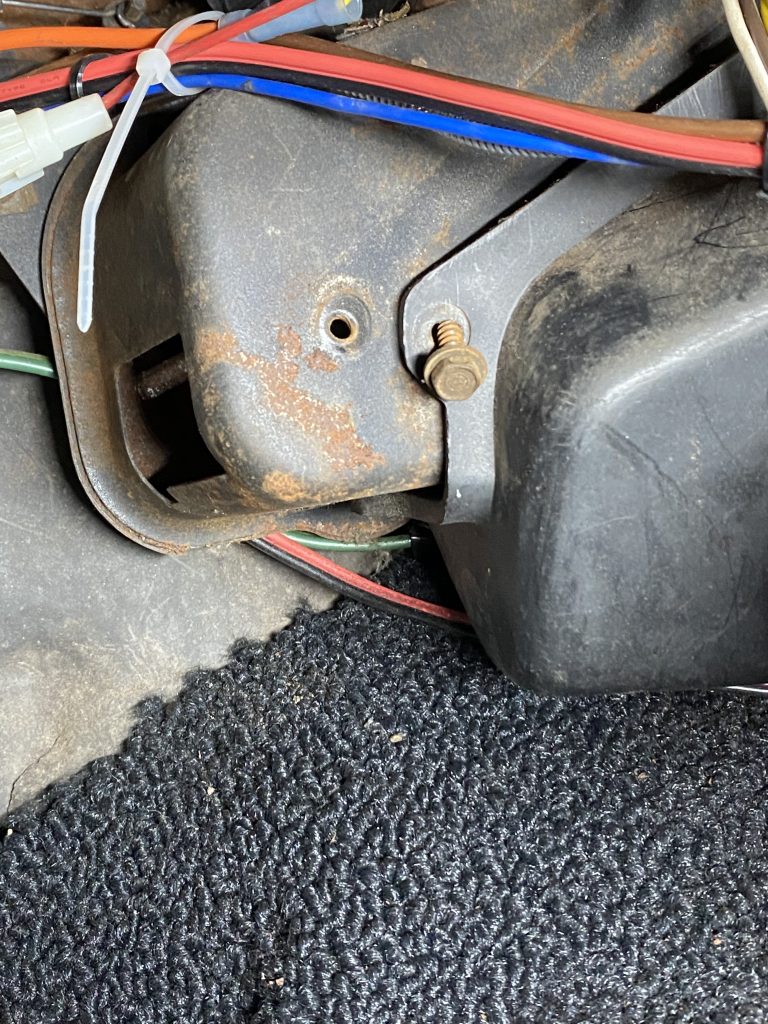
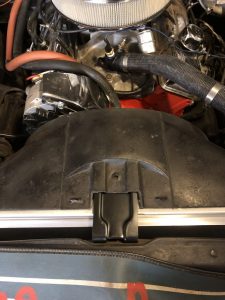
The next step is taking off the 5 speed nuts holding the heater box onto the firewall. Good news/bad news, there were only two nuts installed on the car, so that went a lot easier than it should have.
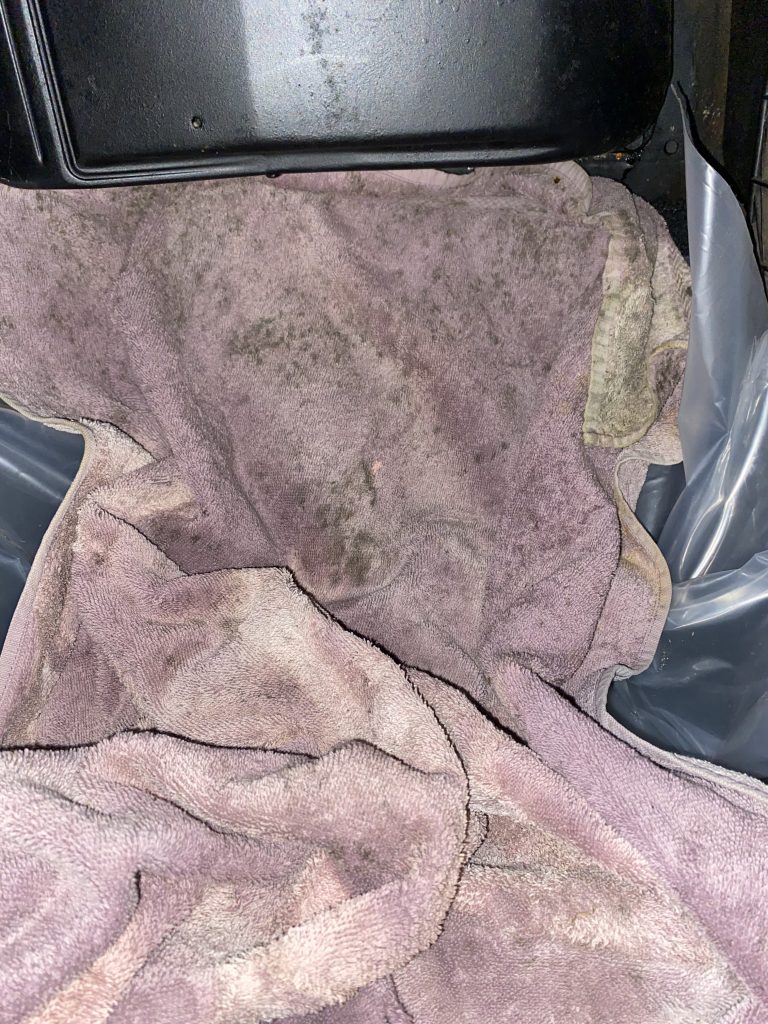
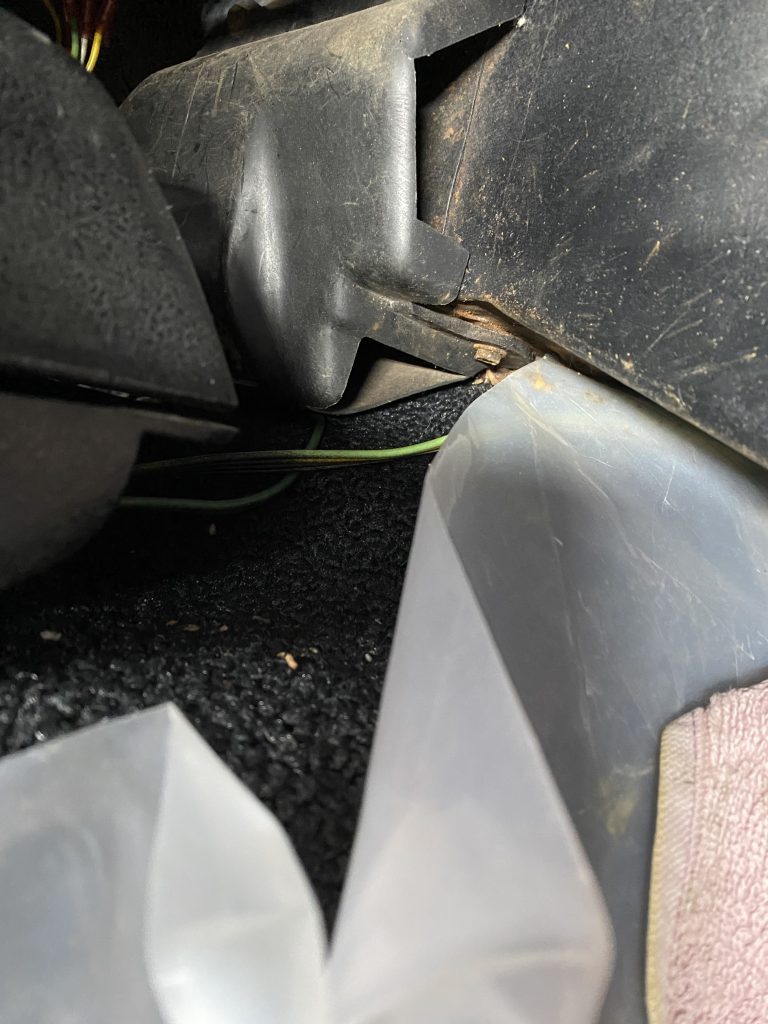
Moving to the interior, I put down a big sheet of plastic over the carpet, and put an old towel on top of that to soak up any spills.
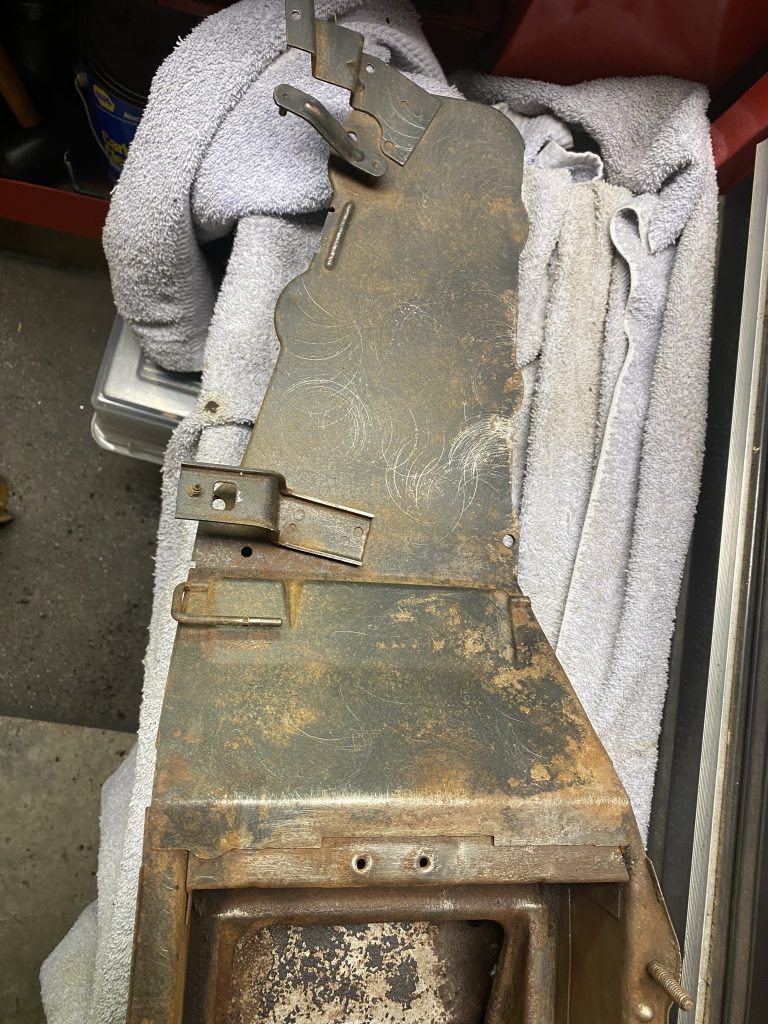
Getting the housing out was not simple. I did not take out the glovebox, I did not take out the console, I did not disassemble the center dash section. All three of these would have made the job easier, but so far it isn’t 100% necessary. I may need to do some or all of those things for reassembly, but I don’t know yet.
Things that can and should be disconnected:
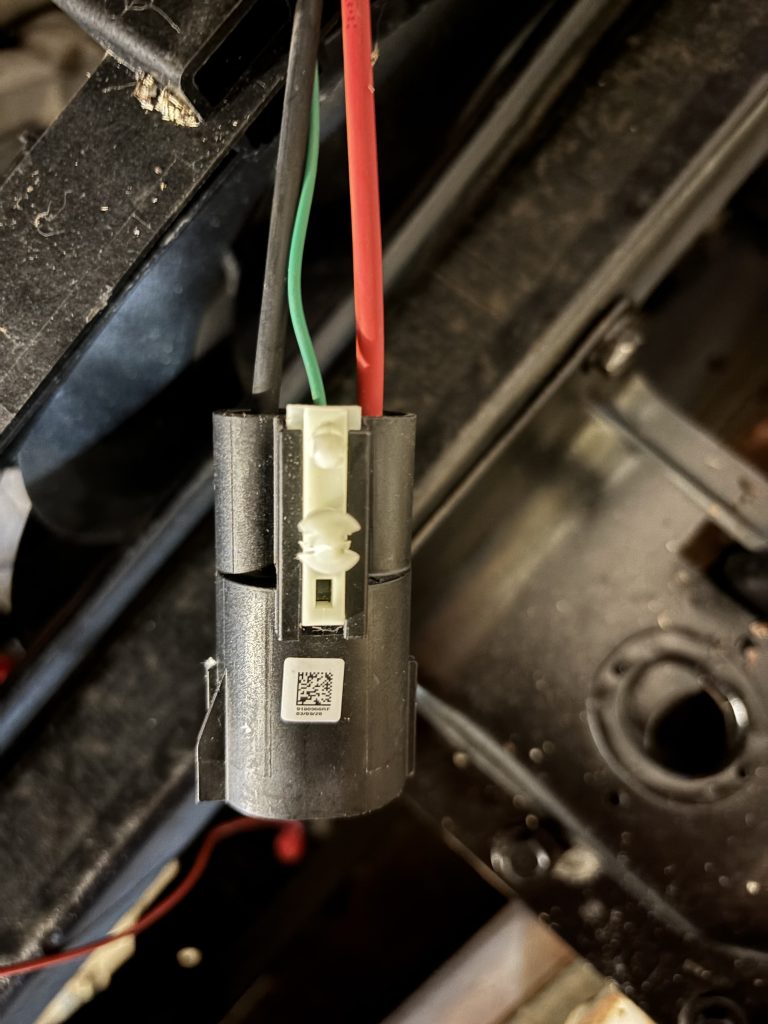
– The fan wiring plug on top of the housing should be unplugged
– The plastic diverter piece that sits in the center of the transmission tunnel
– The climate control cables that are attached to the housing.
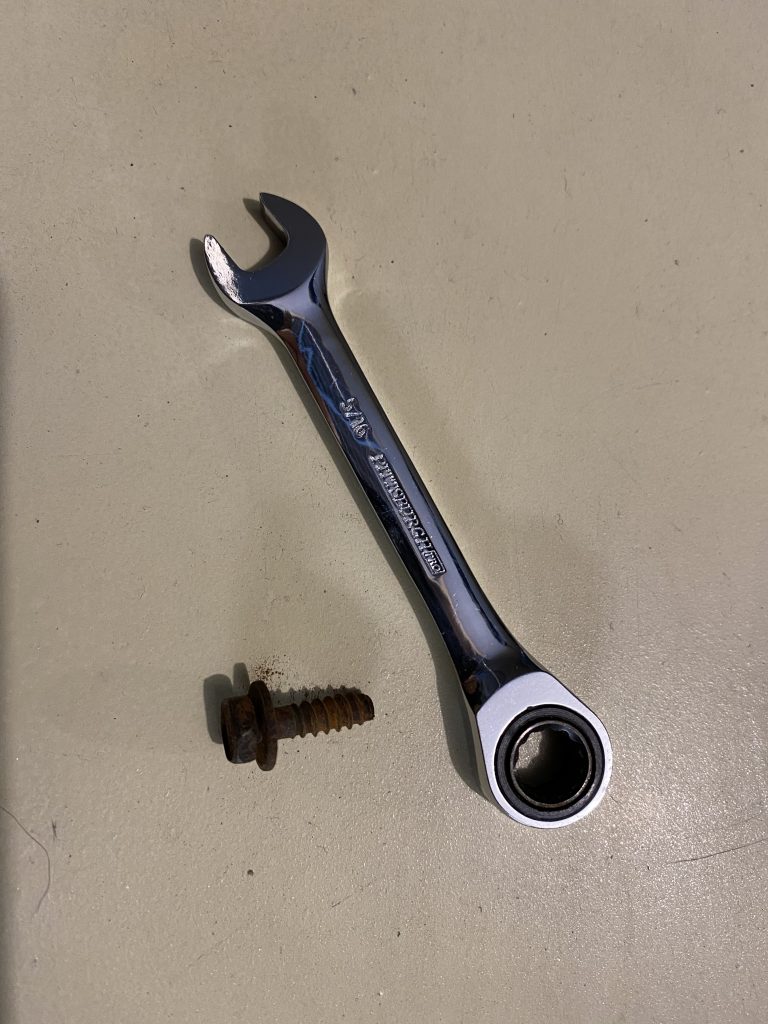
A tiny 5/16″ ratchet box wrench was the only way to get the mounting screws out of the plastic diverter housing. It was difficult even with that tool. There are several screws that need to be removed.
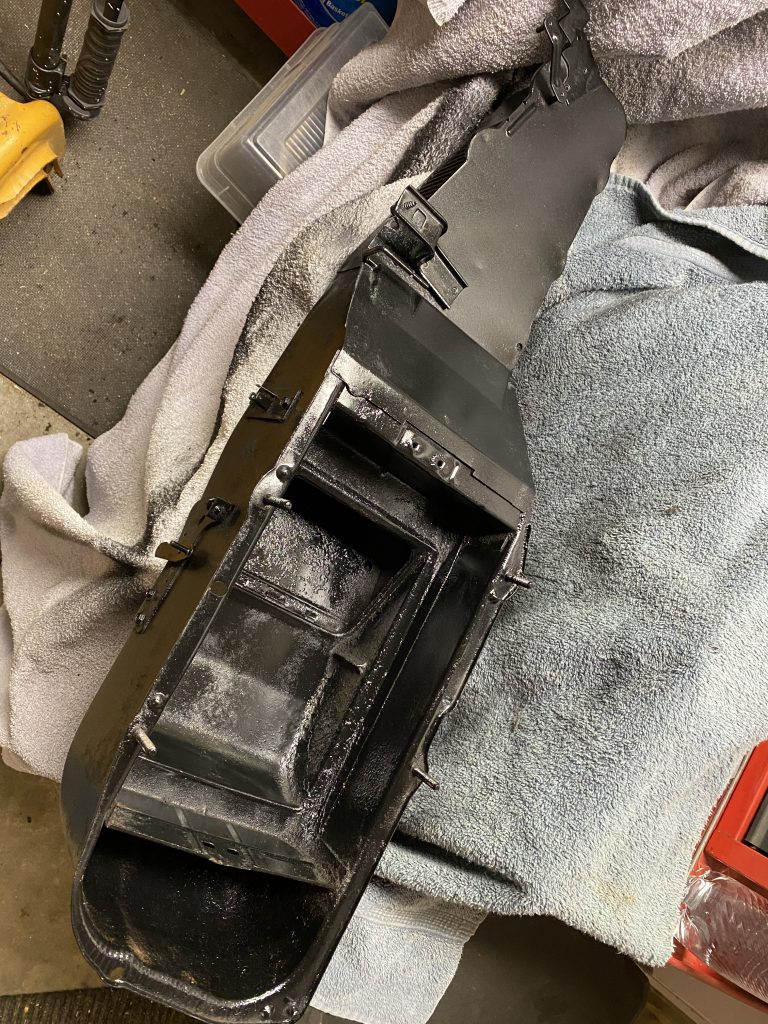
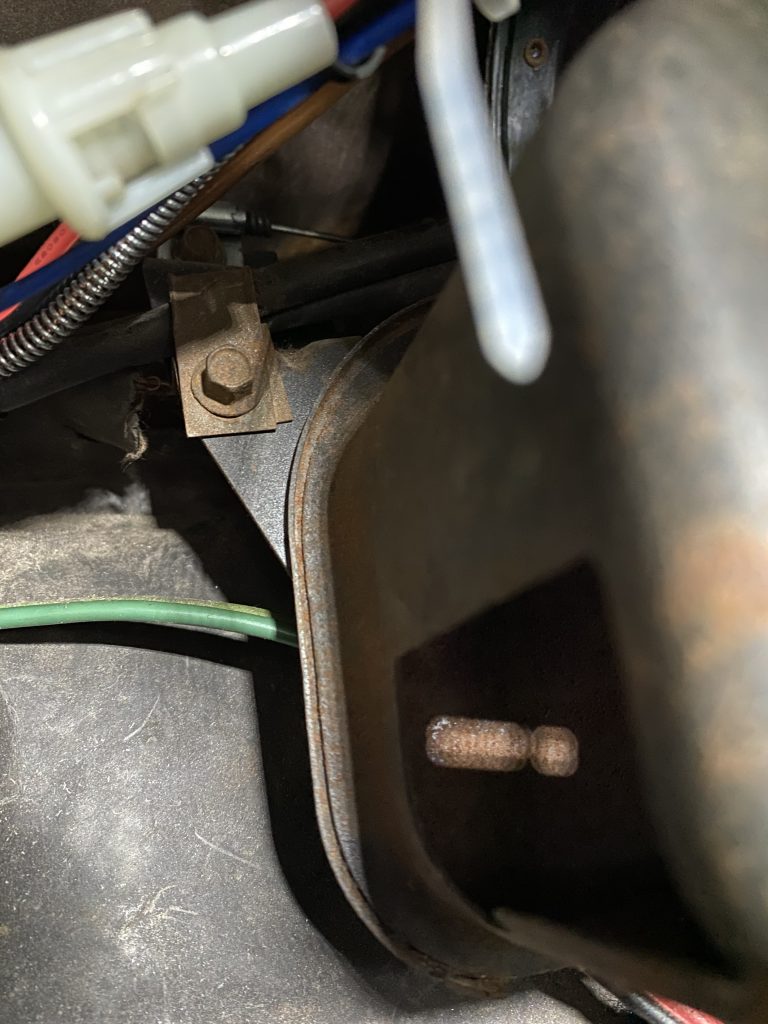
I didn’t disconnect the cables entirely, mostly because I couldn’t get the circular cable end off of the pegs they were on. I decided I’d be able to get to them easier after it was out from under the dashboard. I did disconnect the mounting brackets that I could get to.
Once those cables were loosened, I was able to pull the housing out to the passenger side. This left the core still in the firewall half of the housing, which means it unsnapped itself from the brackets that hold it into the passenger half of the housing. I’ll worry about that later. I was not able to get the housing completely off because it is still attached to the cables…but I have a better shot at removing them now.
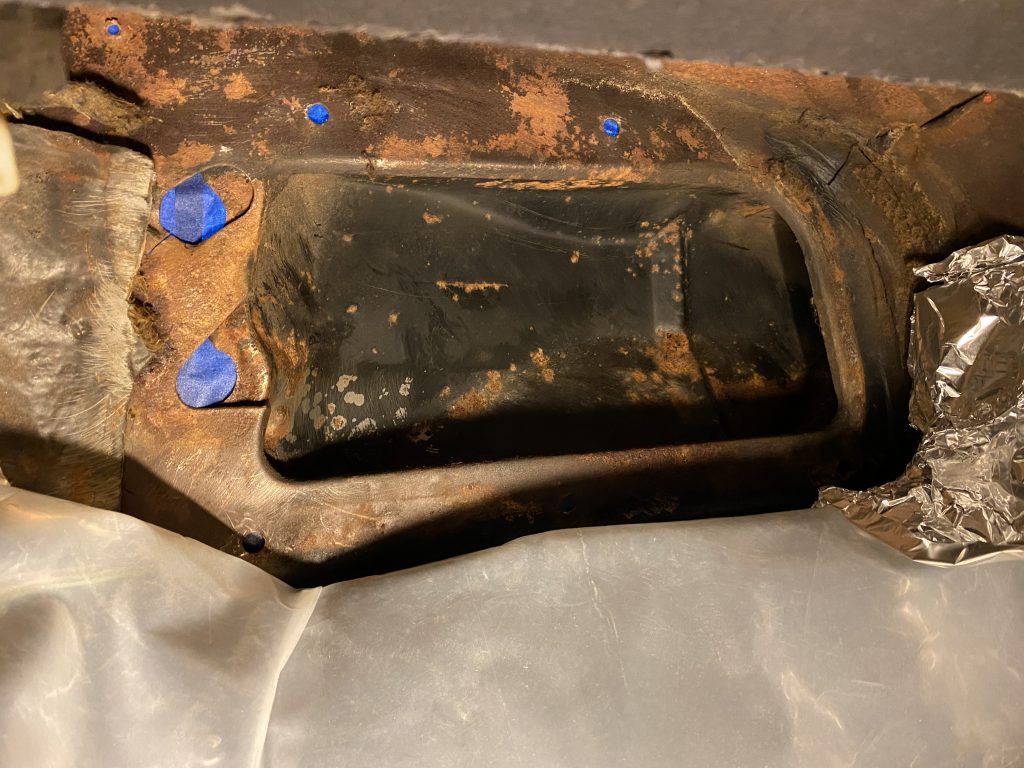
I was able to get the heater core out after the housing was out of the way. Amazingly, I did not spill any coolant getting it out. That’s a huge win in my book as I didn’t want to make a mess of the carpet or the garage floor.
It does not say “Harrison” on it, so I do not think it is original. Because it’s a replacement, I’m not sure it’s worth having it re-cored. Not so much for originality, but just design. An original recore should work and fit better than a cheap modern reproduction.
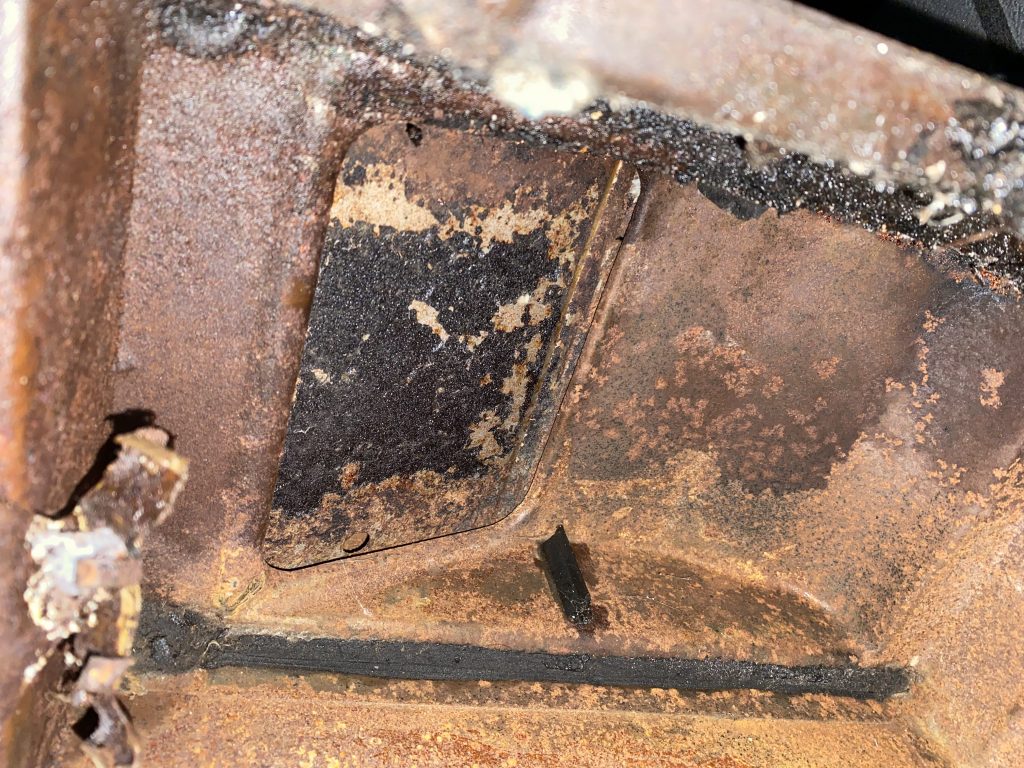
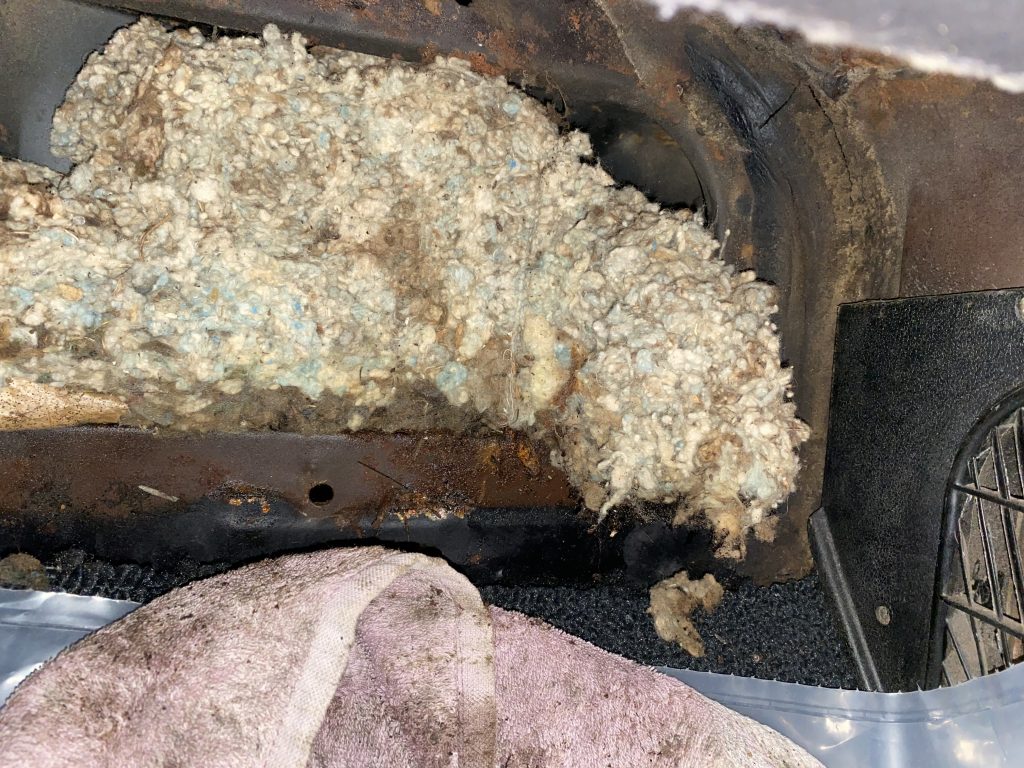
Not surprisingly, there was a huge mouse nest in the housing, which explains why there wasn’t any significant heat coming out. No airflow!
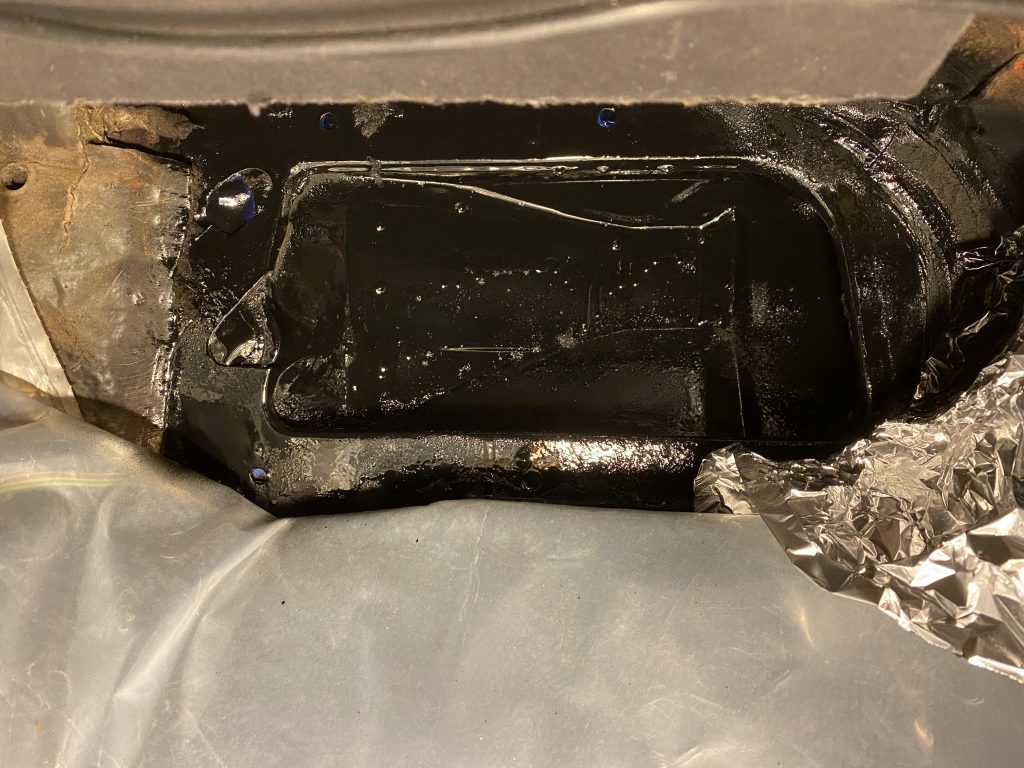
I’ll clean this out and paint it to prevent further damage before I put it all back together.
Stay tuned…