When I first got the car running, the carb had been through a bunch of backfires and other mistreatment, including sitting for at least 18 months outside at the previous owner’s place. While the car ran and drove okay…it wasn’t great, and still sneezed and stalled, which at best wasn’t fun, and could be dangerous in traffic.
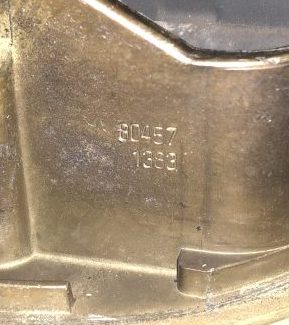
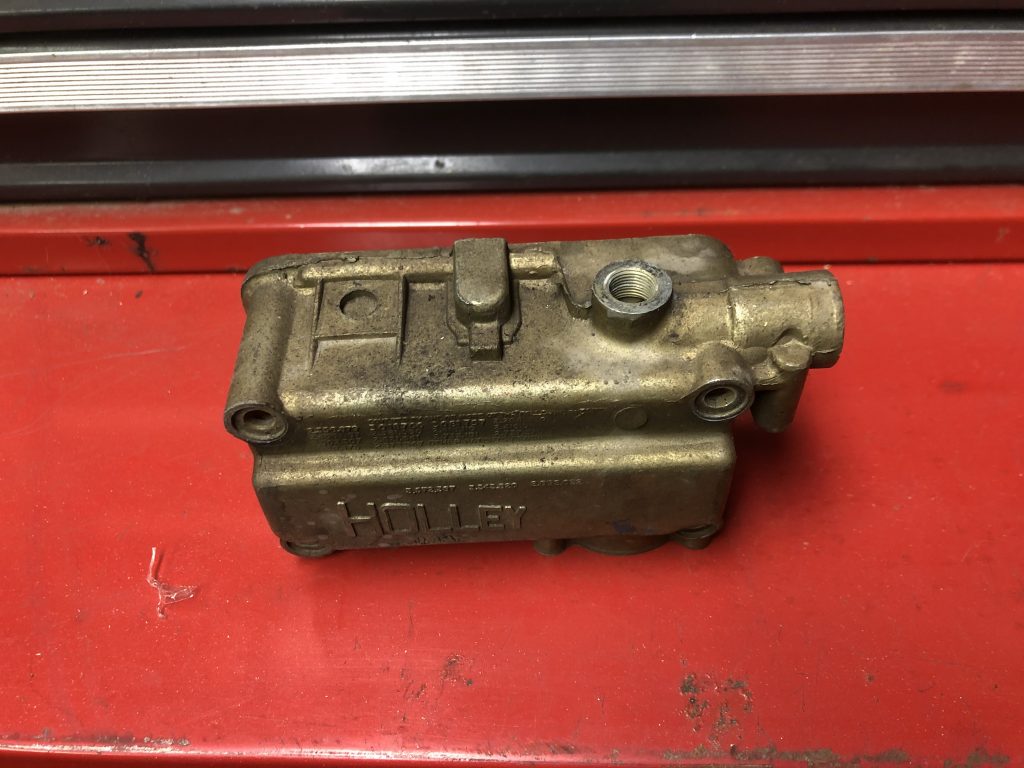
The Carb is a Holley list 80457, which is a generic 600cfm vacuum secondary 4bbl 4160-style with electric choke.
One of the things I was worried about was how much junk from the gas tank had gotten to the carb. The carb has a built-in filter, but when I was first getting the car to run, I added a generic inline fuel filter to trap things before they got to the carb filter. When I removed the carb, I cut the filter open expecting to see it mostly clogged.
Amazingly, it was spotless:
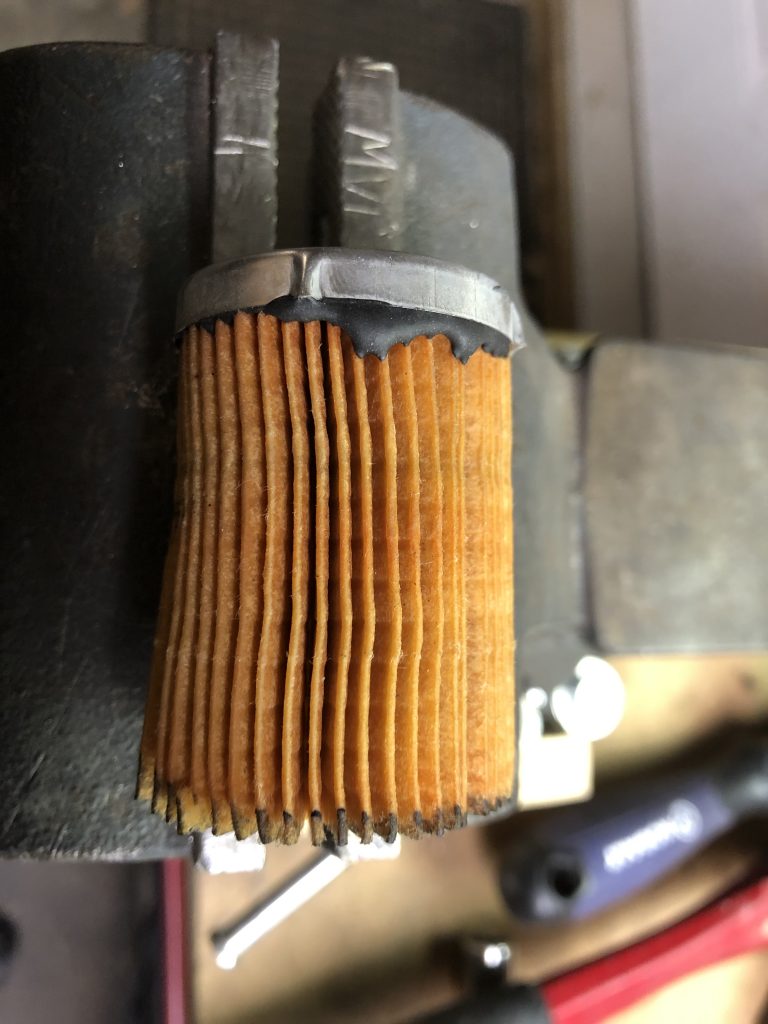
That was VERY good news, because it meant the gas tank was fairly clean, and did not need to be replaced. It also meant that there probably wasn’t a lot of junk in the carb either.
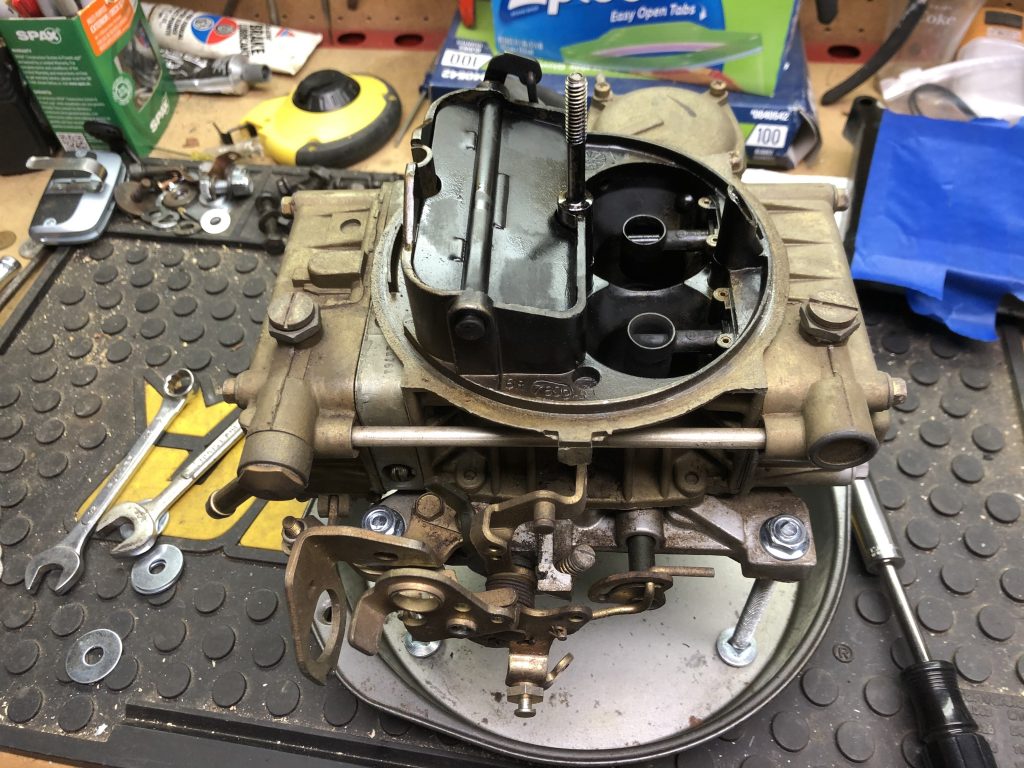
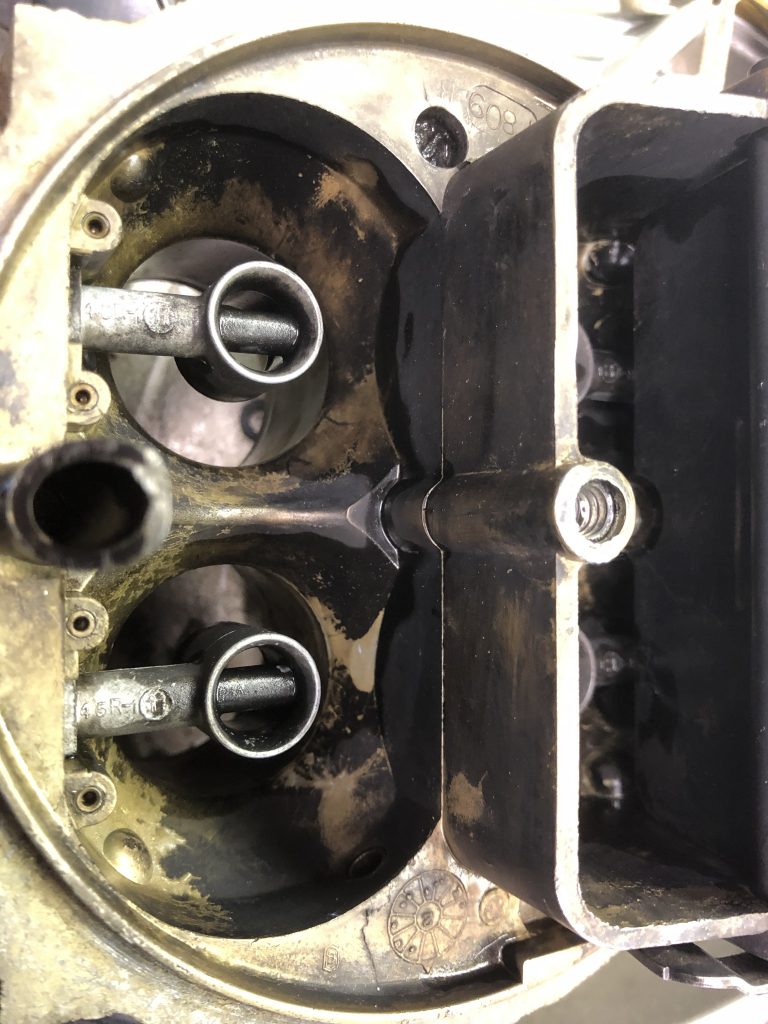
Off the car and onto the bench. A lot of the main body was covered in soot from all the backfiring due to the badly wired HEI conversion.
After disassembling the carb, I had to find a way to clean it. I had originally purchased a can of carb dip, but not all of the parts would fit into the can, and it was very caustic to work with. I tried a couple of pieces in the dip, but I wasn’t impressed with the results, especially considering having to use rubber gloves to avoid chemical burns, and having to rinse everything off thoroughly afterwards.
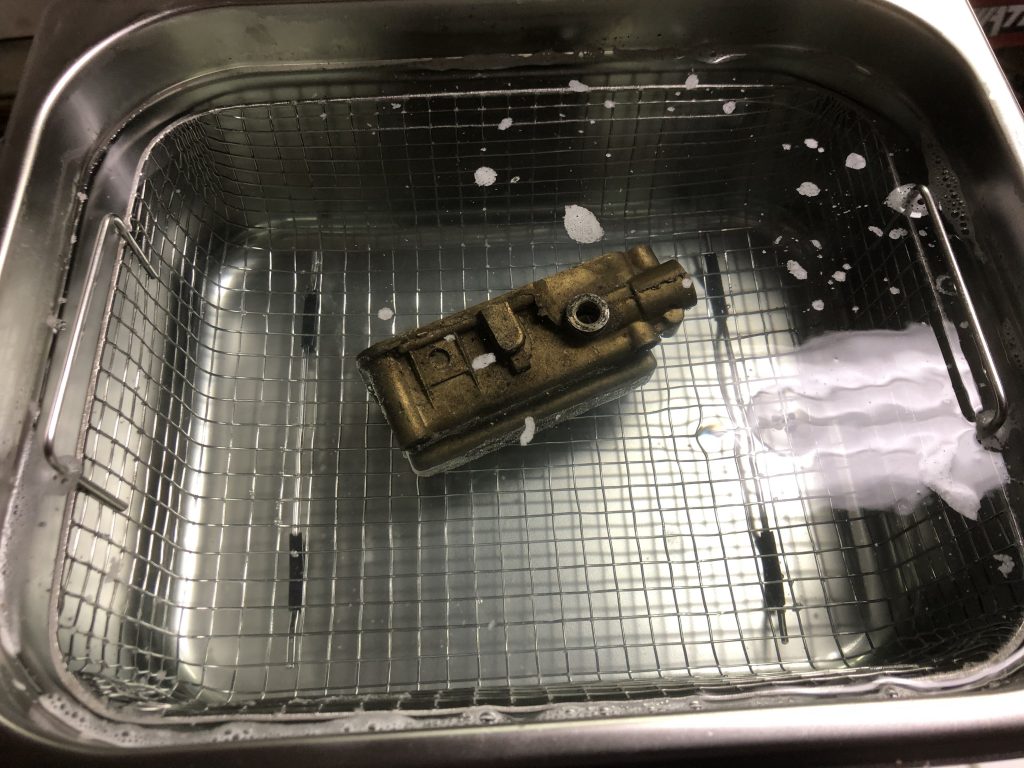
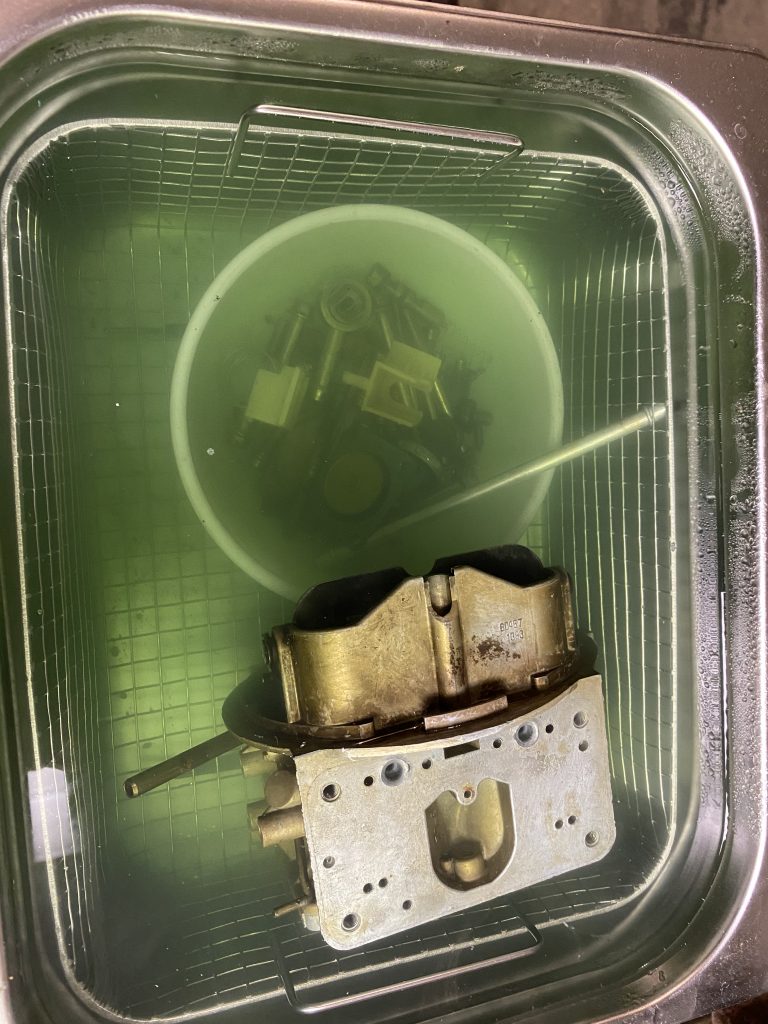
About this time I spotted a post online about a low price for a 10-liter ultrasonic cleaner. Usually it runs $125-150, but someone had spotted it for sale at $55 shipped. 10L was large enough to fit the main body of the carburetor, which was very handy.
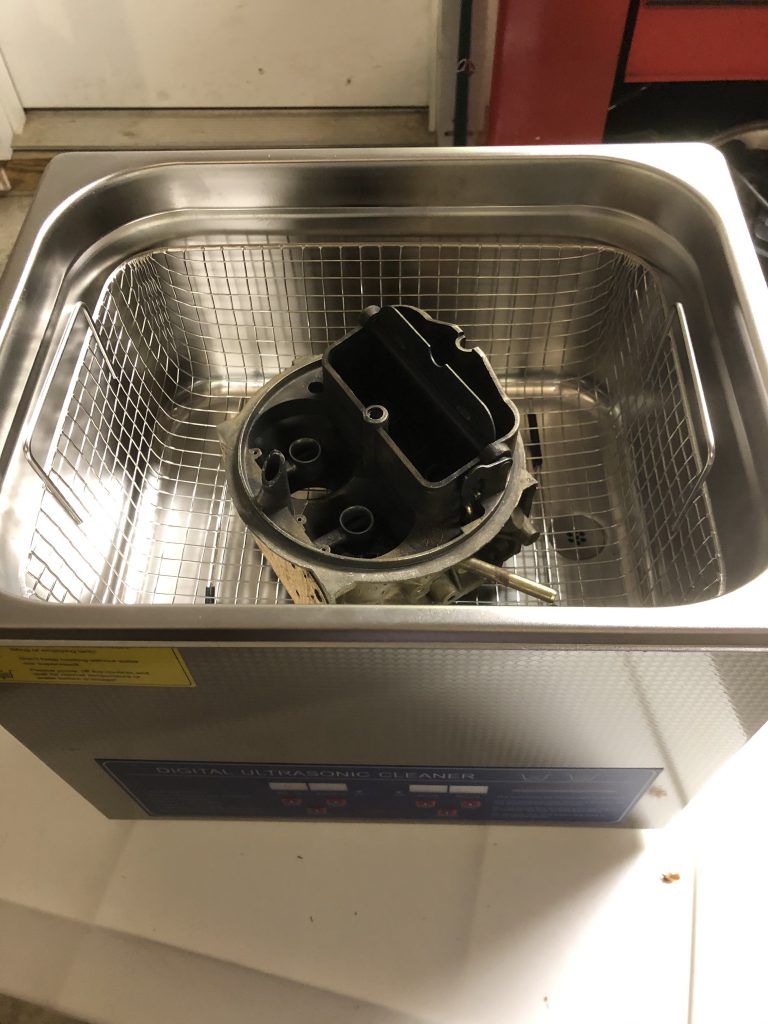
I got the cleaner, filled it up with a mixture of water and Simple Green, and set the temperature on the cleaner to about 100 degrees. It’s not very exciting when it is running, it just makes a loud buzzing noise. No piles of bubbles, no obvious action, just the noise.
I wasn’t sure how this was going to work, so I started out slow, using 5 minute sessions with the ultrasonic cleaner on. After a few rounds of that, I was running it for about 20 minutes (maximum time allowed by the timer on the cleaner), and that seemed to do a good job.
I experimented with the amount of Simple Green, and ended up using about 1/4 cup of it to the 10L of hot water. When the parts came out, I rinsed them and dried them with a towel. Because they had been heated in the cleaner, they dried really quickly. The result was a bunch of fairly clean parts. It’s not magic, but it did do a nice job. Some of the tougher parts I sprayed down with carb cleaner and brake cleaner, and scrubbed with a toothbrush.
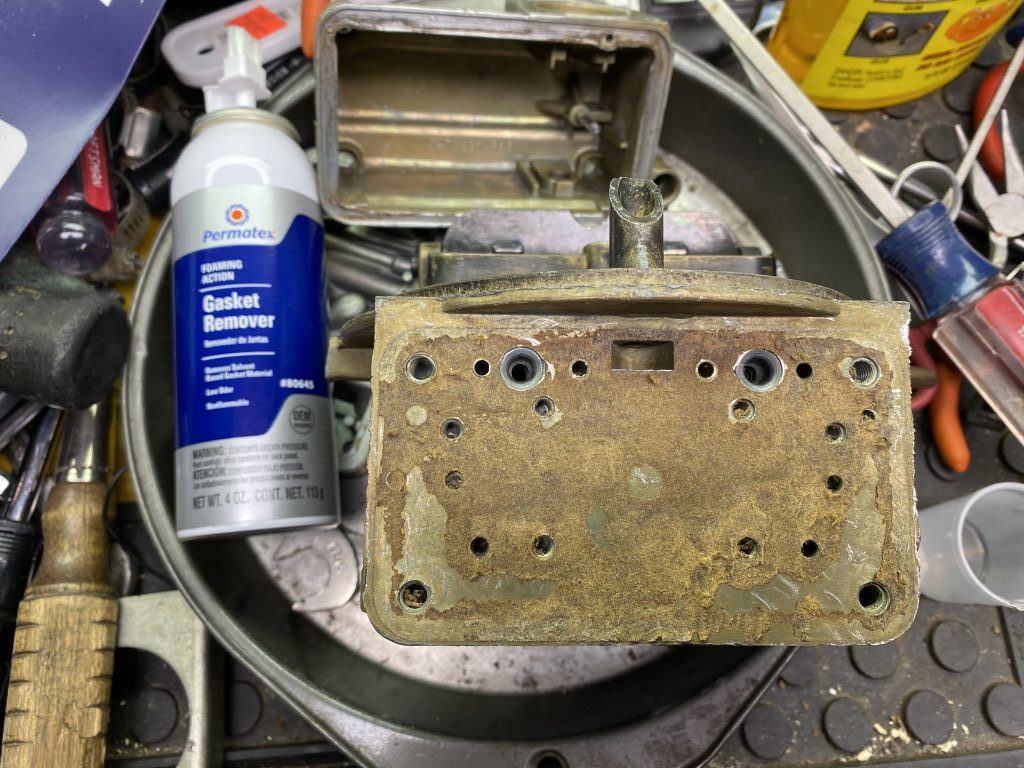
The one part that did not clean up easily was the gaskets. These had obviously been baked on by many many years of under-hood heat. I soaked them and ran them through the ultrasonic cleaner for many 20 minute cycles, but they just weren’t coming off.
I didn’t want to scrape too aggressively because I didn’t want to damage the surfaces. I had some luck with plastic paint scrapers, but that was very slow going. None of the solvents I tried had much effect on the gaskets.
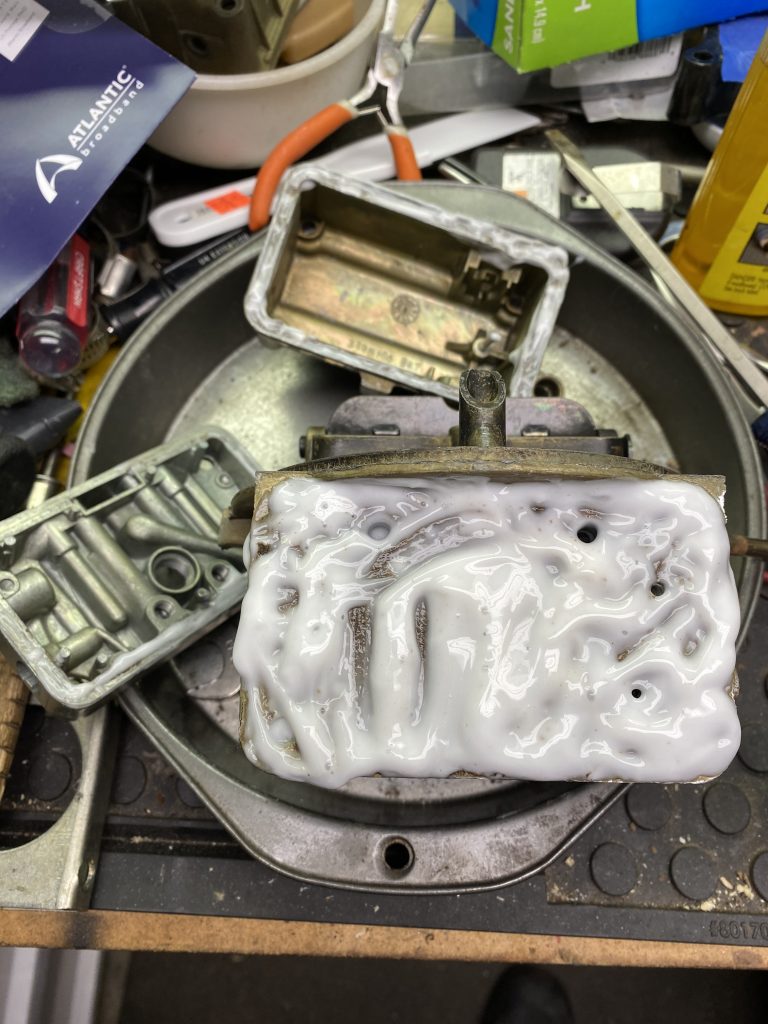
I did some research and discovered there is a gasket remover product that several of the big automobile chemical houses produce. I ended up getting the Permatex version.
It’s about the consistency of wood glue, and the bottle has a little brush built into it so you can spread it around. This was my first attempt, and I put a little too much on.
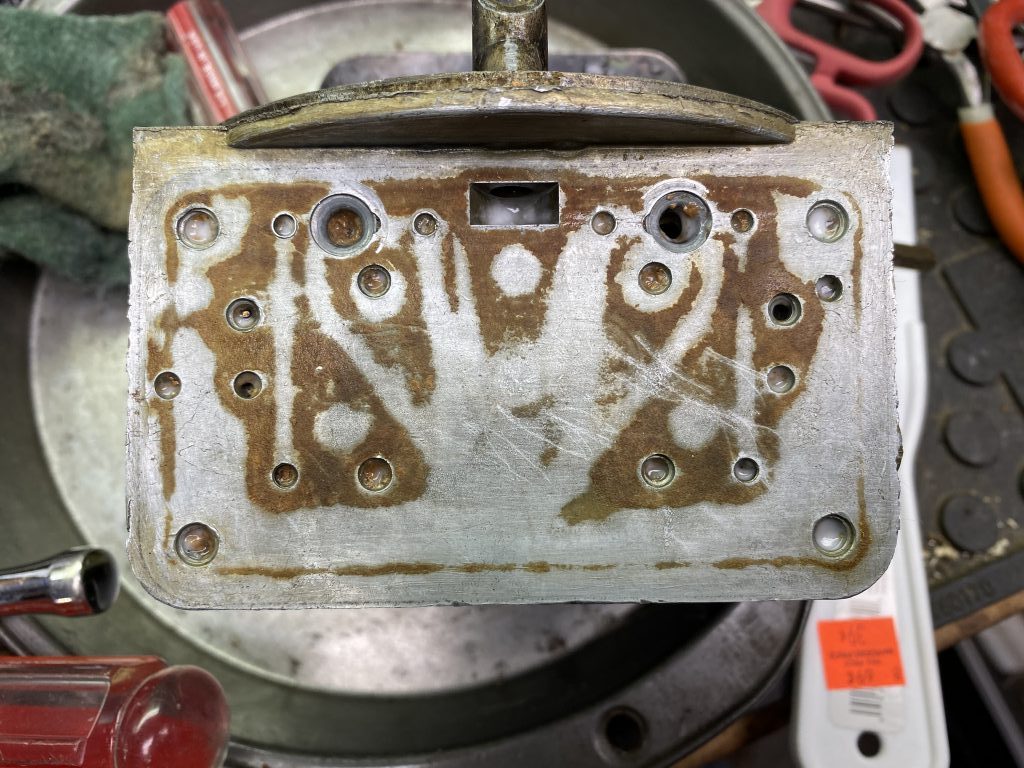
Again, it wasn’t magic, but it did a lot of the gaskets. I let a couple of applications soak for a while, and using the plastic scraper, I did get the gasket remains off eventually.
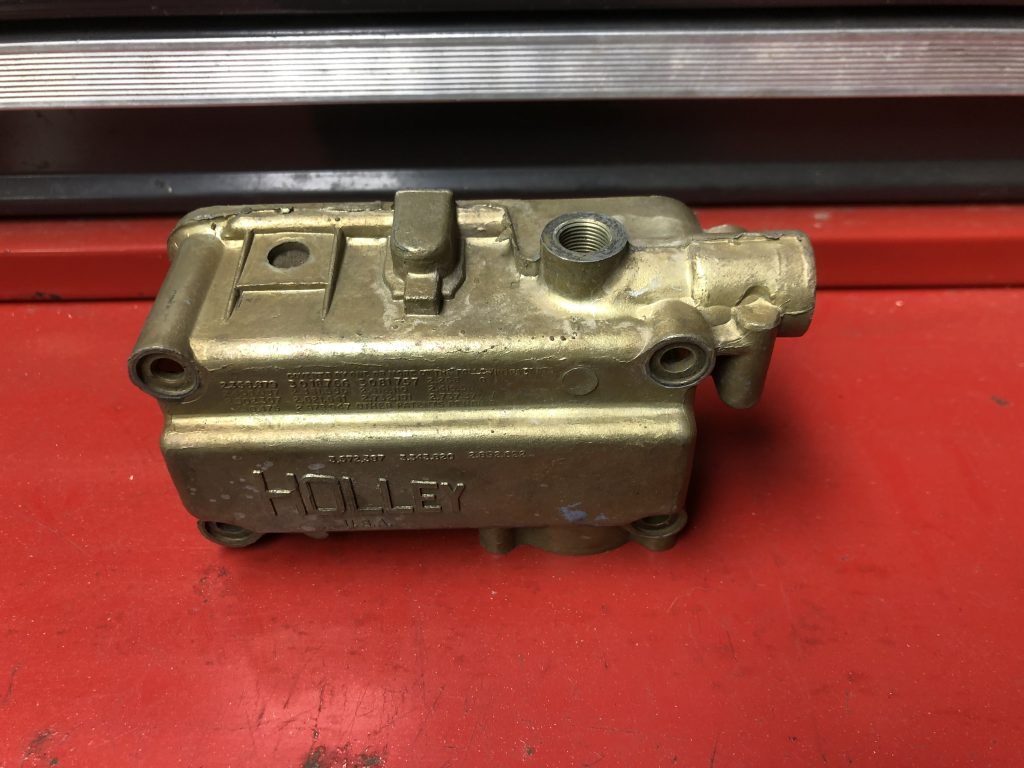
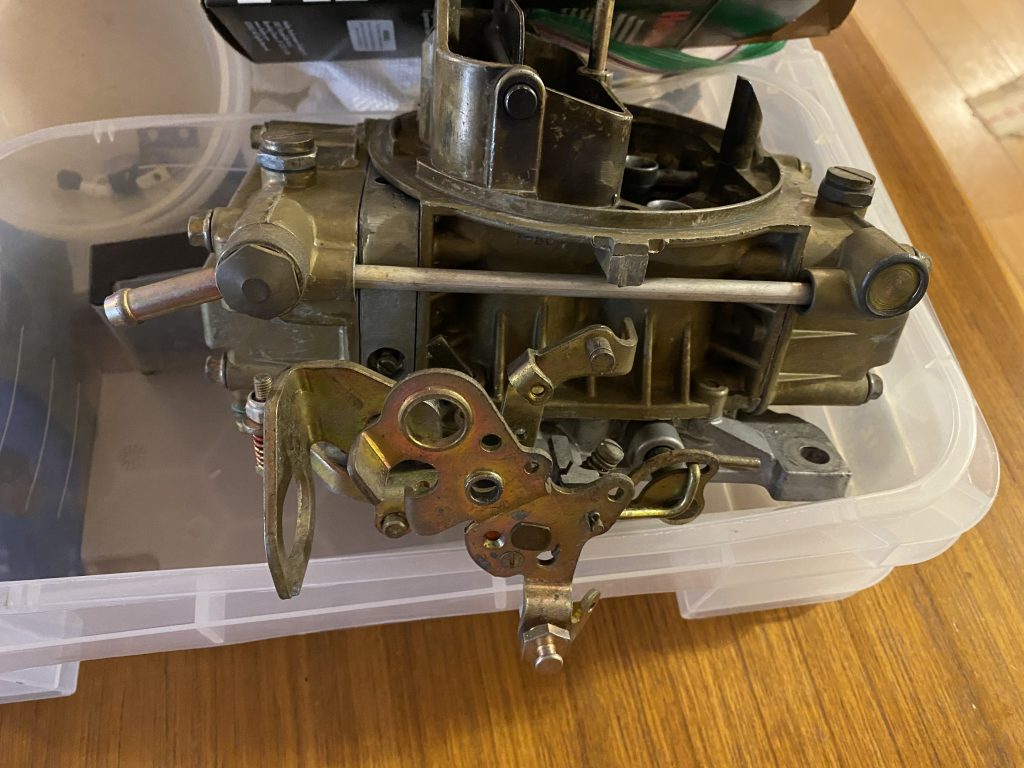
Almost there:
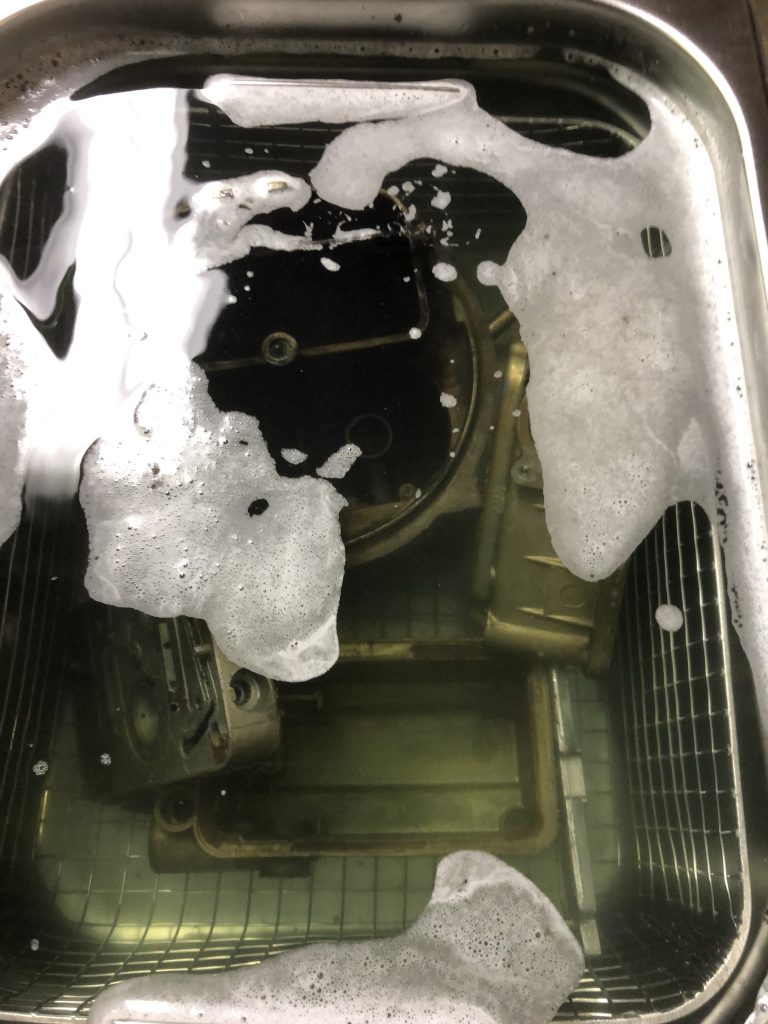
Afterwards, I gave the parts one last ride in the ultrasonic cleaner to get rid of all the little bits of gaskets, and the remains of the gasket remover. I put all the tiny parts in a plastic bowl and put them in the cleaner as well. It did a nice job on them, and I didn’t lose any pieces!
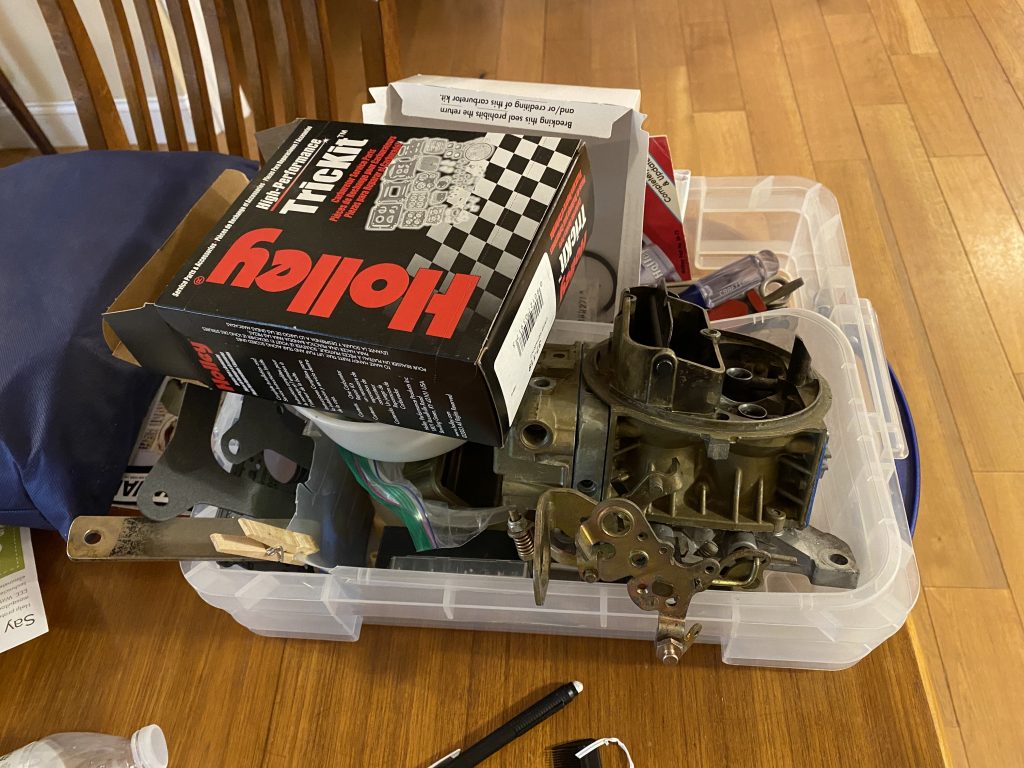
Next was reassembling it with new parts. I used a Holley TricKit which came with all of the things necessary to do a rebuild. The instructions were pretty thin on how to put it back together, so I ended up finding a guide online at
How to Assemble a Holley Carburetor: Rebuild Guide • Muscle Car DIY
It didn’t cover every detail, but it was enough so I could figure it out.
Since everything was right out of the cleaner, all of the gasoline and solvent smell was gone, so it was the perfect project to work on while watching TV in the living room.
A few shows later:
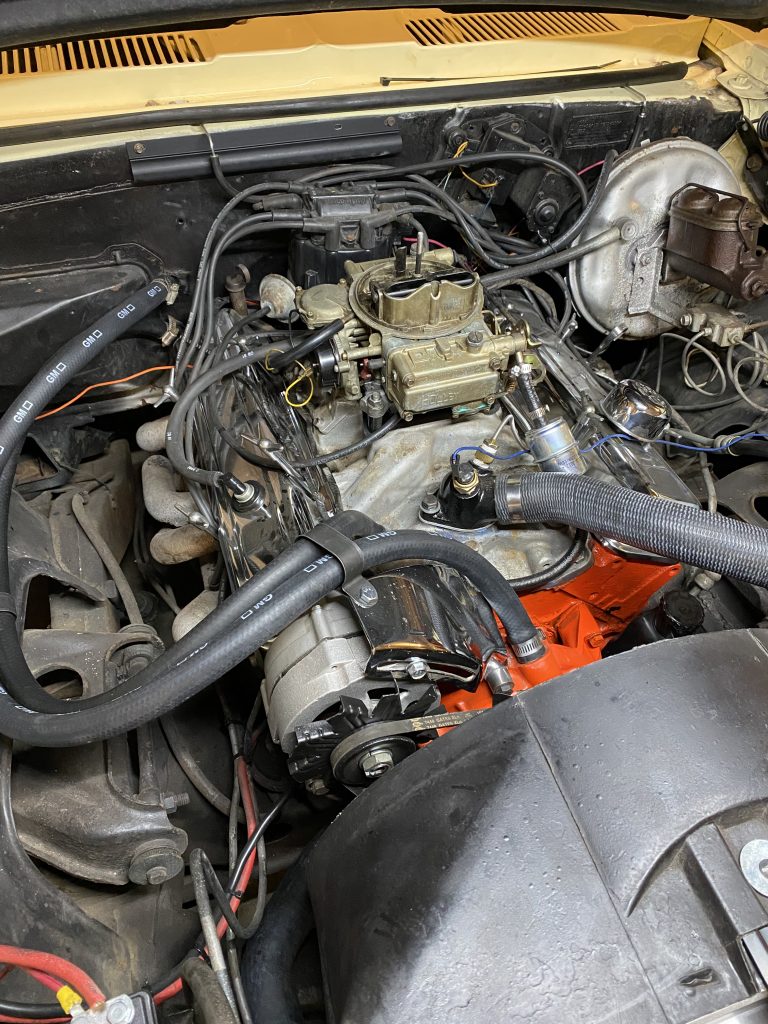
Back on the car with a new fuel filter, and…amazingly, it started right up!
Unfortunately, I hadn’t set the rear float height very well, and there was fuel pouring out of the rear bowl vent. I shut off the car and adjusted it down a lot to stop that. It still needed fine-tuning, but it wasn’t dripping any more.
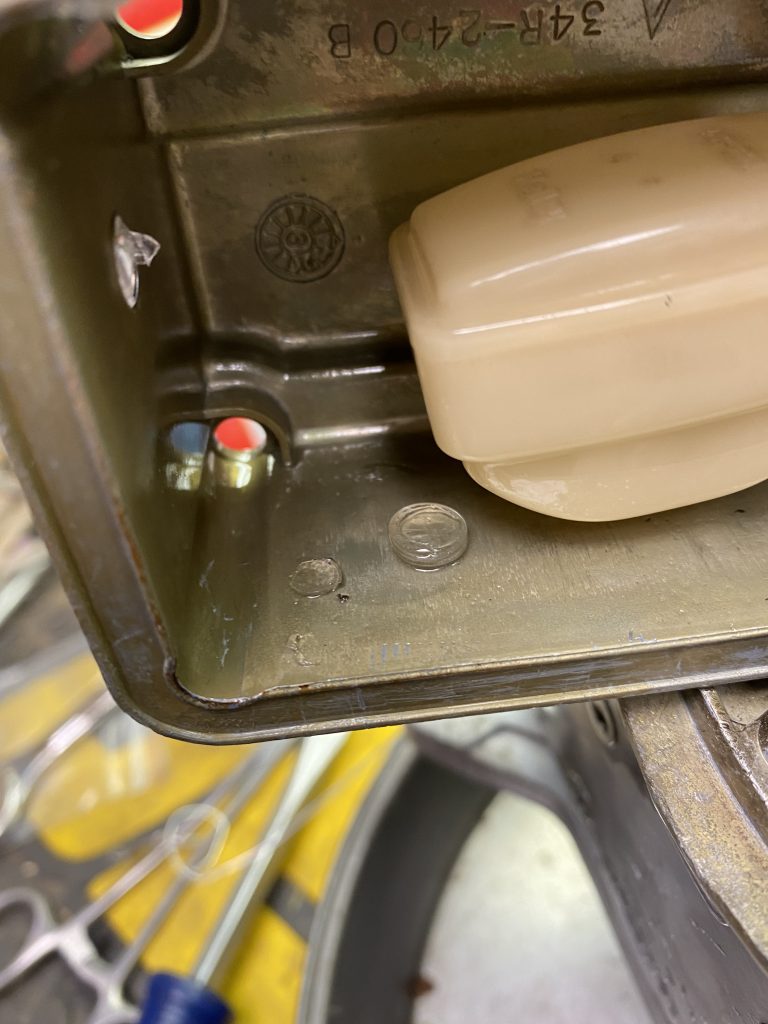
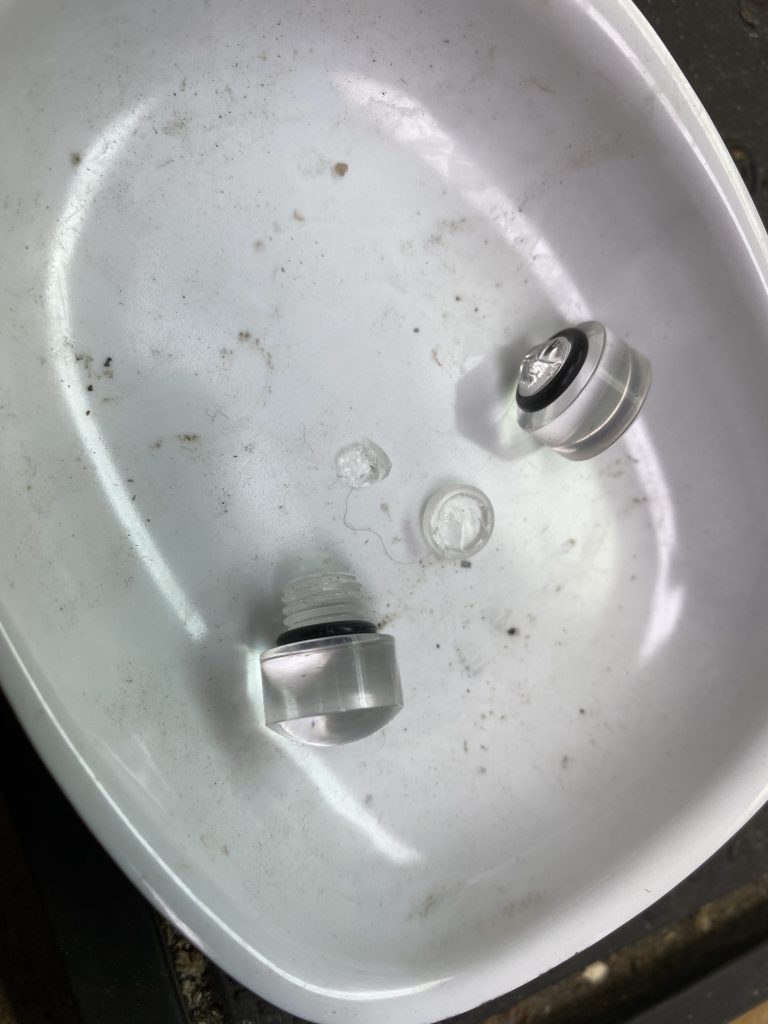
I remembered that setting the float height was much easier (less dangerous) if you had clear sight plugs on the bowls. I had installed them on my Nova many years ago, and adjusting the floats was simple. When I went looking for a set, the reviews were really poor. People reported that they dissolved overnight, or cracked, requiring taking the carb apart to clean out the pieces. After some more reading, it seems like E85 blends are the problem, and the ethanol attacks the plugs. No problem, I won’t leave them in I thought.
When they arrived, I installed the clear plugs and set the front float height. The rear was still too high, and there was not enough adjustment in the screw to make it right. So…off with the carb again, I took off the rear bowl and bent the tab on the float to lower it some. Reassemble, put it back on the car, closer, but still not quite there. Off again…disassemble…tweak…reassemble, reinstall. Checking it again, I was able to adjust it to the correct level.
Great! Now I can put the brass plugs back in and I’m done. In the 1 minute between shutting the car off and walking around to remove the clear plugs, the rear one cracked and the head popped off, leaving the threaded part still stuck in the bowl. It didn’t break when I tried to take it off, in fact I didn’t touch it at all. It was just there one minute and gone the next.
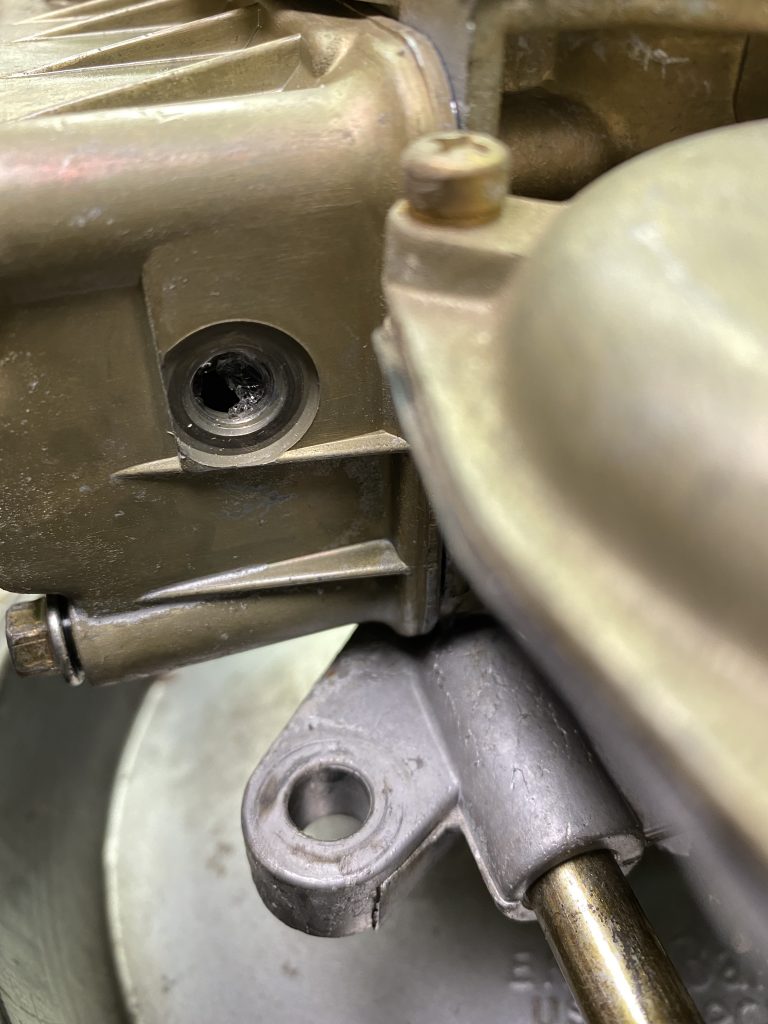
Off with the carb again, disassemble, clean out the remains of the clear sight plug, and back together again…with the brass plugs instead. I was amazed at how quickly it had broken. They were installed for less than 3 hours total.
Moral: if you’re using these, a) work quickly, b) only barely tighten them, and c) be prepared to disassemble the bowls to get them out. I don’t understand why someone hasn’t come up with a different plastic formula to use for these clear sight plugs. E85 fuel has been around for a very long time, there’s no excuse for continuing to sell these ones.