Posted on

Chemical Rust Removal – Homemade Evaporust

I had a lot of items from the truck that are very rusty. I had used a 4:1 mix of water and molasses in the past, so I tried that. After a week, there was still a lot of rust on the parts. This approach works, but takes time, and I didn’t want to wait that long.

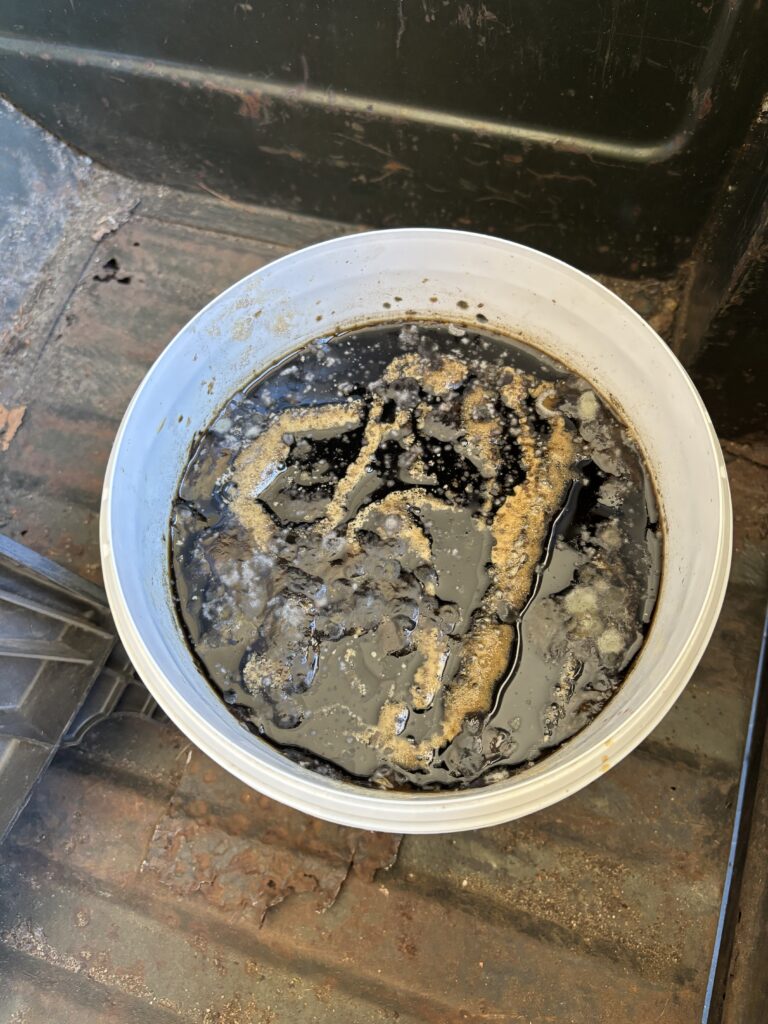
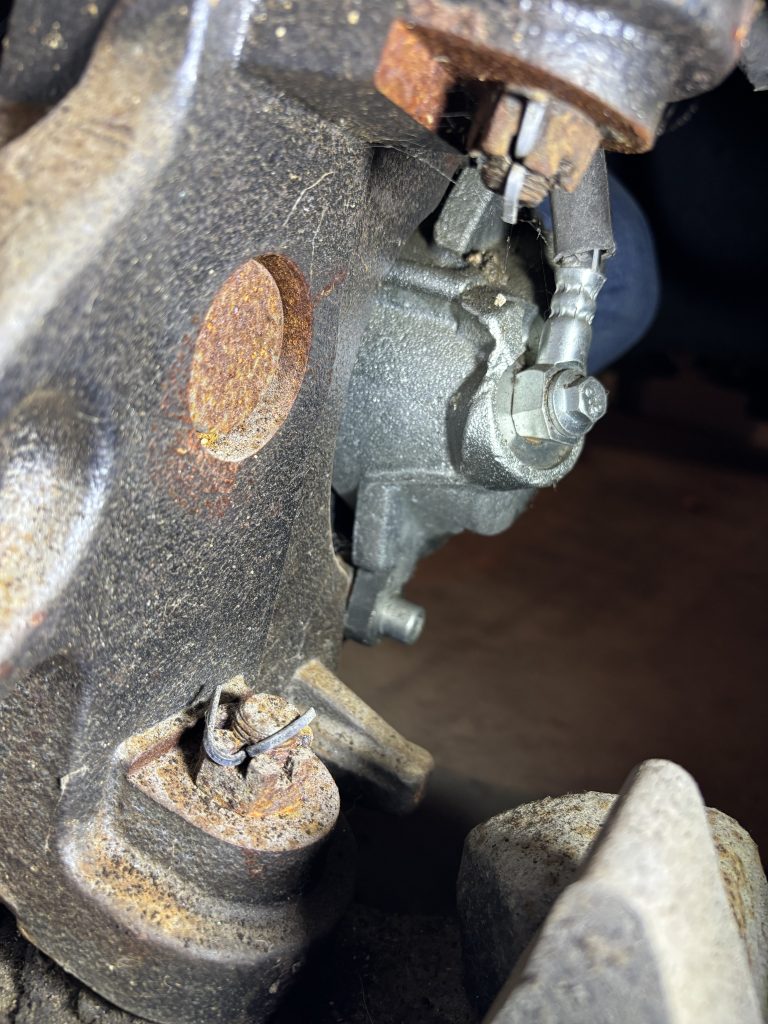
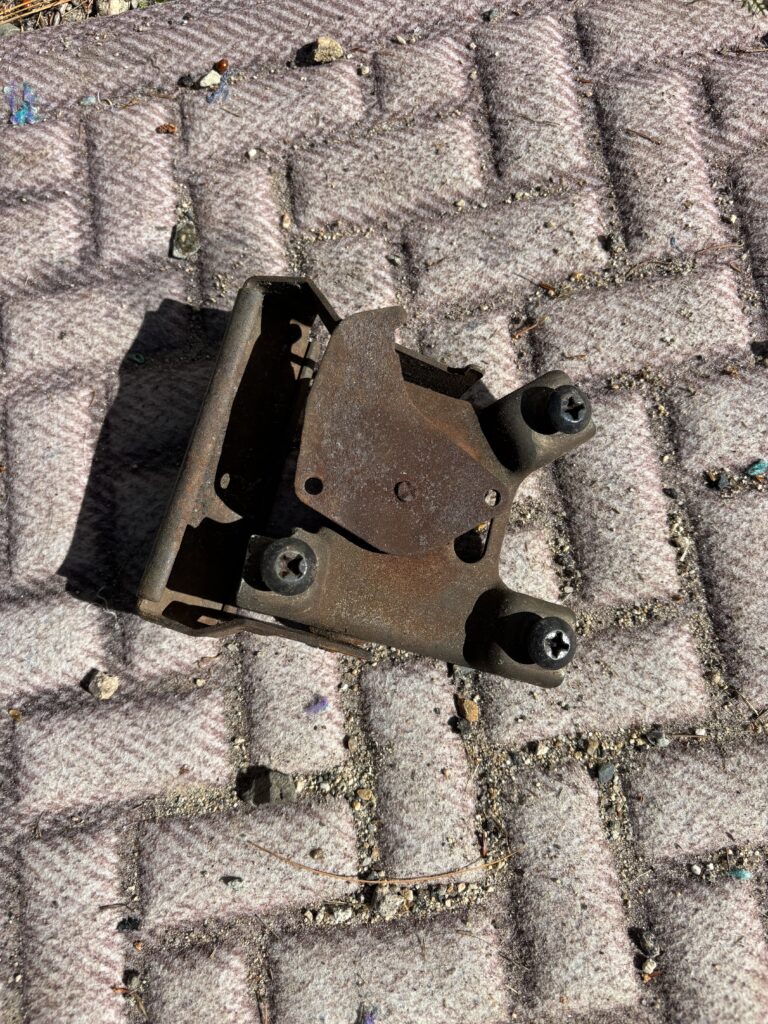
I don’t have any ‘before’ pictures for the molasses soak, but the pieces went in rusty, and they came out a little less rusty, as shown here:

I did some searching on the internet, and discovered a video about making your own Evaporust mixture. From what 

I’ve read, Evaporust works really really well, but is relatively expensive. This video claimed a homemade recipe that was 1/10th the cost, and worked even better than the name brand. There’s even a bunch of side-by-side comparisons to prove it.

The recipe:

  • 1 liter of water
  • 100 grams citric acid
  • 40 grams sodium carbonate (washing soda)
  • A generous squeeze of dish soap (2 tablespoons?)

This stuff worked amazingly well, and was very easy to use.

Be very careful mixing the two chemicals into the water. Which ever one you add second, the mixture will froth up a LOT. I had to add it very slowly, stirring and waiting for the bubbling to die down before continuing.

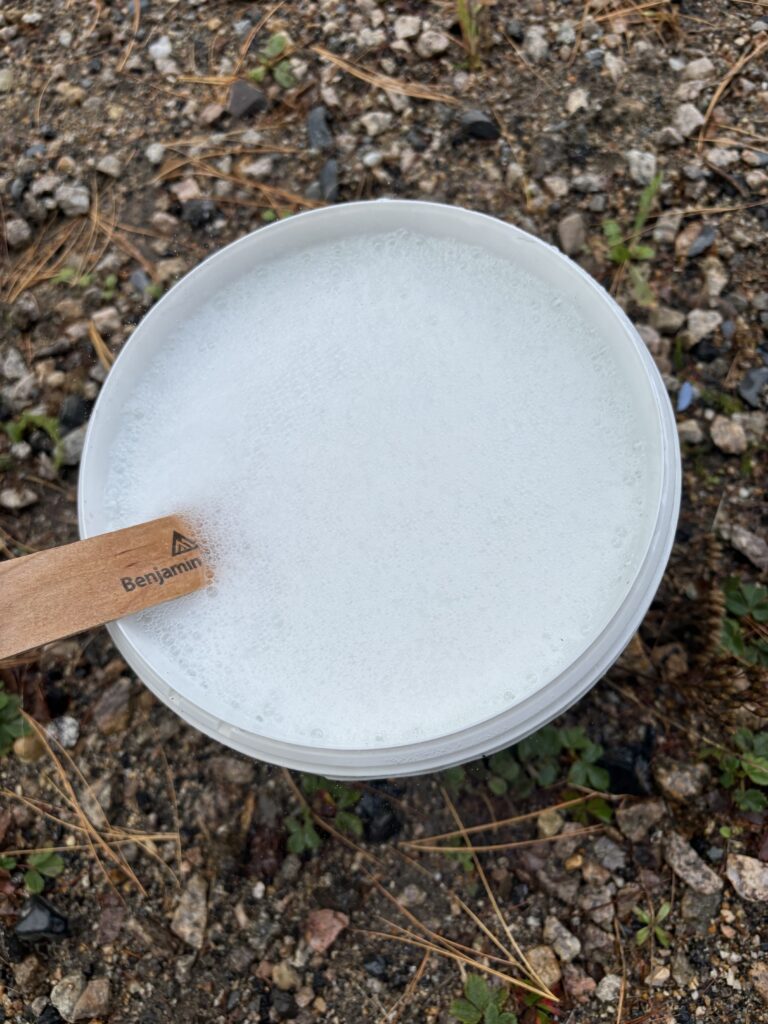
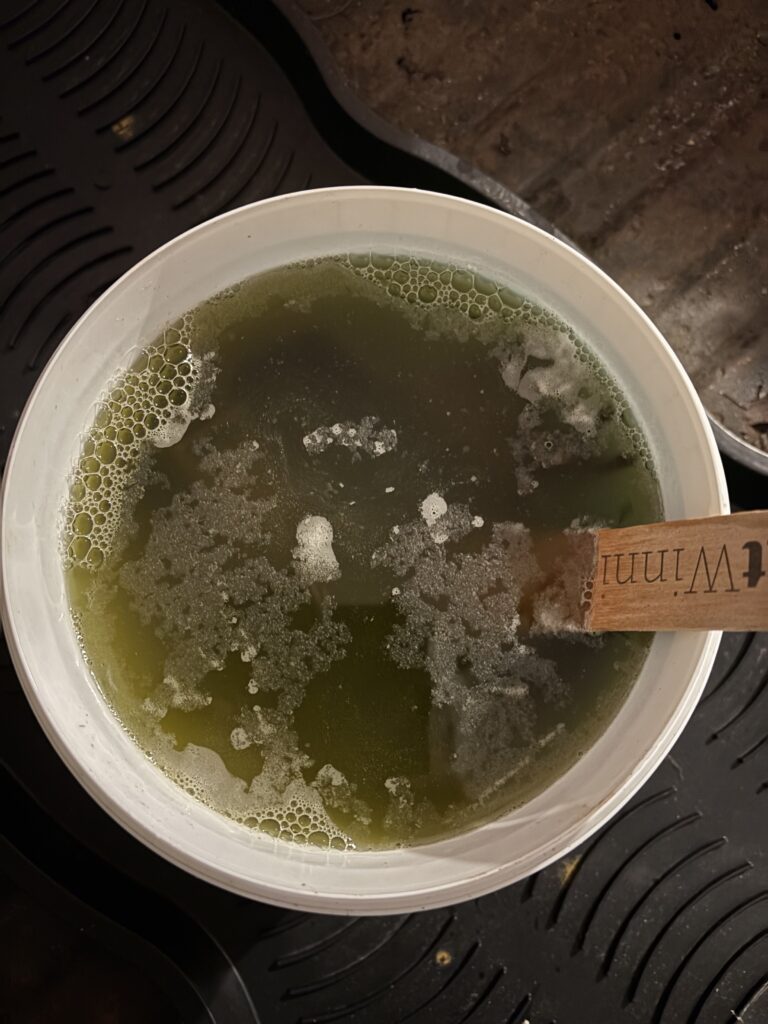
Here it is with the parts just added:

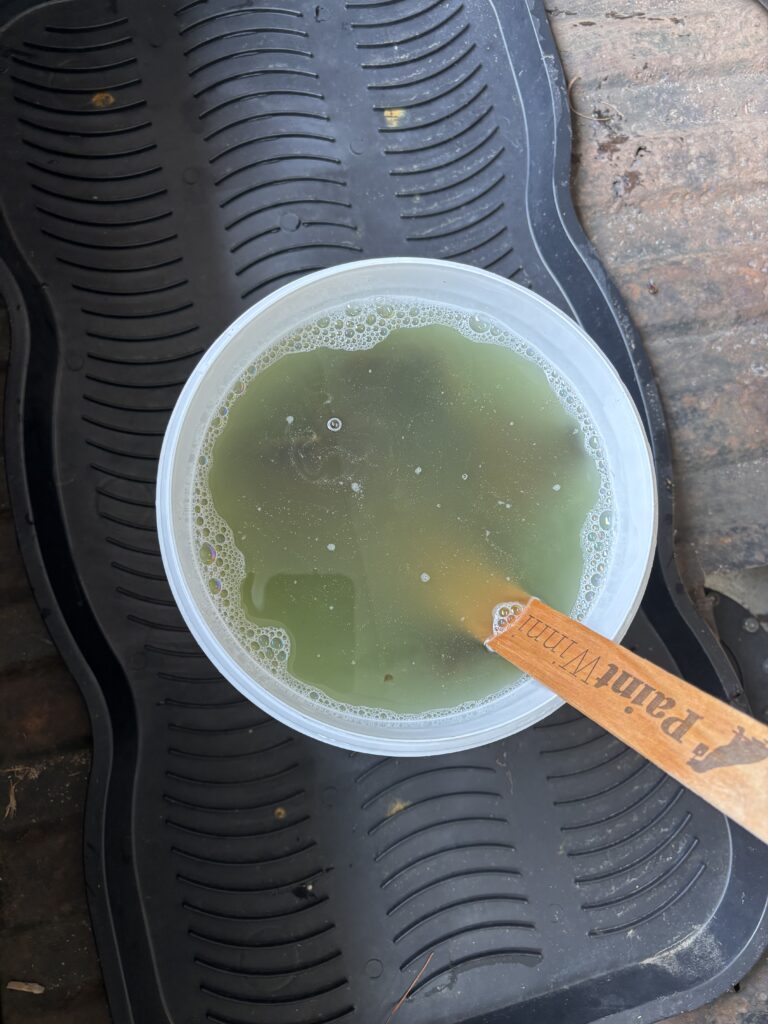
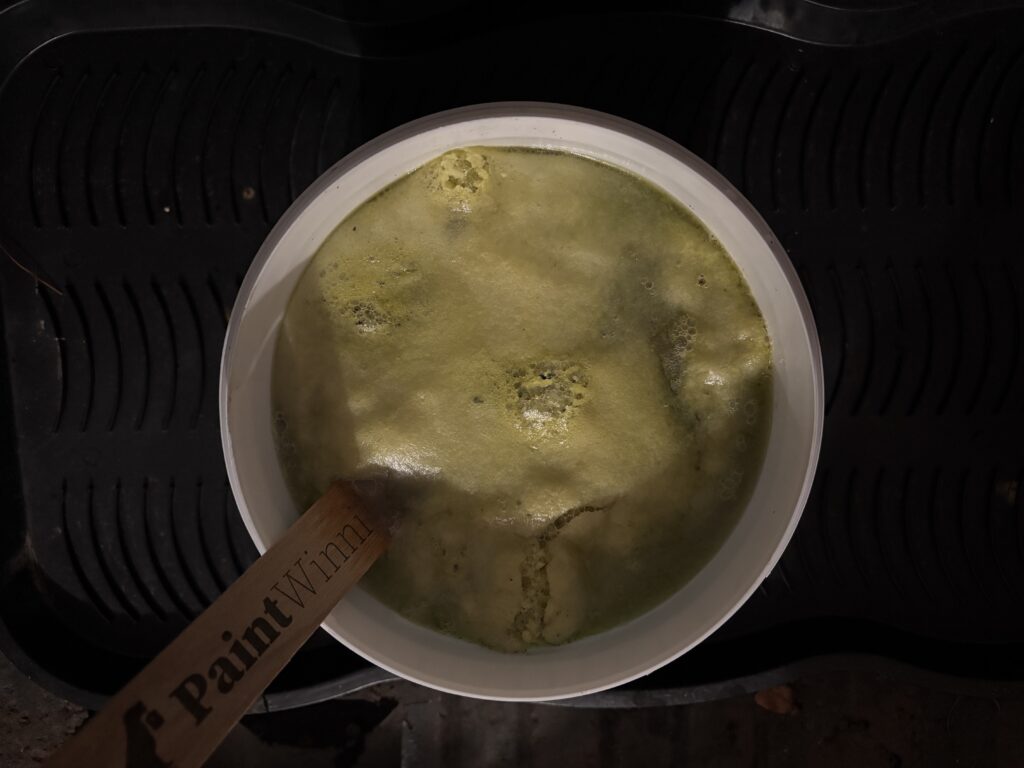
And another image after a couple of hours:

And finally…after about 24 hours:

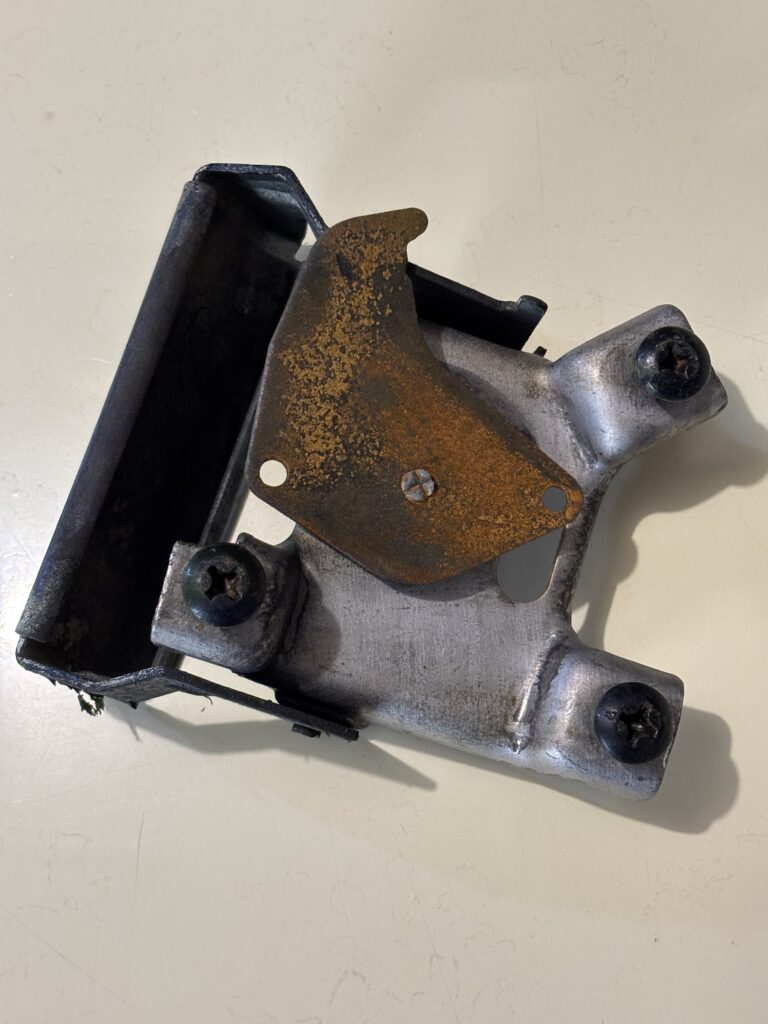
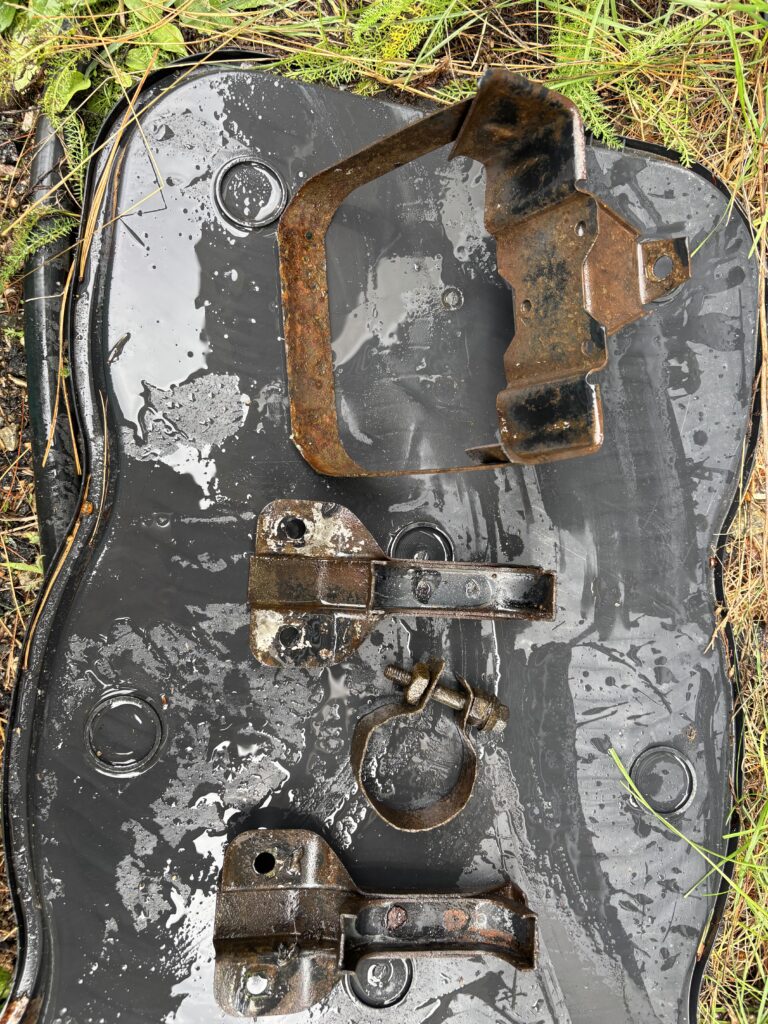
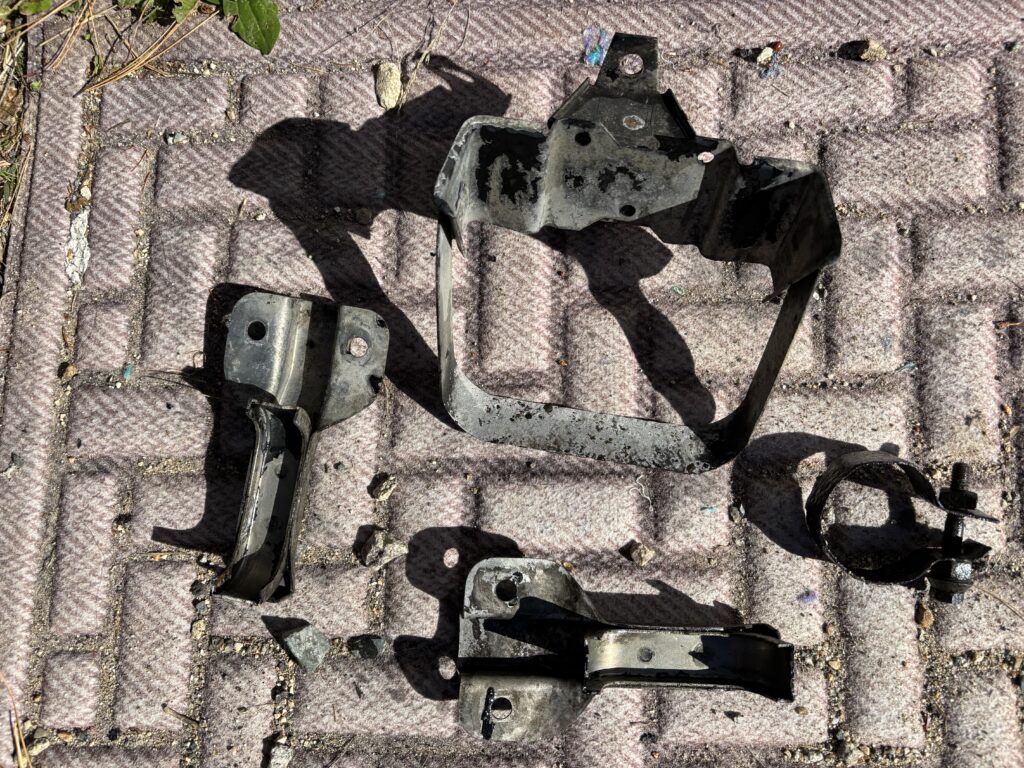
Here are the parts after a quick rinse with the hose. No scrubbing was done at all, this is just with a rinse:

The tailgate handle was the best cleanup. Before:

After:

Posted on

How low is too low?

The previous owner wanted this thing l-o-w. It has 3″ drop spindles in the front, along with shorter (3″ drop?) springs. The rear has a 2″ lowering block and I think he told me 5″ shorter springs. It’s sitting on the rear bumpstops, and there is about 3″ of ground clearance on the front suspension. It also has very short tires, which makes it ride even lower. This would be fine if it was on air bags, but this is a static drop, and every single bump in the road is going to hit the bottom of this thing.

Posted on

Cutting backup light holes

This was not originally an RS model Camaro.  I’m pretty sure it was a base model, and someone transferred parts to it from a wrecked RS.

The base model taillights have one red and one white lens.  The RS taillights have two red lenses, and the reverse lights go in the tailpan.

The base model tailpan has no holes…so I’m cutting holes.

To pass inspection, I had temporarily mounted the RS lamps to the bumper:

The left-right position is centered under each taillight.  I measured 47 times and got the center lines mapped out.

from there, I found some templates online that showed the top edge of the holes should be 4.25” below the ridge on the tailpan (behind the bumper)


Then I drilled holes in the corners, and cut it out with a cutting disc.


still to come: cutting the other side and drilling the holes in the inner tailpan panel