Posted on

Paint Fix

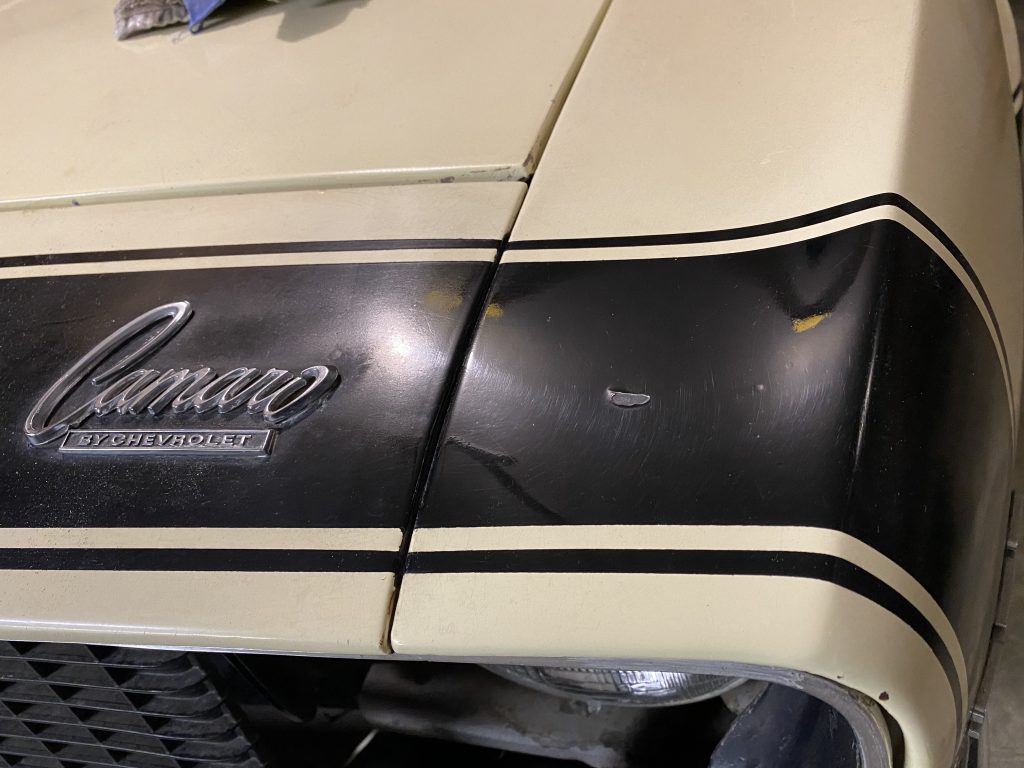
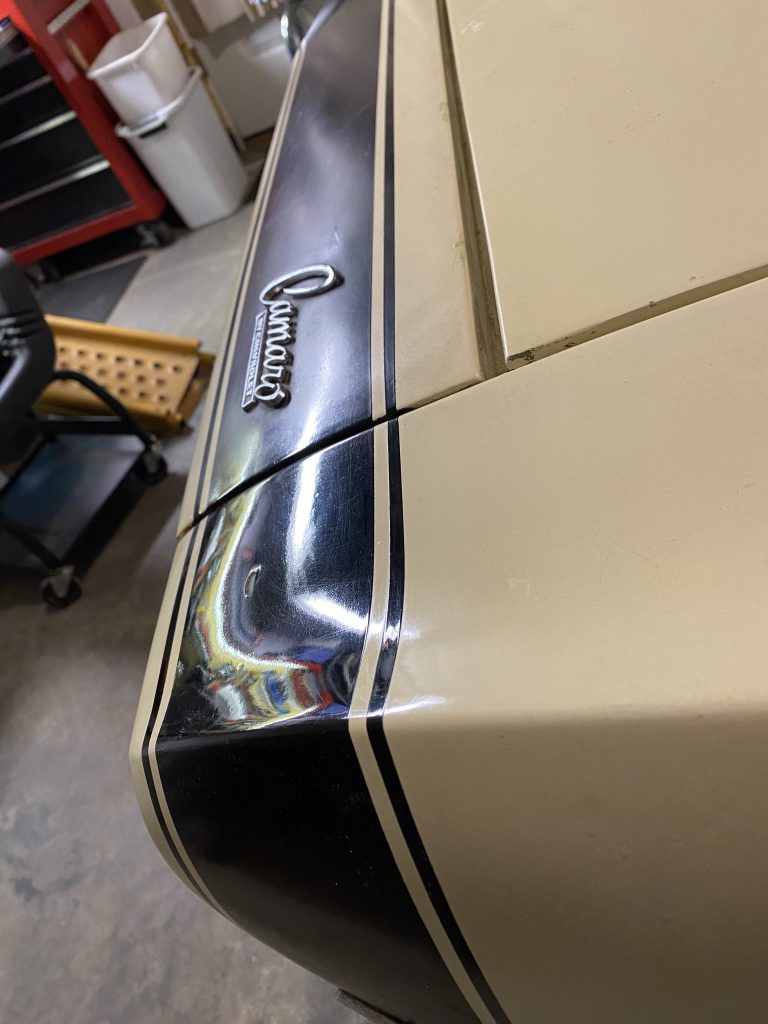
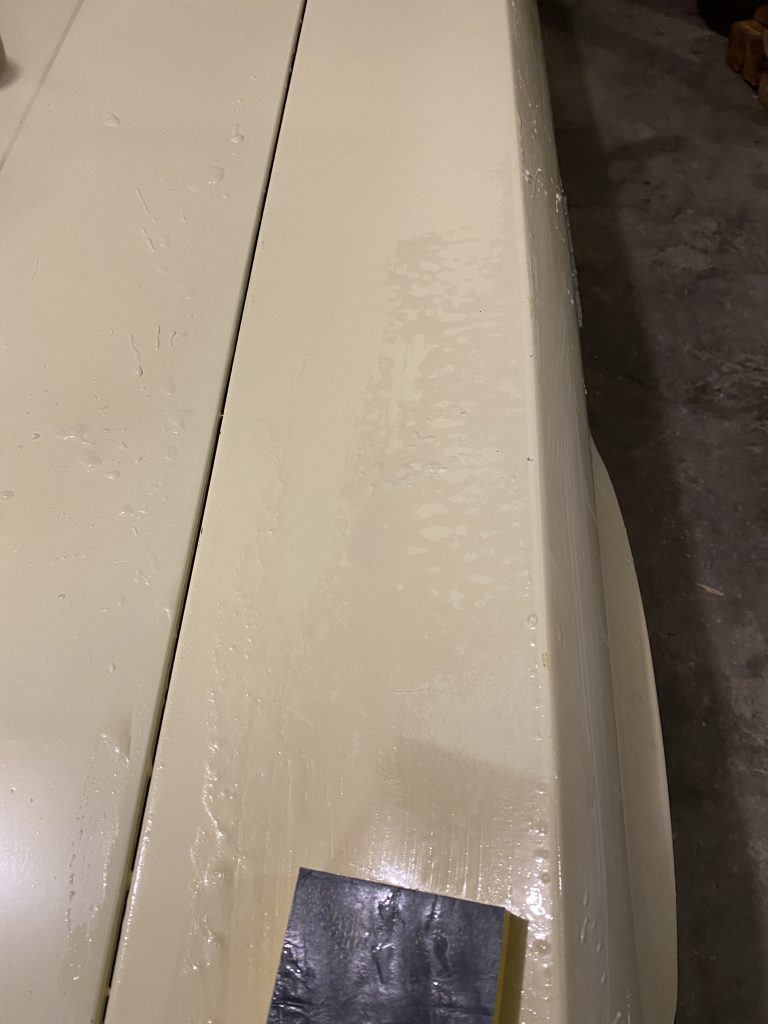
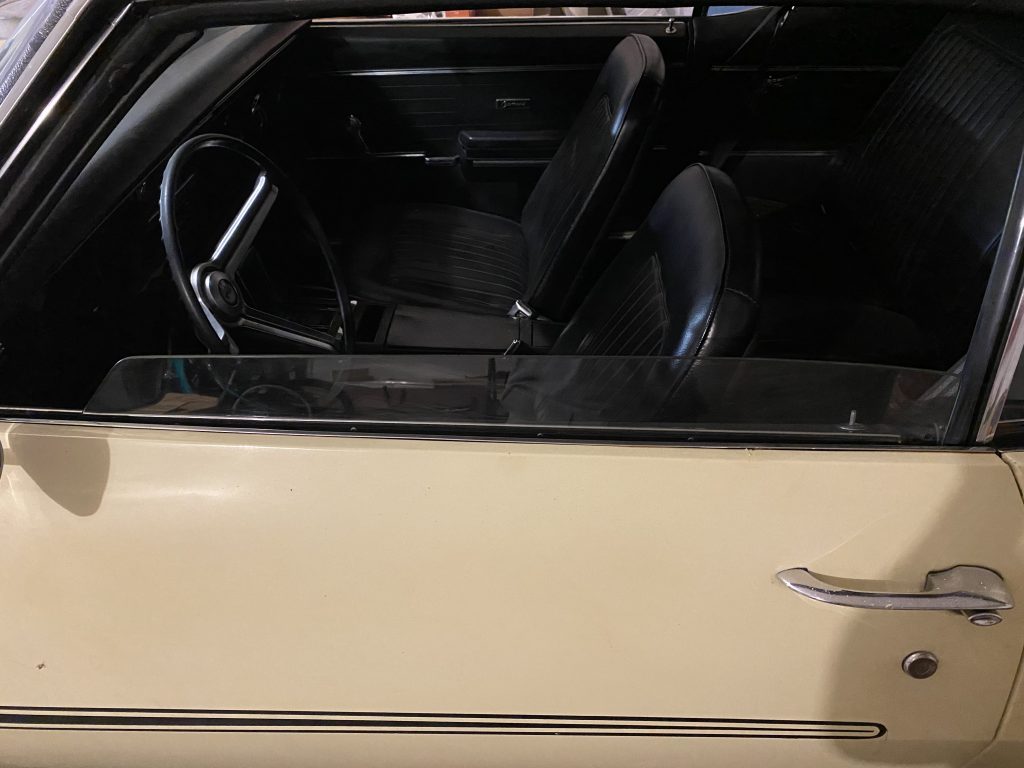
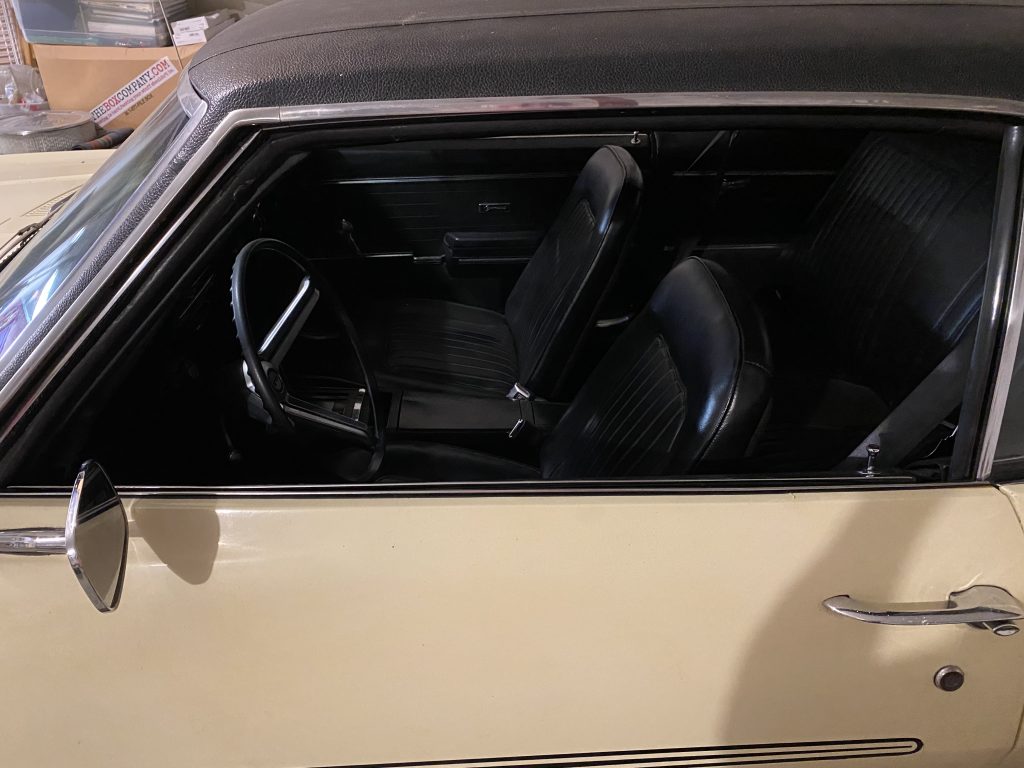
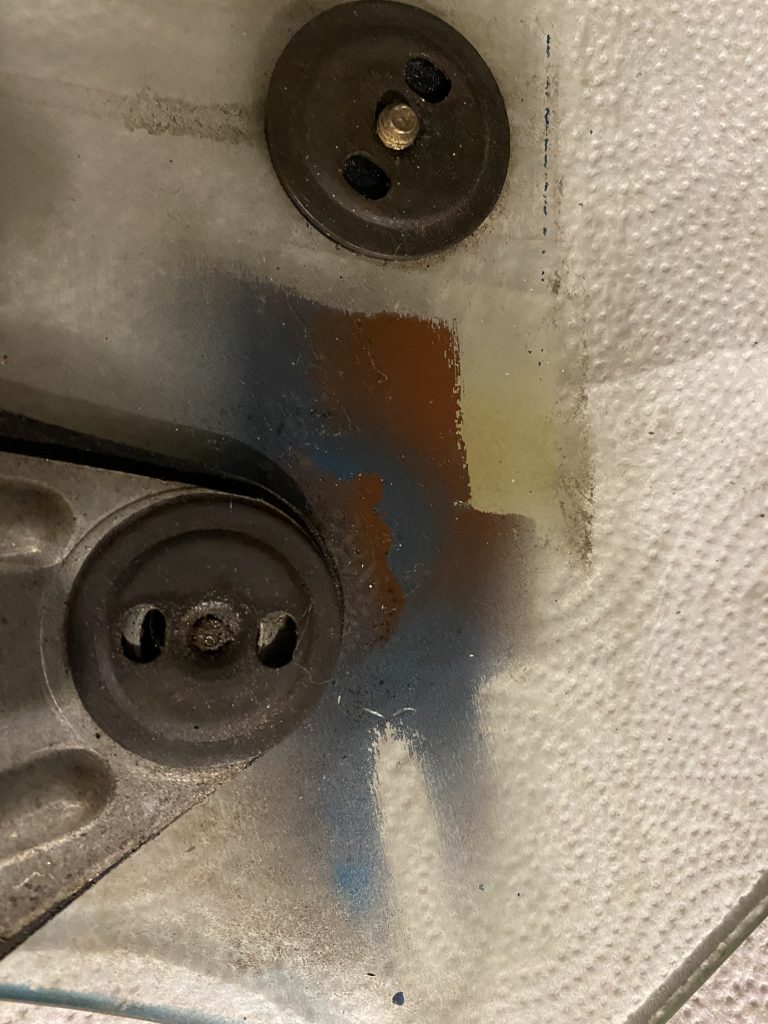
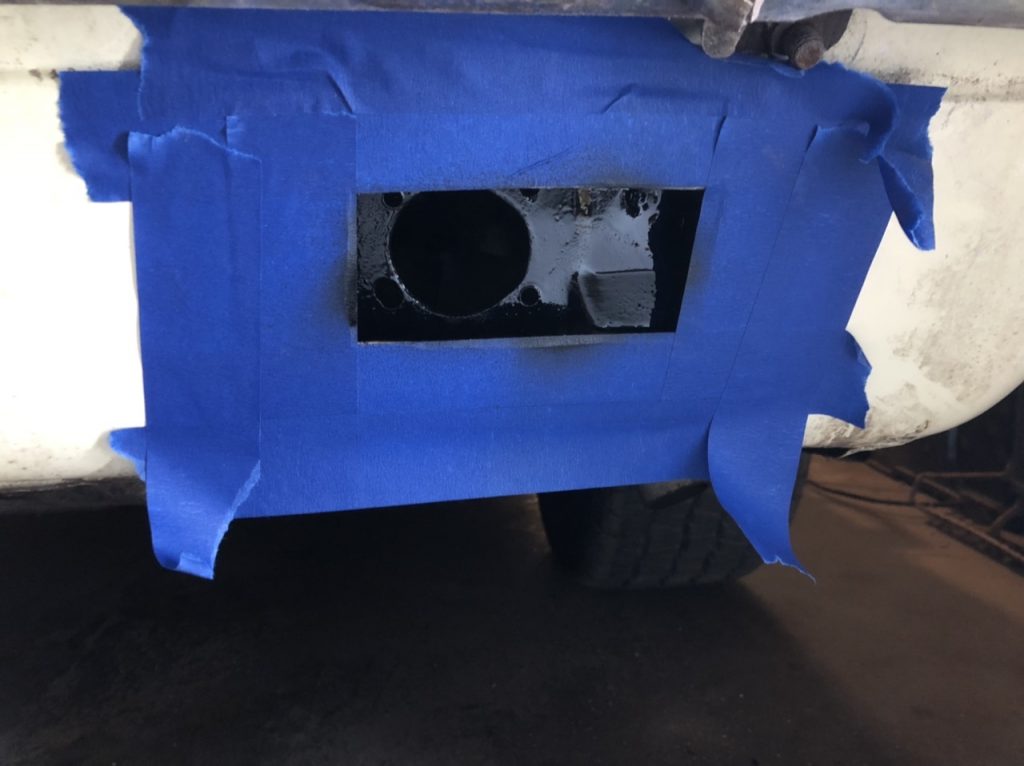
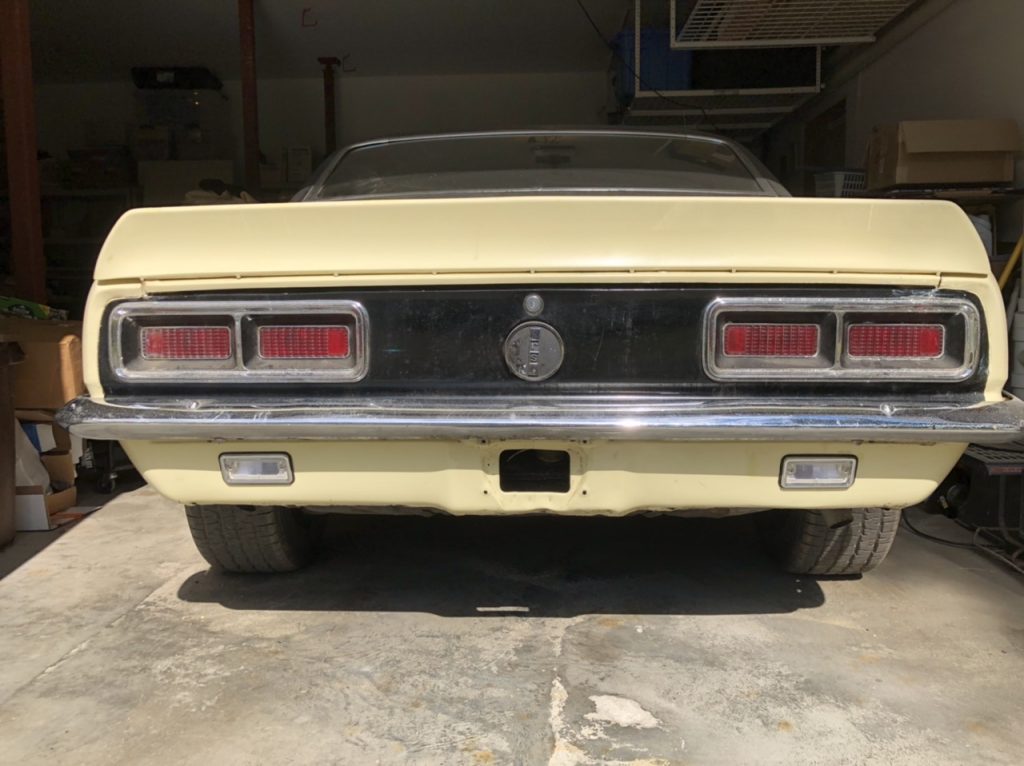
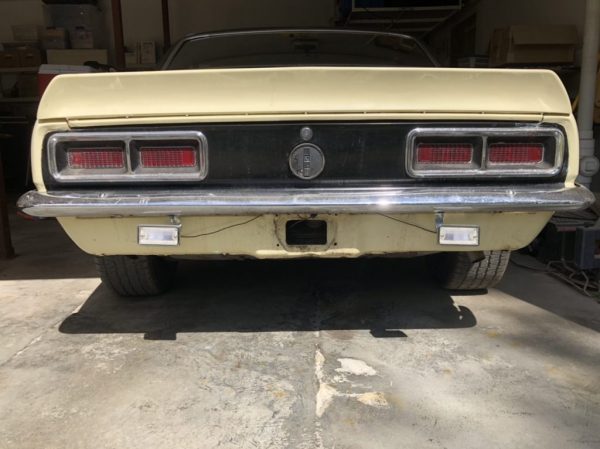
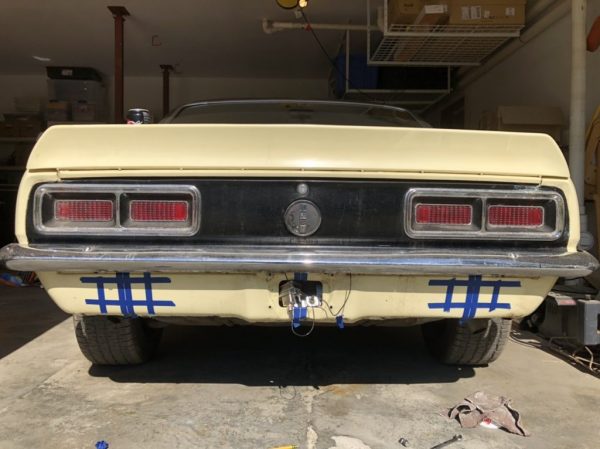
This car has been repainted several times from what I can tell.  The most recent paint is some version of Butternut Yellow, with black stripes, and black taillight panel.  The strange thing about it is the black stripes are done fairly well, but the overall finish is terrible.  It looked like someone had gone back and fogged some muddy dirty version of the yellow over the base yellow.  This didn’t make sense, because that would have covered up the black stripes.  The driver’s side fender was the worst offender, there were big runs and puddles on the top, pooling into the middle of the fender.

I like driving this car, and I actually kind of liked that the paint was so-so because then I didn’t have to be worried about it getting scratched in a parking lot.  But still…it would be nice if it was at least a little nicer looking.

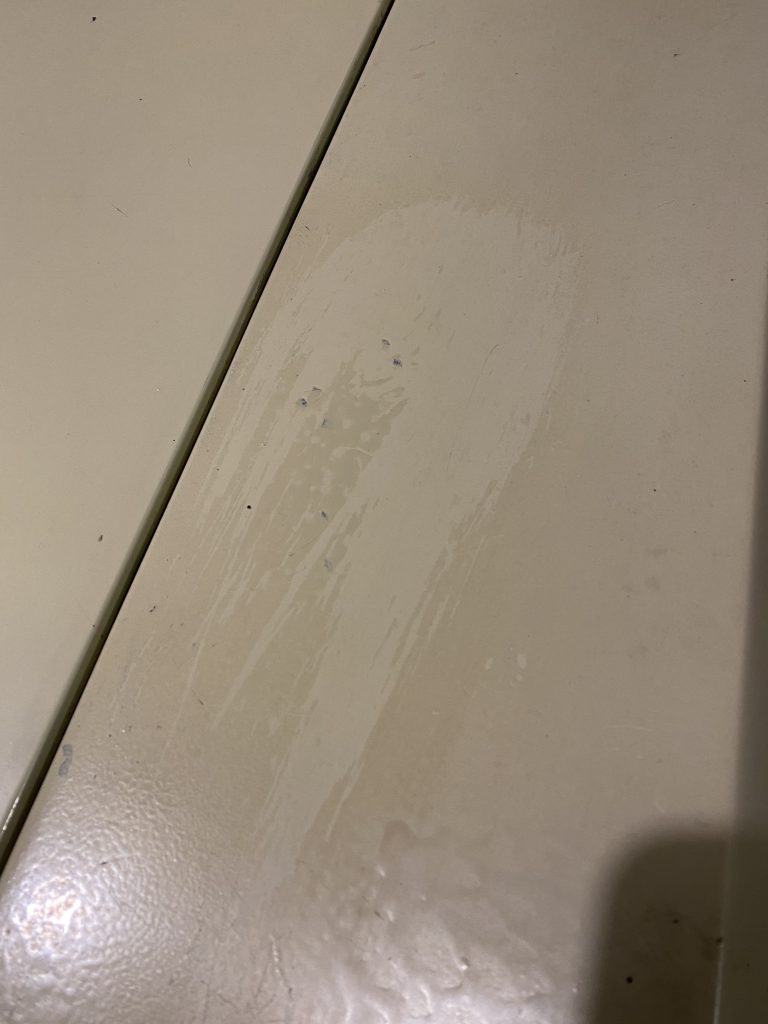
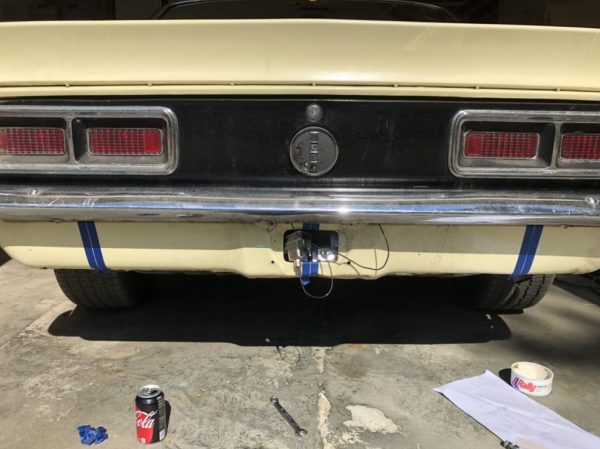
I was discussing this with someone at the Castle car show, who suggested the dull finish was really just a very badly applied clearcoat.  Bingo…that would explain how it could be applied after the black stripes were added.  There were some spots where the yellow showed through because of poor surface prep or something, and it was obvious that a muddy clear had been sprayed over a lot of the car.  In some spots it was very thick, but in other spots it was barely fogged on.

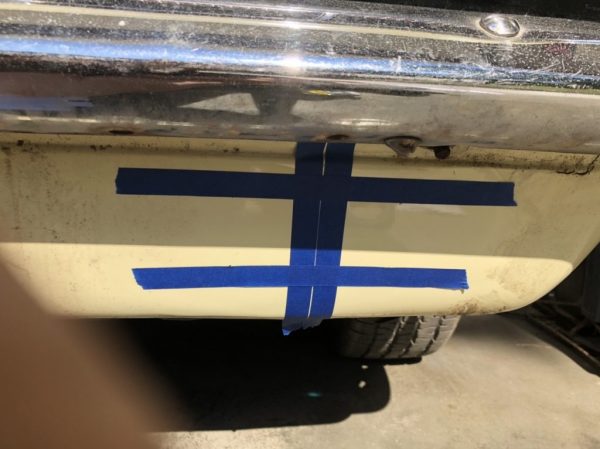
I decided to see what would happen with some elbow grease and some aggressive paste wax.  Turns out…it shines up pretty good if you really hit it hard.  It’s tough taking a picture to show how shiny something is, but here’s my attempt.  The front part of the fender has about 30 minutes of hard scrubbing with the paste wax in a 6″x6″ area, while the front header panel is the original finish.

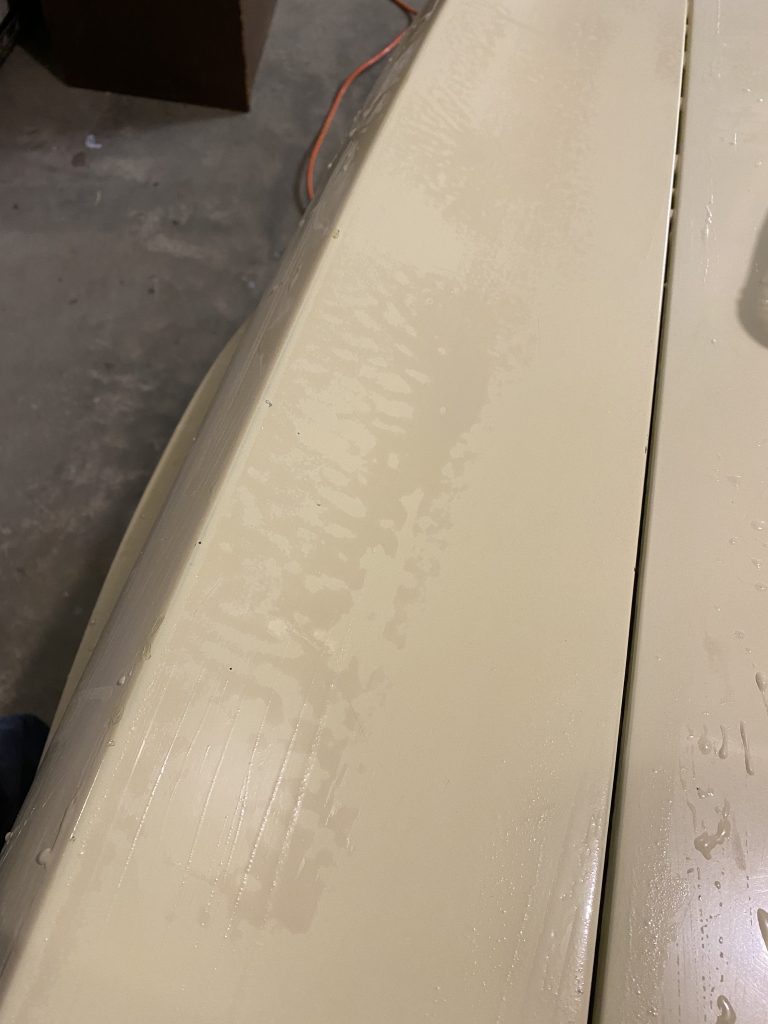
This needed some power to make the job go faster, so I got some 1000 and 1500 grit foam sanding blocks, and started wet sanding.

After about 3 hours of working on the top of the fender, most of the clear was removed.  There’s still some remnants of the puddles and runs that were there, but I didn’t want to sand through the paint, so I stopped for now.

One nice thing was that several black marks in the paint disappeared.  I had assumed they were chips that went down to the blue paint under the yellow, but it was actually just pieces of dirt stuck in the clear.

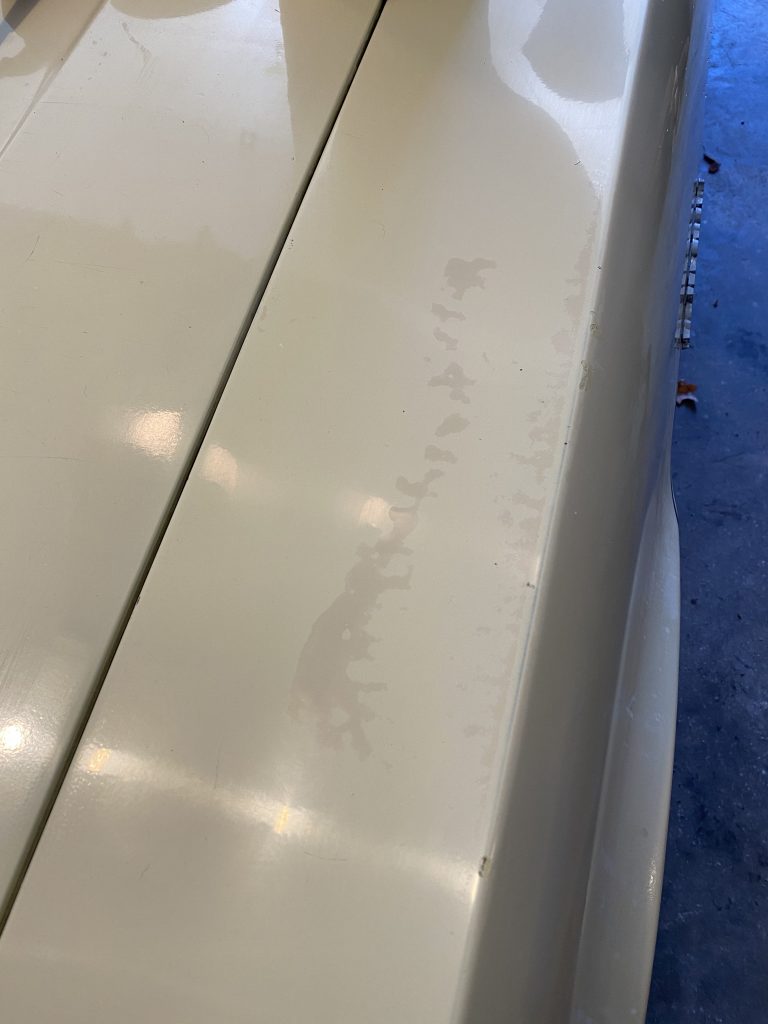
I got a polisher and some polishing compound, and went over the area I had wet sanded, then put some wax on it.  Not perfect by any means, but a lot better looking at least.  This is going to be a long-term project, I’ll keep doing sections until I work my way all around the car.

Posted on

Door Glass Fix – Part 1

The window on the driver’s side door hasn’t rolled down all the way since we got the car.  There was about 3″ showing when it was as far down as it was going to go.  After the mouse nest fiasco, I assumed it had something to do with that.  I was right.

Working with the door glass on these cars is awful.  I found an excellent series of videos about doing the job, that at least showed it could be done, and lots of good tips on how to do it in the easiest way possible.

Once I got the glass out, I discovered that the front guide track was corroded at the bottom, and still had the remnants of the mouse nest that I had removed from the door when we first owned the car.

A lengthy session with a wire brush followed, and the guide track was clear enough to fit over the window roller again.

I also found out that there were some missing parts.  The guide is supposed to have a rubber block at the bottom to act as a stop.  I’m guessing the mice ate it.

There are also supposed to be two guide blocks on the inside top of the door.  The rear one is missing.

While the glass was out, I got to play “How many times has this door been painted”, and I counted at least 3 different colors, in addition to the factory color.

Posted on

Freshening Center Caps

The car came with a set of rally rims including trim rings and center caps.  As other details of the car came together, the center caps started looking a bit rough by comparison.  I’m not looking for a 100% concours restoration, I just want it to look cleaner.

First step was pulling the cap and scrubbing the loose paint and dirt off of it.  I hit it with a toothbrush and some brakleen spray, and that did a decent job.

Next step was masking it off a bit before painting

Then I hit it with some satin black paint

Then I uncovered the top and gave that a quick spray to fill in the lettering

Then I wiped the paint off of the face with a paper towel and a little brakleeen spray.  A couple of passes, and the paint was removed from the face completely.

Next step was carefully wiping the paint off of the ribs on the cap, again using a paper towel and a little solvent spray.

and…finished product:


Posted on

Backup lights part 2

The inner panel has one large hole that the light housing sticks through, plus two small holes for the mounting studs.  The large hole is 1-7/8” in diameter, and I didn’t have  that size, so I had to wait for that to arrive in the mail.

I made a wooden template from a 2×4 to locate pilot holes for the three.  I goofed on the orientation of the holes on the RH side and didn’t realize it until the first test fit with the lamp.  Oh well…two extra holes.


I had to grind the big hole and enlarge the stud holes a bit to get the lamps to fit properly,

a quick spray to seal up the bare metal, and on to final assembly.

A little touch up and… just need to hook up the wiring.

Posted on

Cutting backup light holes

This was not originally an RS model Camaro.  I’m pretty sure it was a base model, and someone transferred parts to it from a wrecked RS.

The base model taillights have one red and one white lens.  The RS taillights have two red lenses, and the reverse lights go in the tailpan.

The base model tailpan has no holes…so I’m cutting holes.

To pass inspection, I had temporarily mounted the RS lamps to the bumper:

The left-right position is centered under each taillight.  I measured 47 times and got the center lines mapped out.

from there, I found some templates online that showed the top edge of the holes should be 4.25” below the ridge on the tailpan (behind the bumper)


Then I drilled holes in the corners, and cut it out with a cutting disc.


still to come: cutting the other side and drilling the holes in the inner tailpan panel