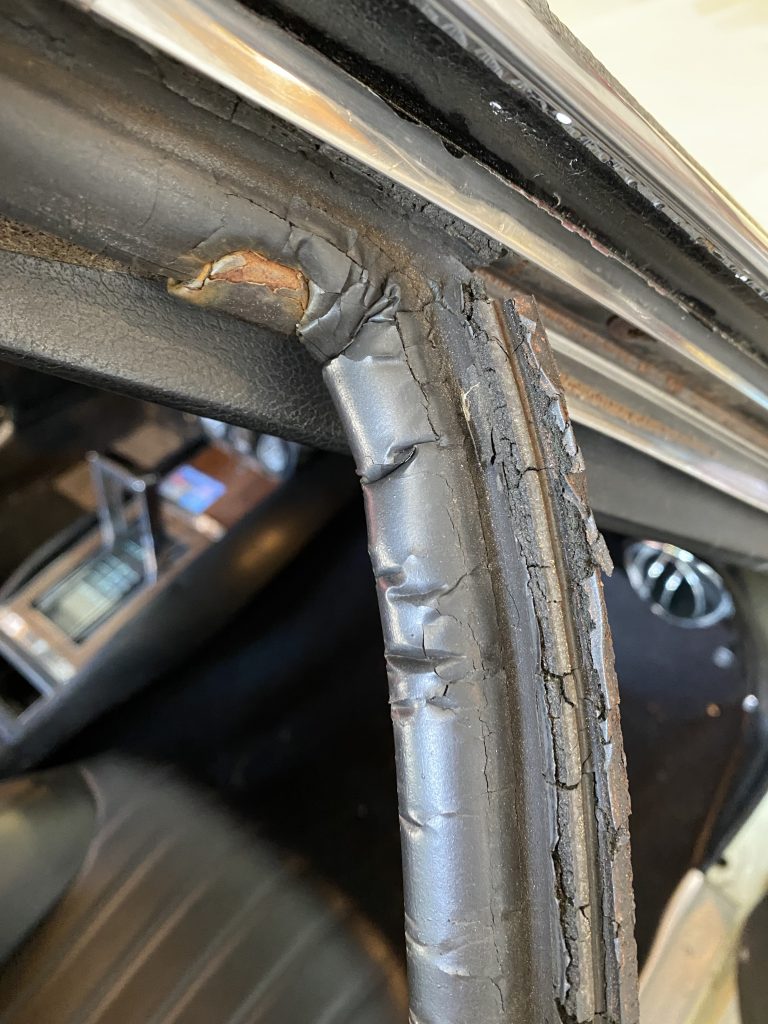
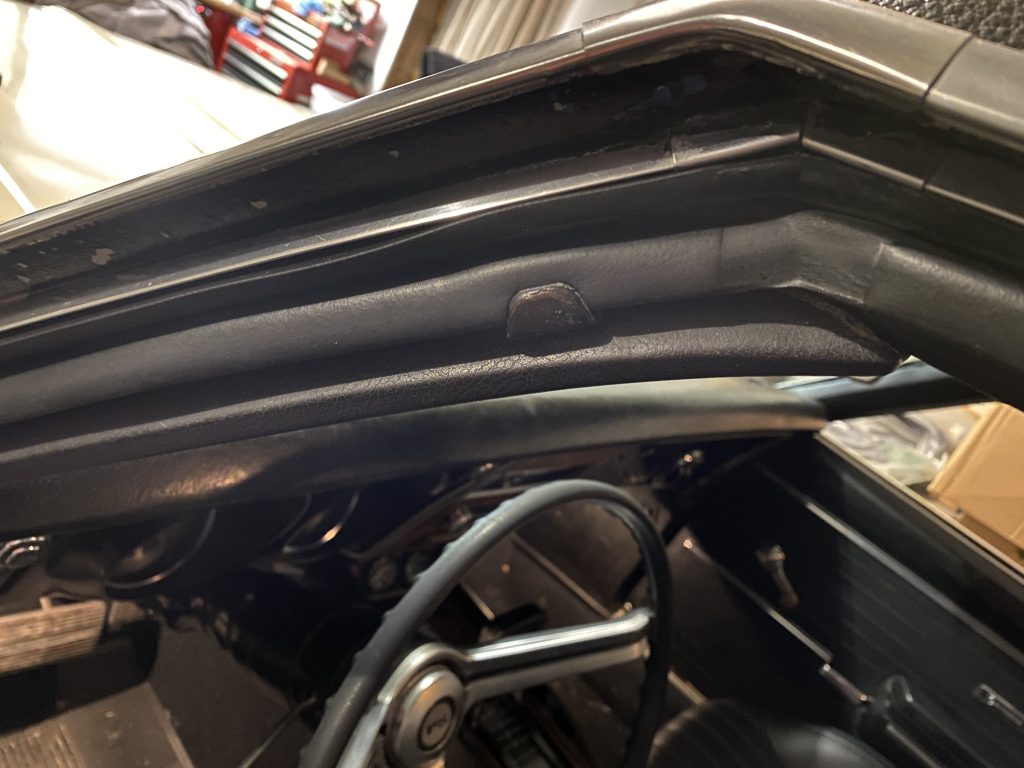
The roof rail weatherstripping on the car is probably the original stuff, and after 55 years, it doesn’t really do its job very well. I bought a bunch of weatherstripping for the car when I first bought it, and have slowly been installing it on the car ever since. I decided it was time to do the roof rails.
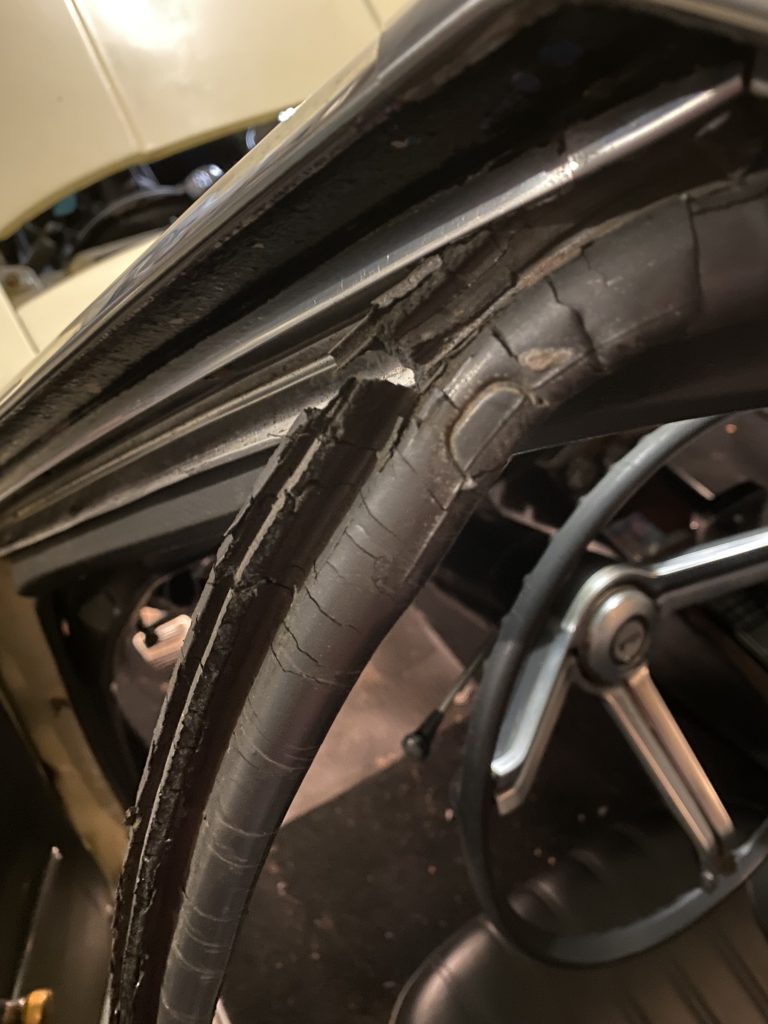
The installation turned out to be very simple. The old weatherstripping just pulled out of the roof rail channel. The instructions say to add a little weatherstrip adhesive at the corner near the top of the windshield, and a little at the frontmost part with the little plastic buttons, but you don’t have to put it anywhere else.
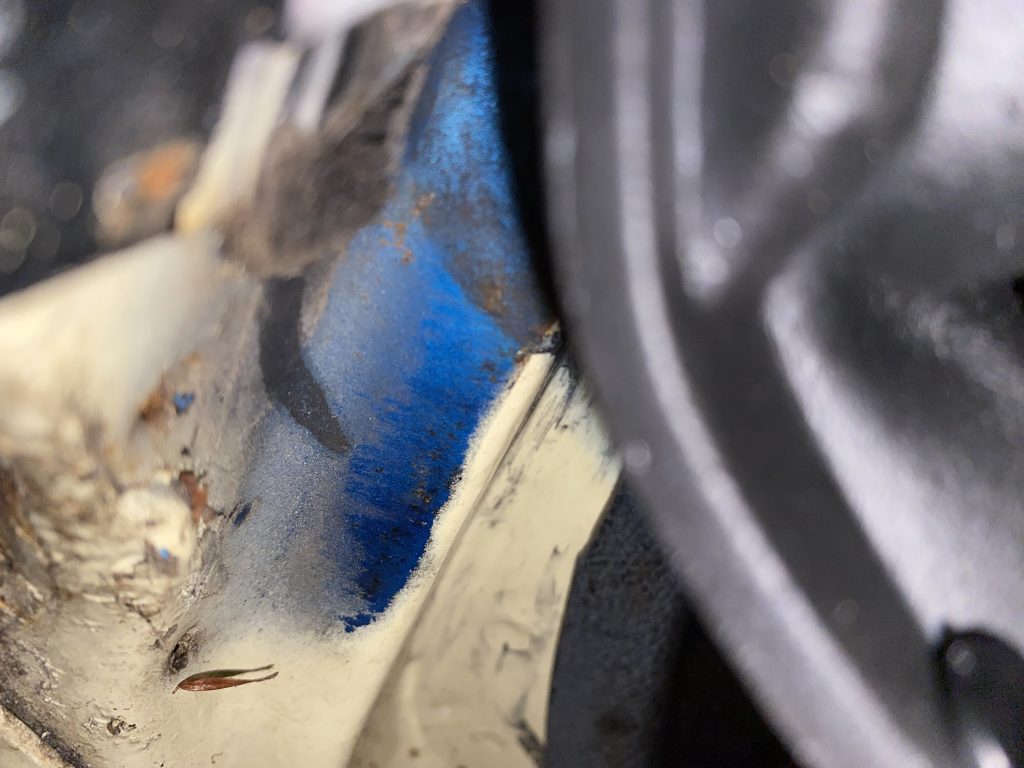
Some of the original blue color of the car showing from under the weatherstrip:
The installation turned out to be very simple. The old weatherstripping just pulled out of the roof rail channel. The instructions say to add a little weatherstrip adhesive at the corner near the top of the windshield, and a little at the frontmost part with the little plastic buttons, but you don’t have to put it anywhere else.
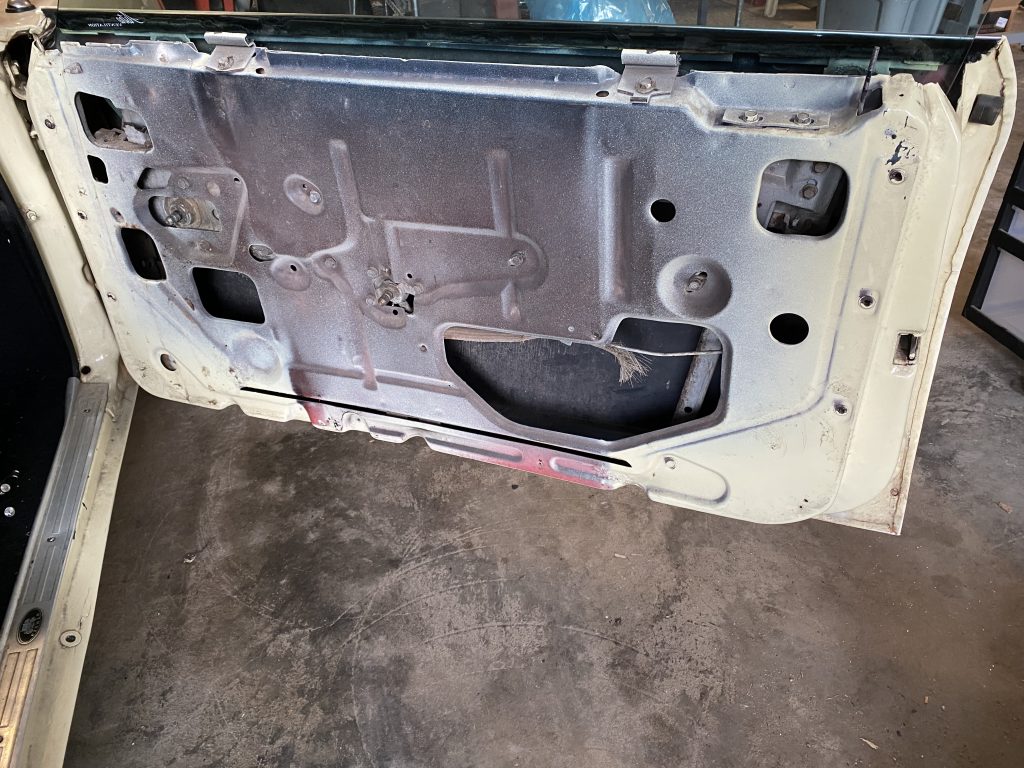
The other job was replacing the outer door window ledge weatherstrip, and then fixing the window alignment so it hit the roof rail weatherstrip in the proper spot. The videos in the post about fixing the window so it rolled all the way down helped a lot here.
Getting to the window adjustments means taking off the door upholstery panel.
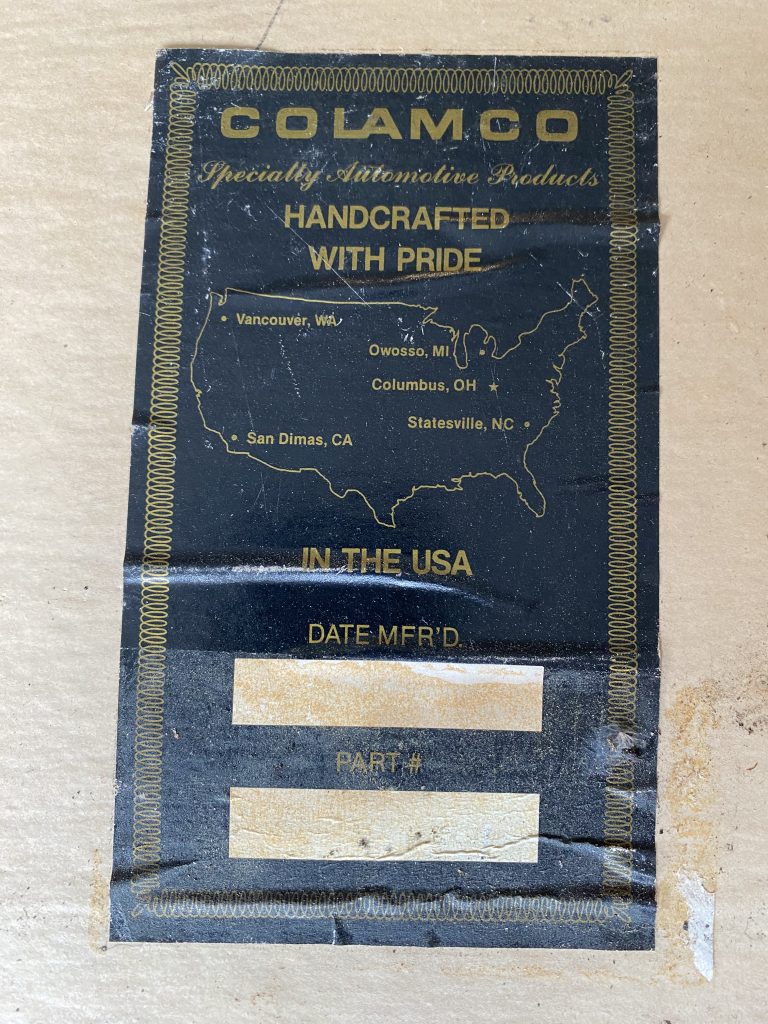
The panels are reproduction pieces from a company called COLAMCO that has since gone out of business. Too bad, they appear to be very well made. I wish I could read the manufacturing date, but it’s too faded.
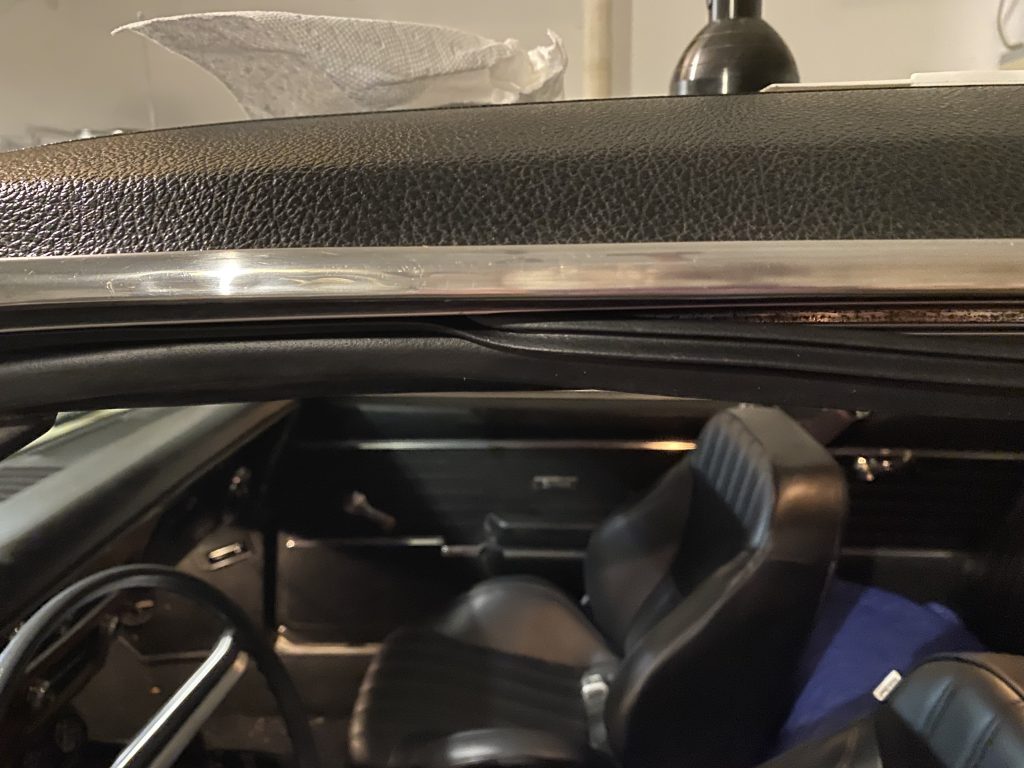
I’m not 100% happy with the window alignment, but it’s pretty close. I still have some work to do on the rear window, and I will need to adjust both so they mesh properly.