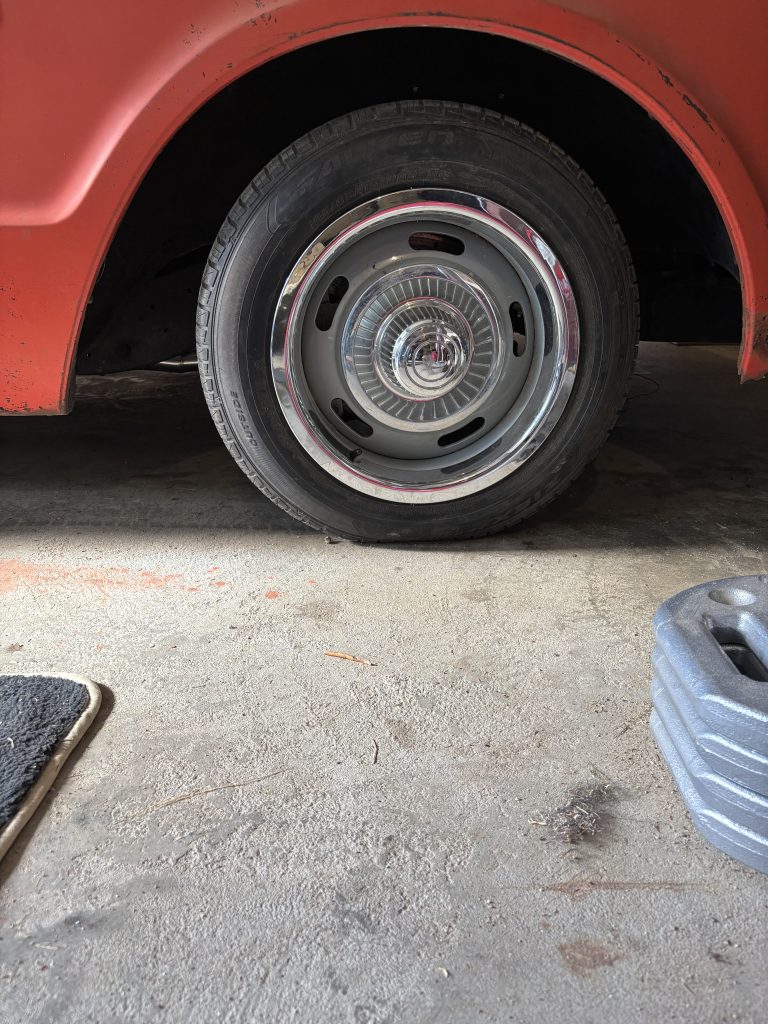
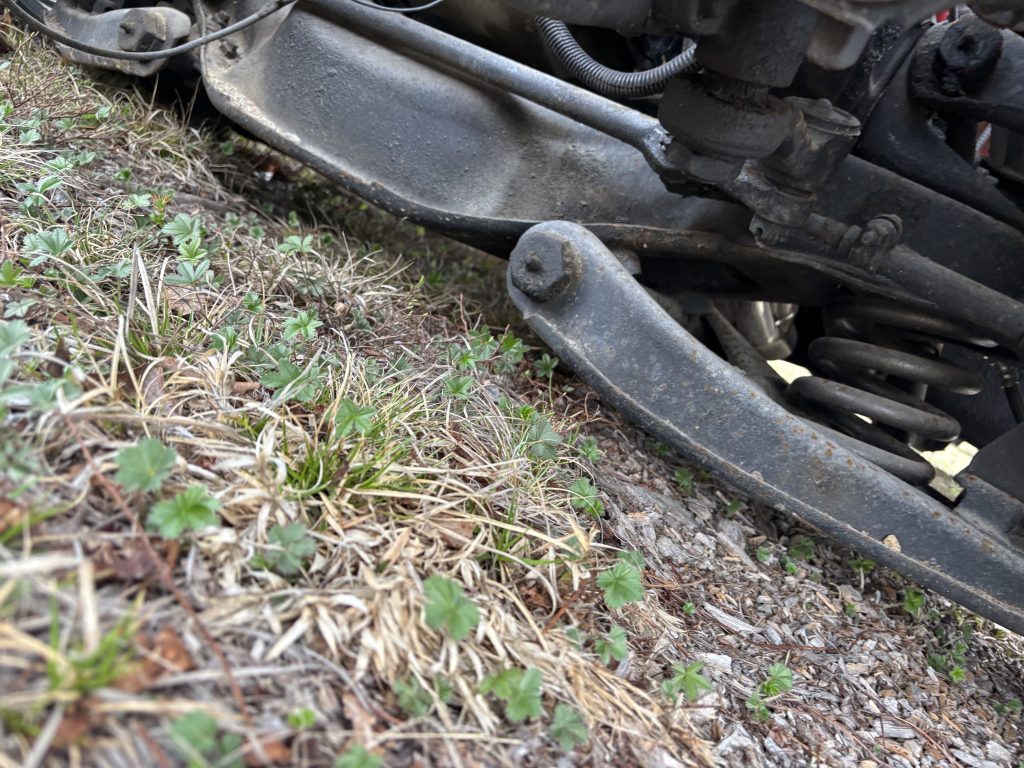
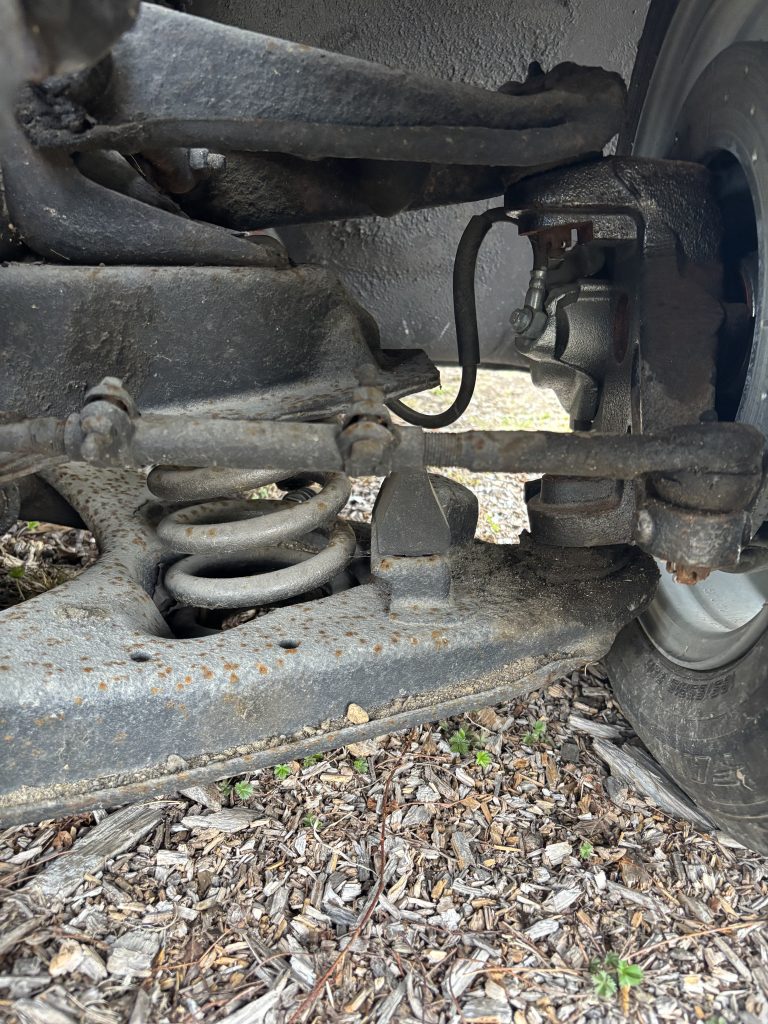
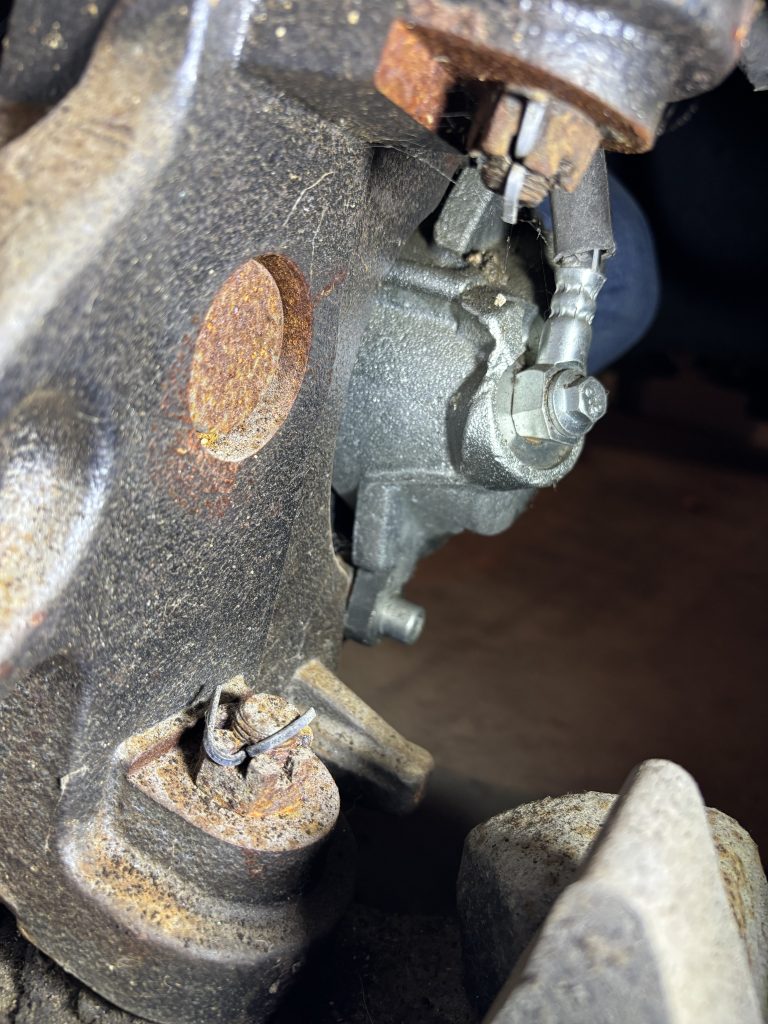
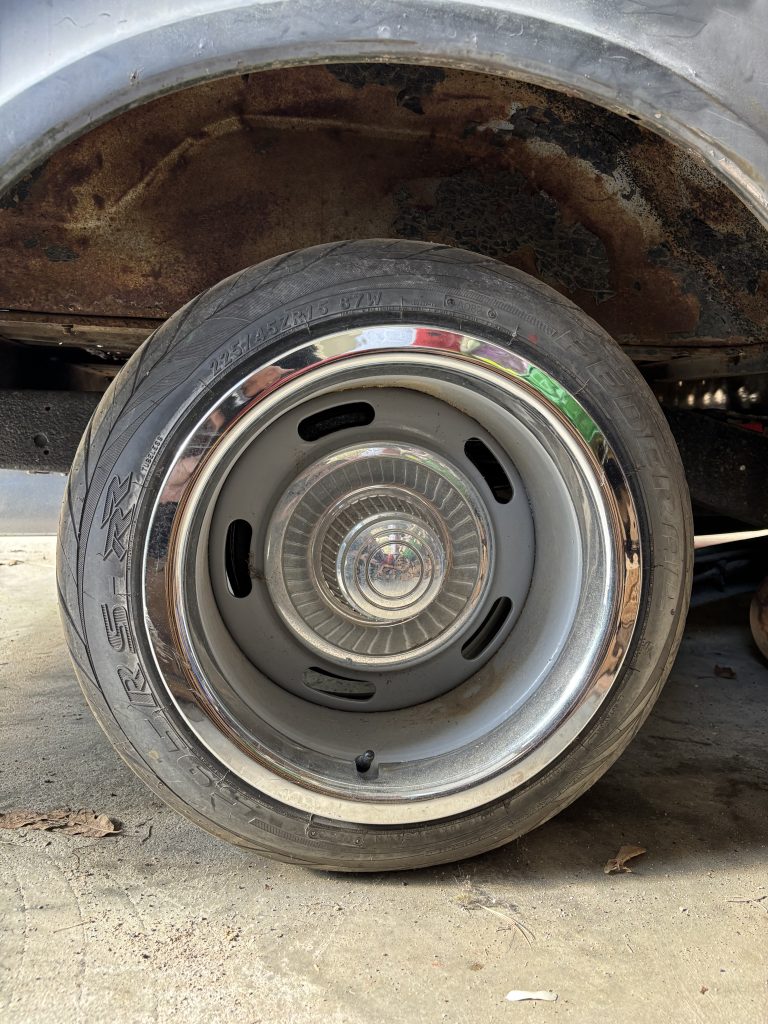
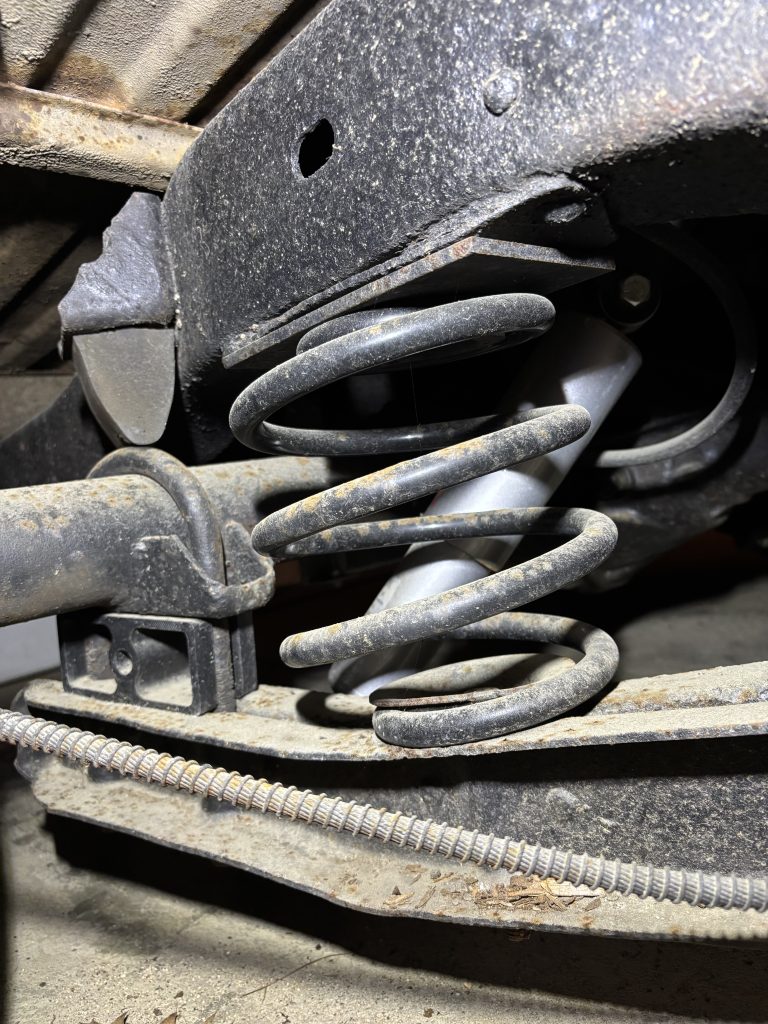
The previous owner wanted this thing l-o-w. It has 3″ drop spindles in the front, along with shorter (3″ drop?) springs. The rear has a 2″ lowering block and I think he told me 5″ shorter springs. It’s sitting on the rear bumpstops, and there is about 3″ of ground clearance on the front suspension. It also has very short tires, which makes it ride even lower. This would be fine if it was on air bags, but this is a static drop, and every single bump in the road is going to hit the bottom of this thing.
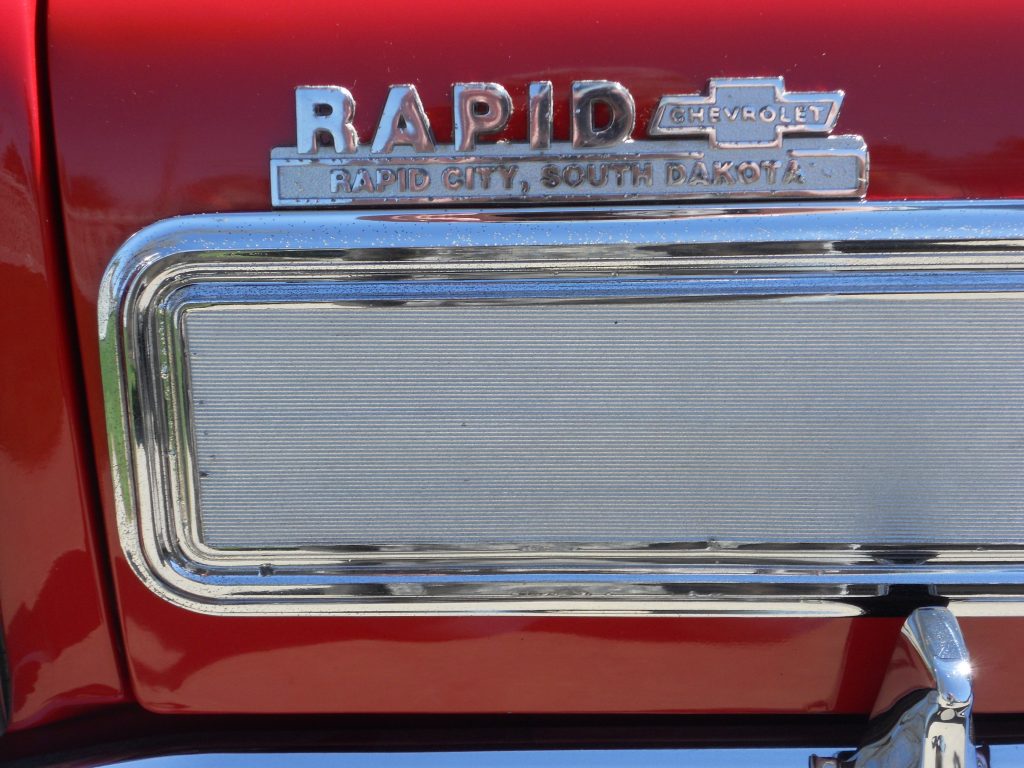
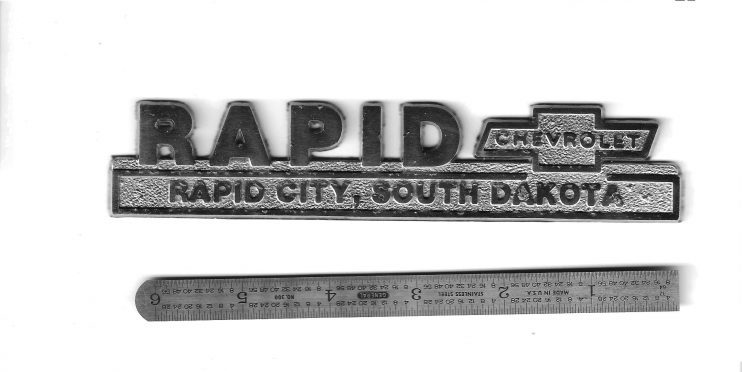
Someone on the Nova board was looking for a dealer emblem for their car. here’s a 3D printed version I made for them:
Original emblemScanned image of emblem
Using the scanned image of the emblem, I used GIMP to reduce it to a pure black-and-white image using the posterizing filter. Once that was done, I hand-edited the result to clean up and straighten the noise in the image.
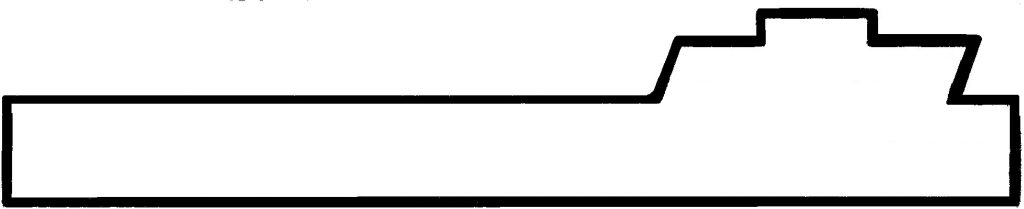
Foreground outline
Once the basic image was created, I used parts of it to make a background outline.
Background outline
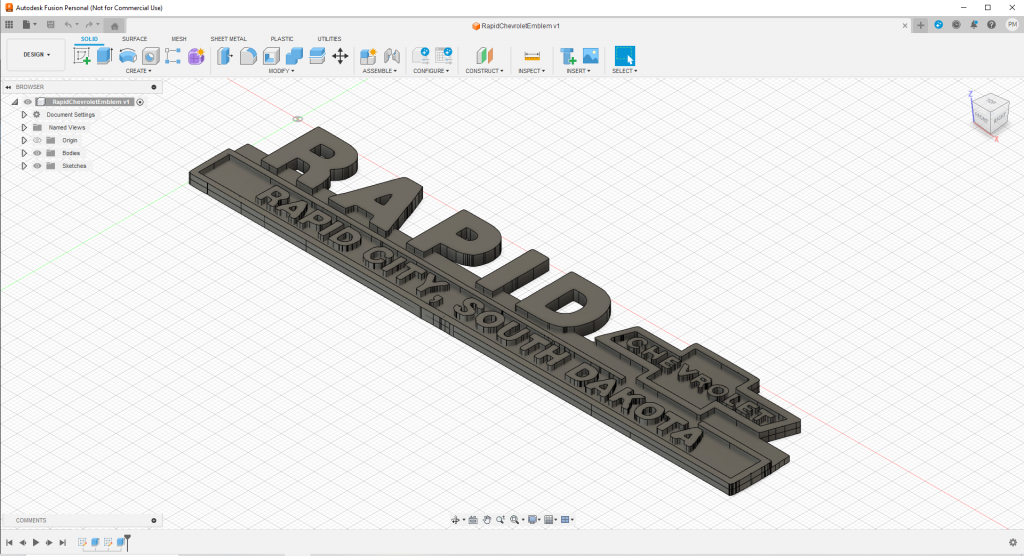
These two pieces were traced into SVG files using Inkscape to turn them into outlines. The SVG files were then imported into Fusion360, where I filled and extruded them to form the final object.
Background and foreground extruded in Fusion360
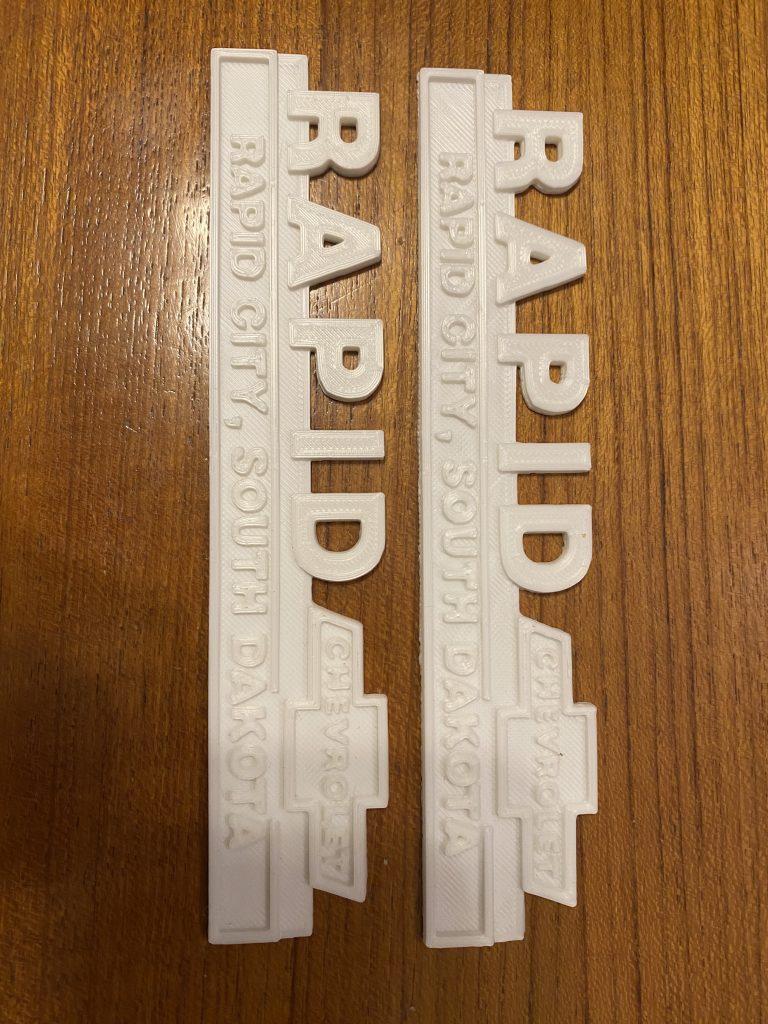
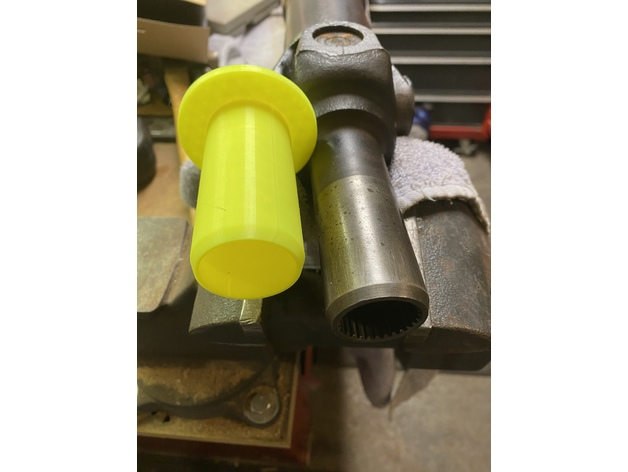
The object was saved as a STL file, loaded into Cura, and sliced for my Ender3 printer. I used PLA filament to print it.
3D printer in actionFinal result in PLA plastic filament
It’s not perfect, but it’s a good 10-footer if it is painted with chrome paint. Another option would be using a service like https://shapeways.com to render it in metal, or https://www.gcartrim.com/ to have the plastic plated.