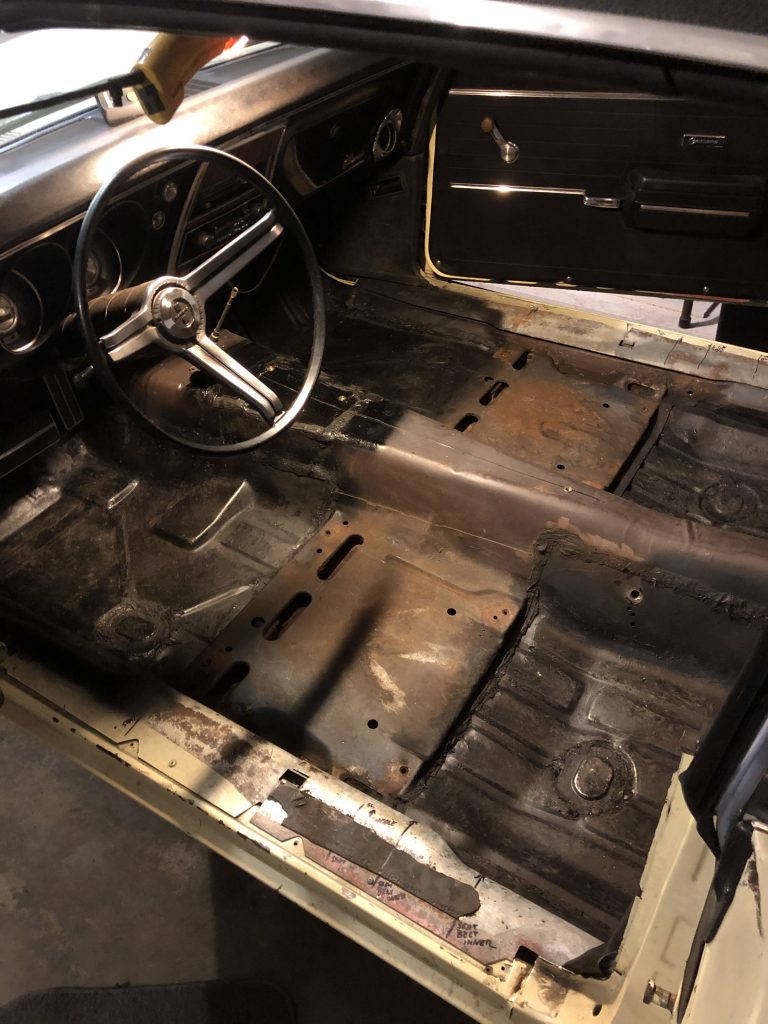
With all of the mounting points for the shifter and console established, it’s time for carpet. First step was removing everything.
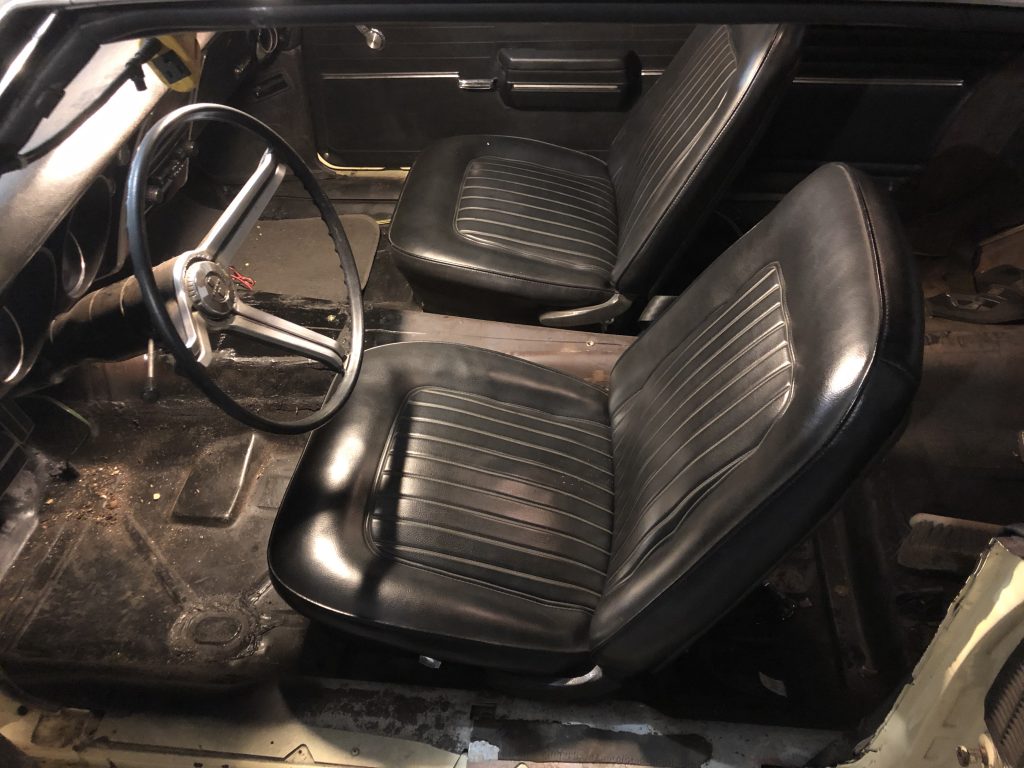
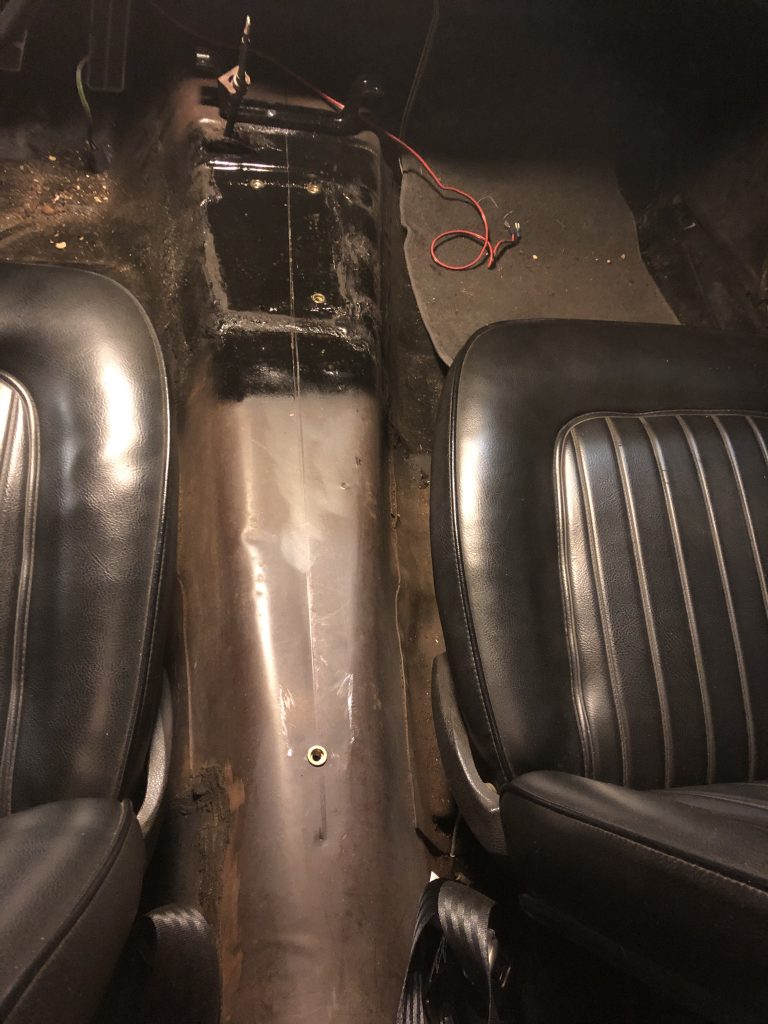
Last out was the seats and belts. I also drew a map of the holes for the seats and seat belts, with measurements. I put reference marks on the sills for all of the holes also.
I purchased a one-piece molded carpet from Auto Custom Carpets (ACC). The one I used has extra sound deadening backing, in addition to underlayment.
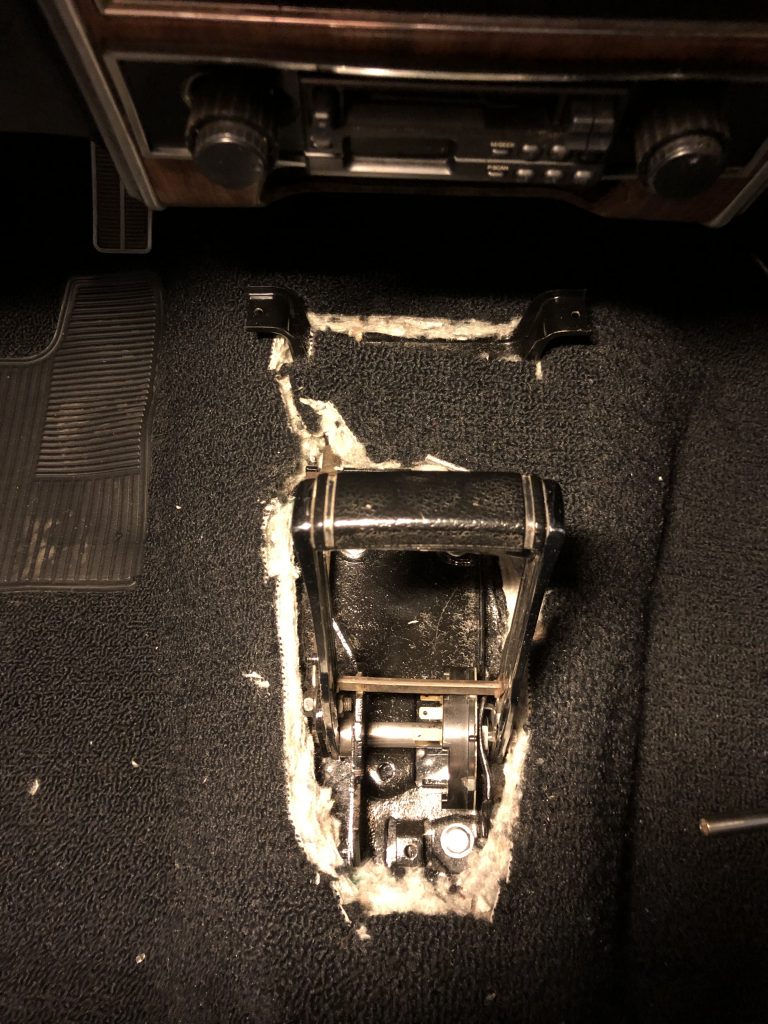
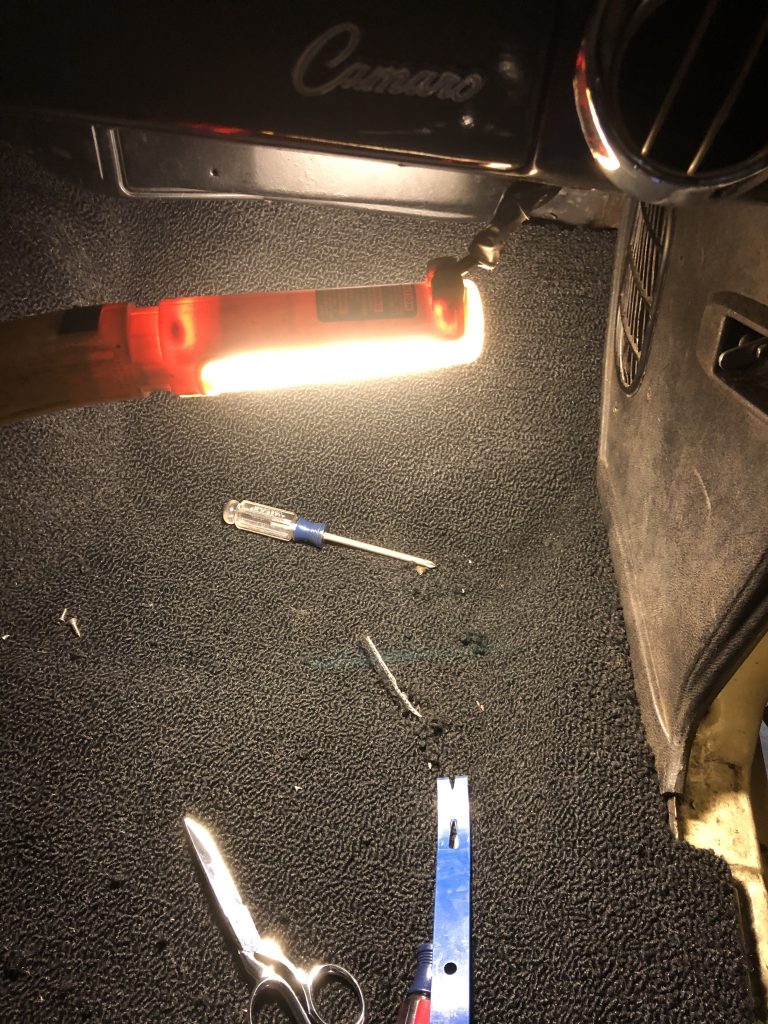
The next step was putting it in to get a rough position so I could work in the cutouts for the shifter and front console bracket. These pieces are bolted directly to the floor and the carpet is cut around them.
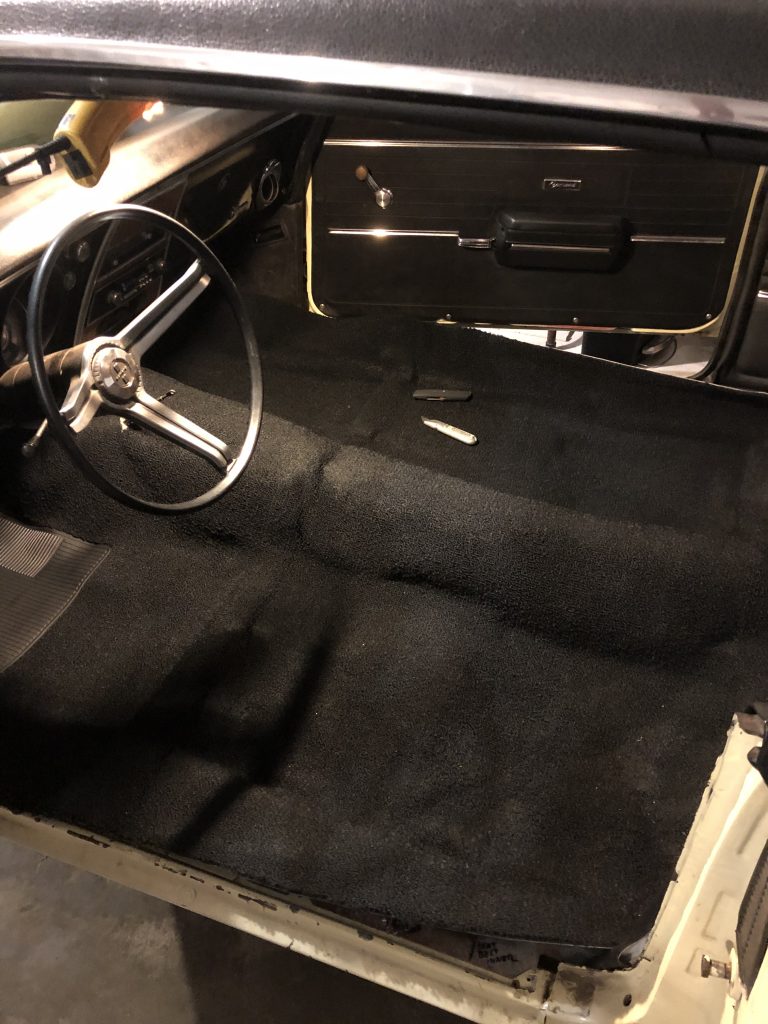
After smoothing the carpet out into the footwells, I added some holes for the shifter and console bracket, and slowly cut them larger until it was laying flat on the floor, and sitting correctly in the footwells
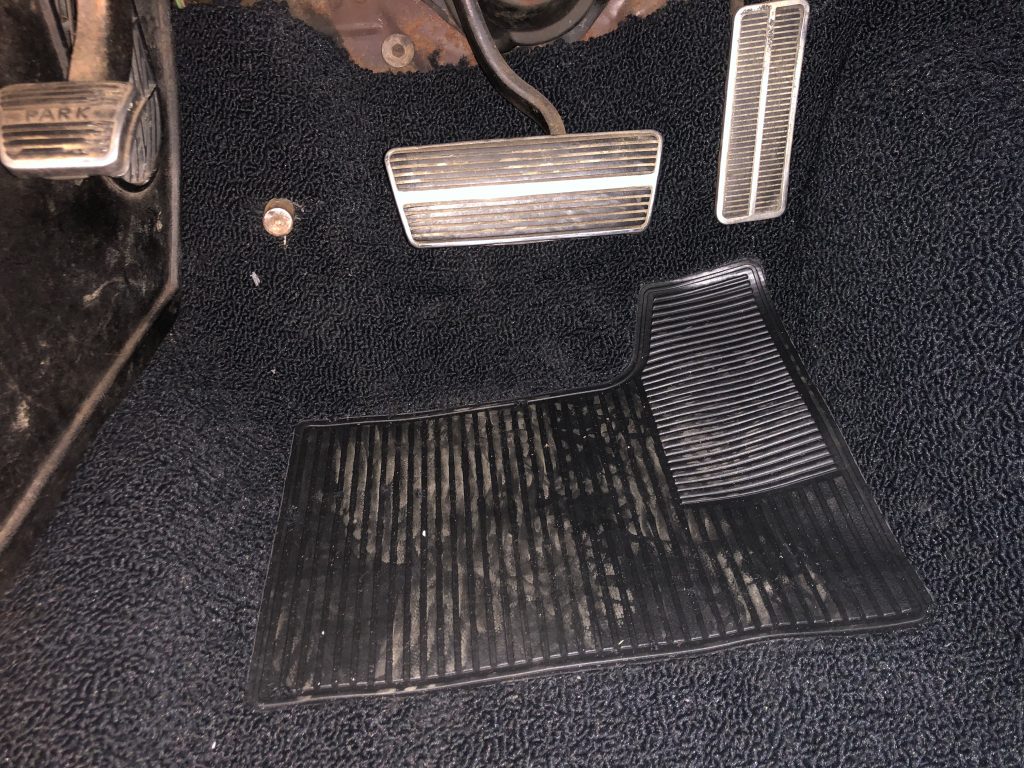
The next step was locating the inner seatbelt mounting points, and cutting holes for the bolts. Once those were in and the carpet was smoothed out into place, the outer seatbelt mount bolt holes were located and cut.
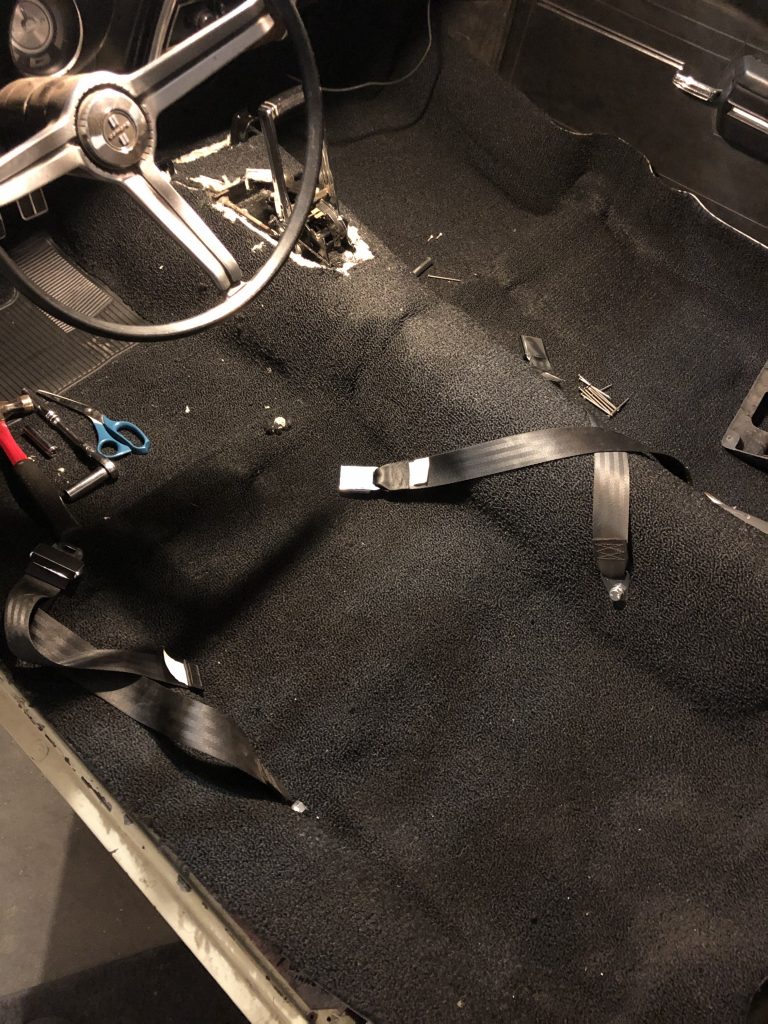
Next was the holes for the seat mounts. To find the holes, I used a hammer and a common nail, tapping in the area where the hole should be until it hit the right spot. Once all four holes were located for each seat, and the carpet was laying smooth, the carpet holes were cut, and the seat was bolted into place.
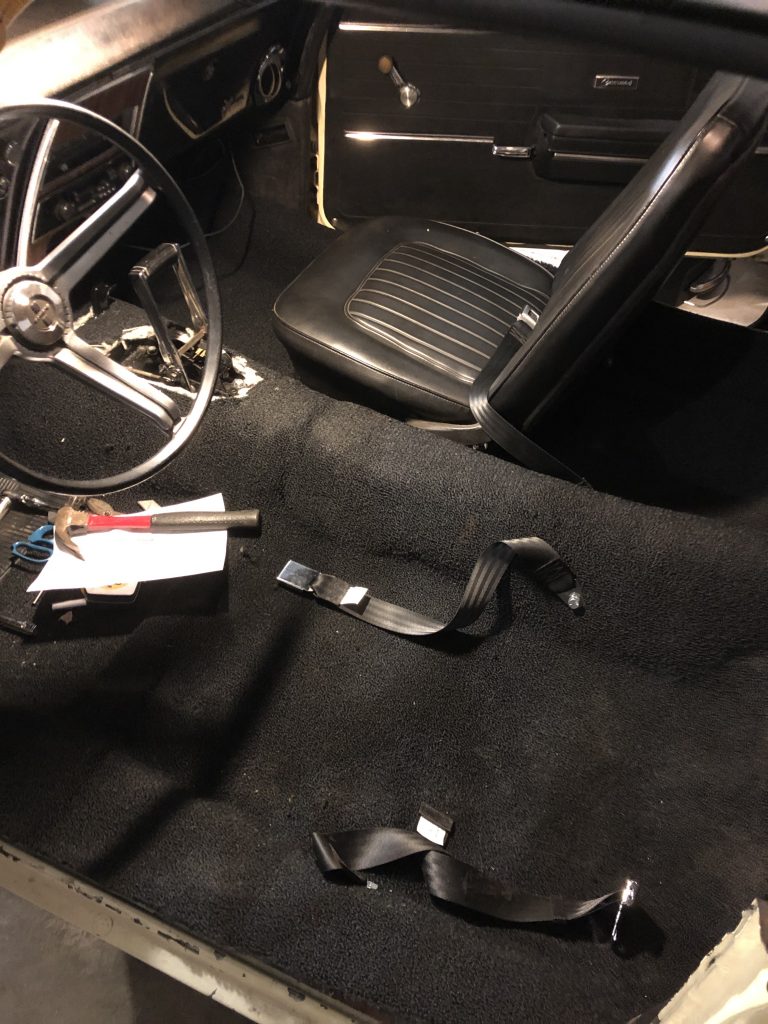
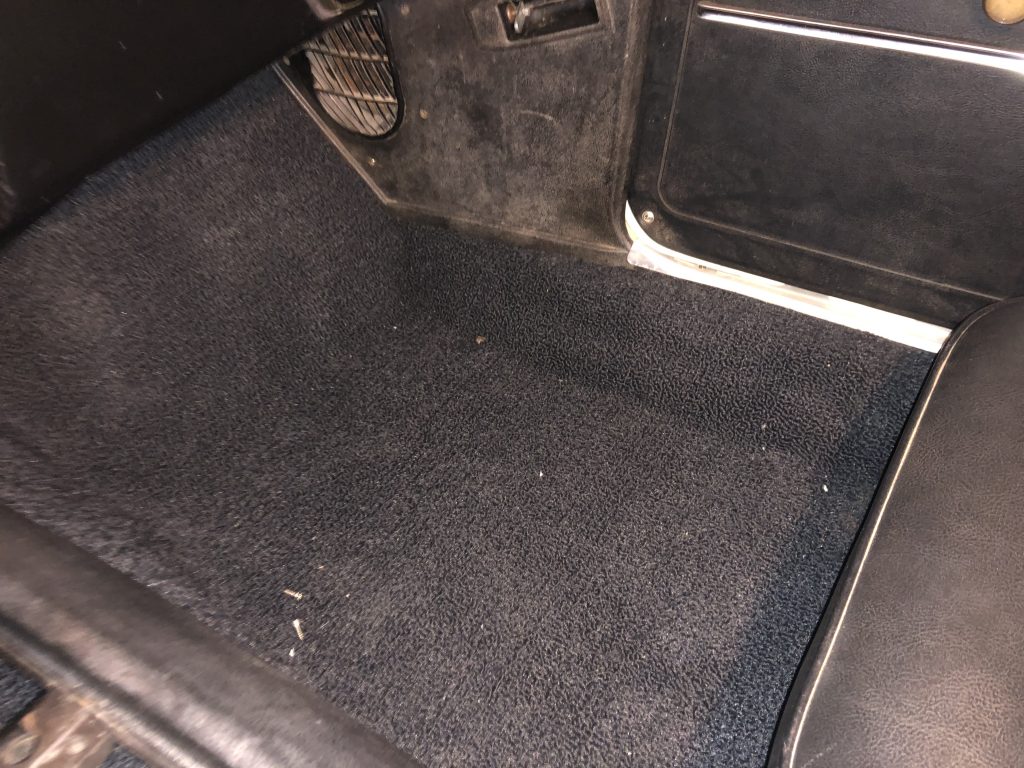
The rest of the install is trimming the outer edge of the carpet on the sides to fit underneath the sill plates, the kickpanels, and the rear side panels.
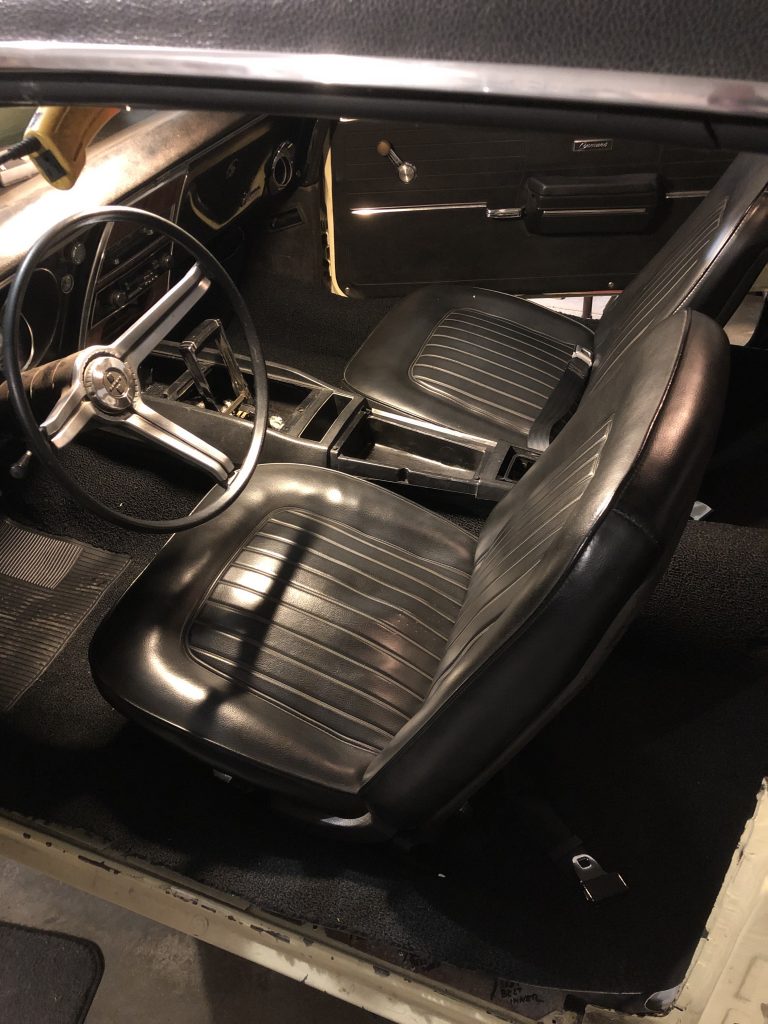
The carpeting ends just under the front edge of the back seat
