Get the repair kit they said. It’ll be great they said.
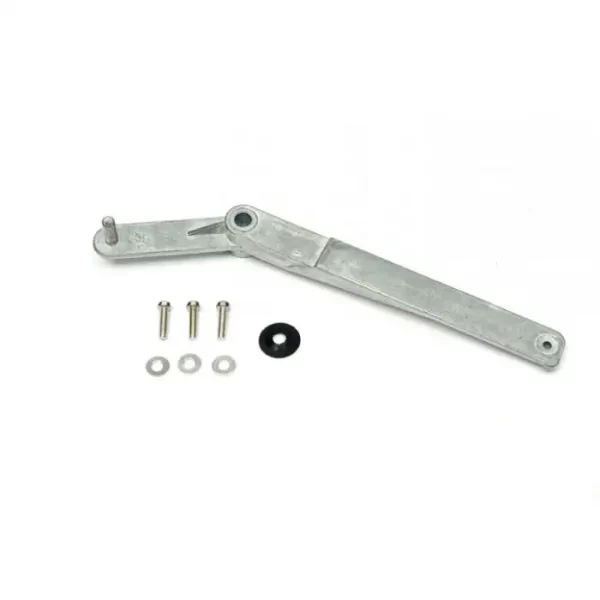
The kit consists of a new arm, and some screws to attach joints that were originally staked. The new arm is much beefier than the original one, so it looks like a good upgrade.
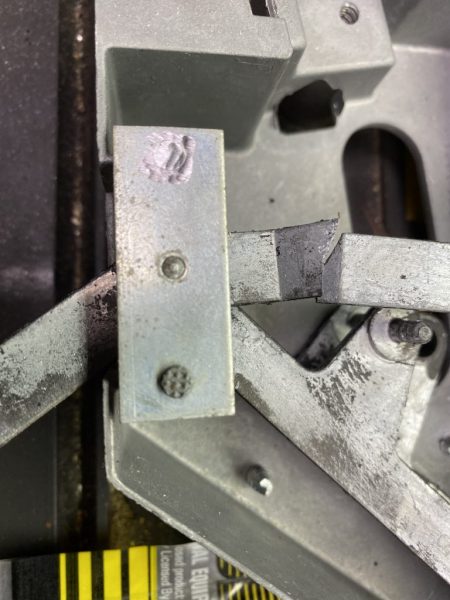
The disassembly process is pretty simple. The first step is grinding off the two staked pegs holding the pivot end plate.
The third point is the pivot at the end of the defroster lever. Once that is ground off, the old lever can be removed.
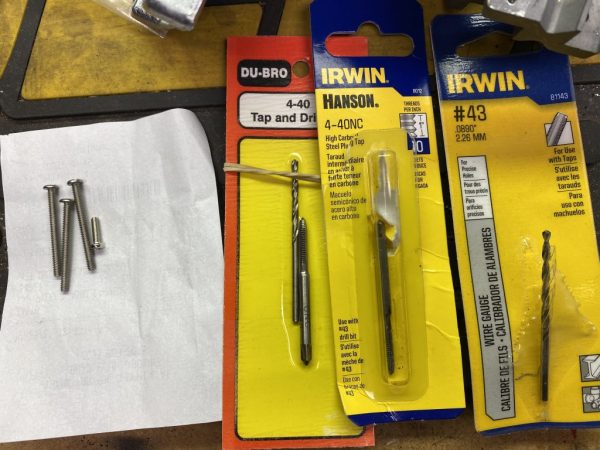
At this point, the instructions say to drill and tap the two pegs holding the pivot end plate. The supplied screws are 4-40, but it’s up to you to find the appropriate drill and tap. It turns out that is harder than it sounds. I hit several large box stores, none of them had anything that small. I finally broke down and hit eBay, and ordered a Du-Bro drill and tap set, intended for model hobbies.
It was shipped and supposed to arrive in the mail on Friday, so I figured I’d be able to work on it for the weekend. Wednesday it disappeared off the tracking, so on Friday I hit a real hardware store and found a 4-40 tap and the correct size drill to go with it. I drilled and tapped a test hole, but it turned out that the tap was UNC, and the screws were UNF. Friday night the package was on the tracking again scheduled for Monday.
When it arrived, it turned out to also be a coarse-thread tap. I decided the universe was trying to tell me something, and I dug up some 4-40 coarse thread screws and used those instead of the supplied ones.
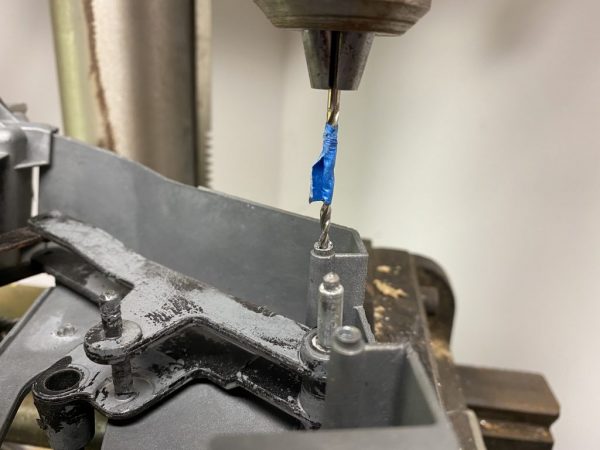
Drilling the holes. The tape marks the correct depth for the hole.
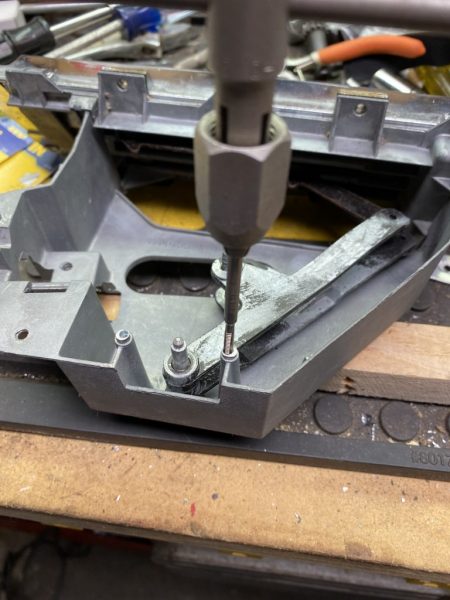
Tapping the holes
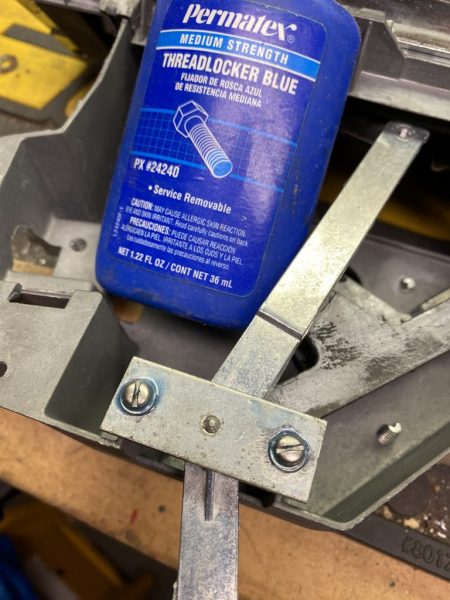
Once past that hurdle it was a matter of putting the screws in with some locktite and reassembling it.
The hole in the end of the new lever also needed to be tapped so it can be reconnected with a screw.
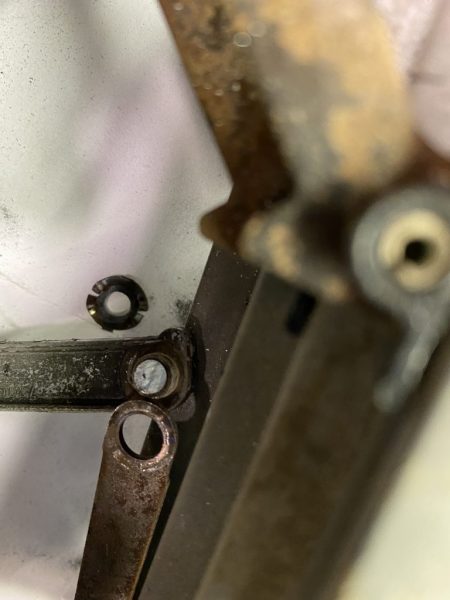
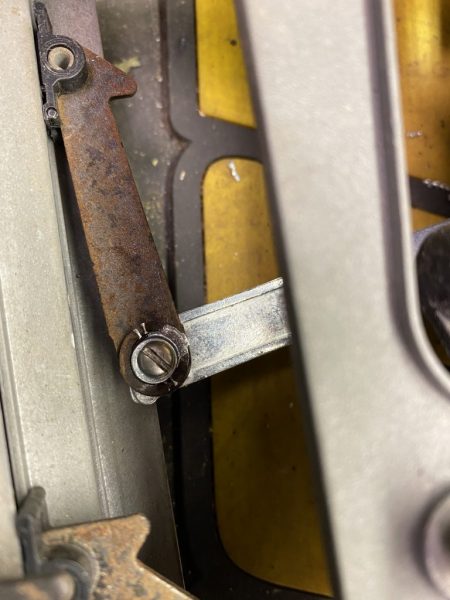
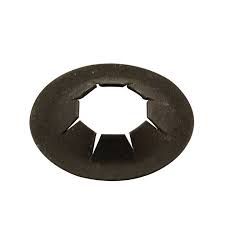
Back together again…mostly. Each cable has a loop on the end that fits on a peg on one of the levers. The loop is supposed to be secured by a push nut, which looks like a washer with cuts radiating from the center hole that grip the peg.
I managed to lose or break all of the original three push nuts, plus a fourth one that came with the repair kit. Someday I’ll buy some and install them, but it looks like it will work for now. Tip: buy extras when you buy your kit.
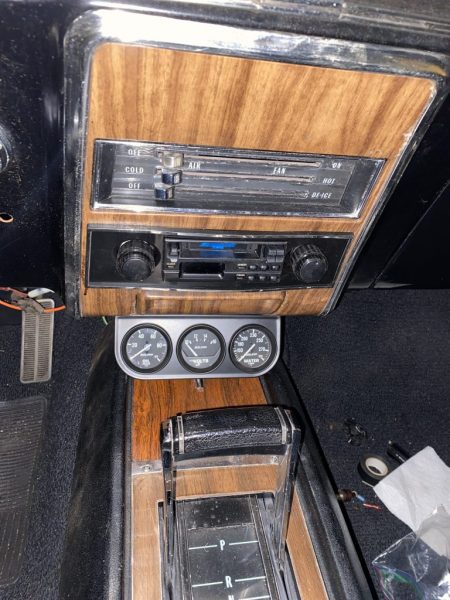
This does actually work, and the defroster diverter valve does open and close as you slide the defrost lever, but…it’s a fix that doesn’t really show up well in pictures. Looks about the same as when I started!
