Posted on

Keeping it Cool

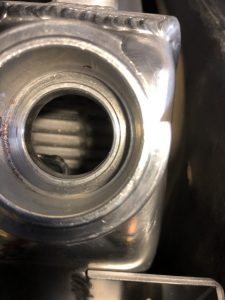
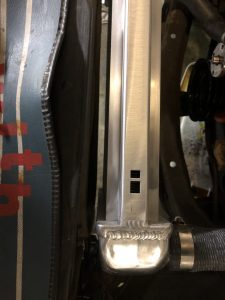
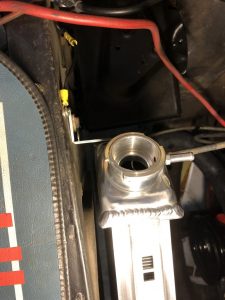
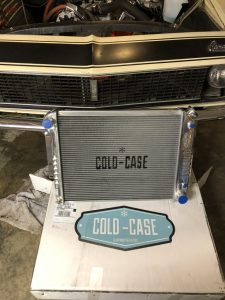
I decided to get a new radiator and avoid the drama.  After some research, I settled on a Cold Case radiator.  It’s a stock fit bolt- in replacement with a lot more capacity.

It’s a two row core, but the tubes are very wide, so it has a lot of surface area.

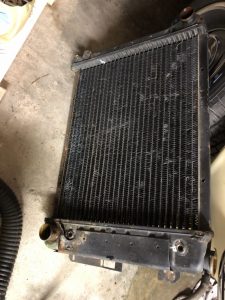
Out with the old one core:

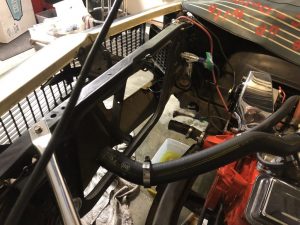
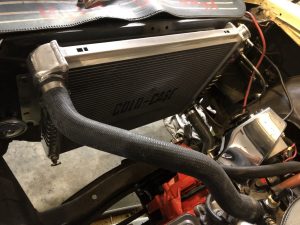
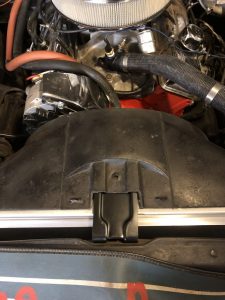
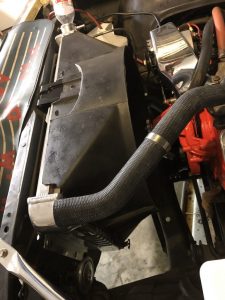
…and in with the new.  Fit is good, it bolted up to the stock mount points on the radiator support.

My only slight criticism is that the brackets were about 3/8” deeper than they needed to be, so the radiator body was a bit closer to the firewall than I’d expected.  This caused a misalignment at the shroud mount bracket.  Not a big deal since drilling a second mount hole isn’t too difficult, but it may matter to other people.


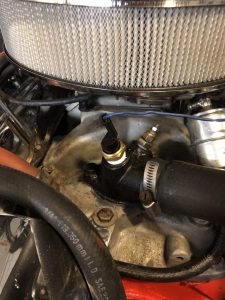
I also got the CORRECT temp sender to work with the idiot light.

I am waiting on the new power steering pump before I do the final assembly.

Posted on

Power steering

My last classic car had manual steering…and at the time I wished I had power steering.  Now I have power steering, and kinda wish I didn’t.

The problem is that the pump is leaking for some reason.  The fluid level was very low, so I put in almost a pint of fluid.  The next day there was a giant puddle of something under the front of the car.  You guessed it, nearly a pint of power steering fluid.

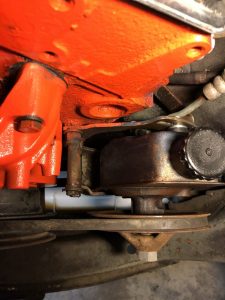
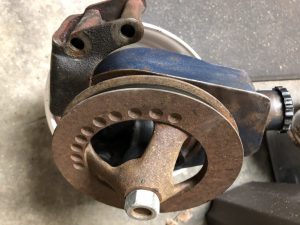
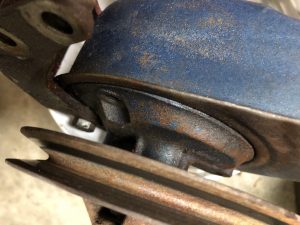
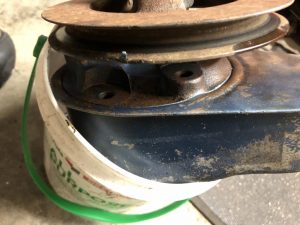
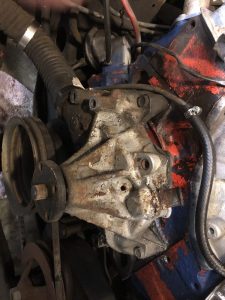
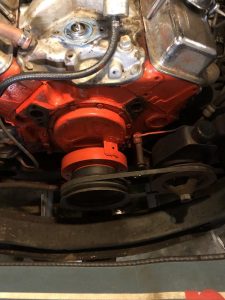
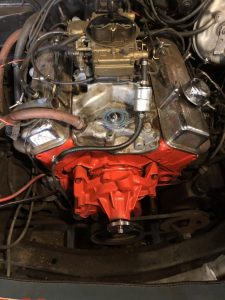
Part of the problem seems to be that the engine has a mix of 68 (short water pump) and 69 (long water pump) accessories and brackets.  For the pump, it looks like it’s a 68 bracket with some spacers and washers added to make the pulleys line up.  That’s not a great plan.

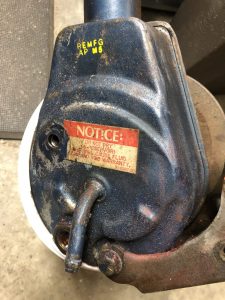
The pump is leaking from the mounting hole on the back of the reservoir. (Next to the ‘notice’ sticker.)   I’m not sure, but it looks like there’s a boss inside the reservoir, and an o-ring between it and the sheetmetal of the reservoir.  Fill it up above that, and it leaks out there.  Not a great design.

The trick now is to figure out the combination of pump and brackets that will work.

Posted on

Made it to the show!

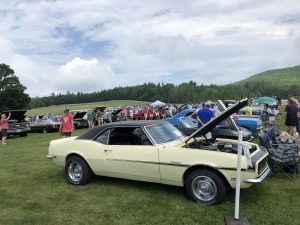
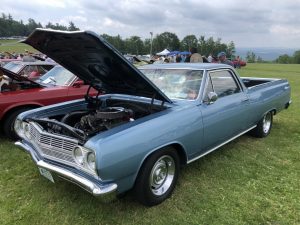
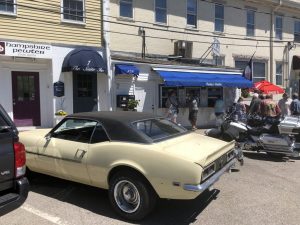
After the ‘overheating’ fiasco, I decided to risk it, and we went to the show at Castle in the Clouds in Moultonborough, NH.  It was a decent turnout, probably 200 cars.  Oddly…we were the only 1st gen Camaro there.  In fact, the only other Camaros in attendance were a 79 Z28, and a 2018.  There was a 69 Firebird, and a 73 also, but that was it for F body cars.

Posted on

Still overheating…sorta

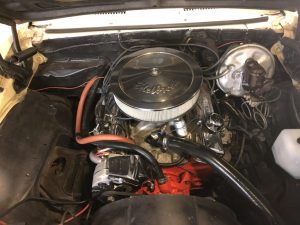
The engine in the 68 is a 73 350. The wiring needed some work, and when I got the temp light hooked up, it came on after a few minutes of running.

I figured out that the sender was for a gauge, not an idiot light, so that’s why the light would show dim, and gradually get brighter. I hit the local NAPA and asked for a new sender for an idiot light, and a new thermostat…but the light still came on.

There’s a show on the 6th I wanted to make (castle in the clouds, moultonborough) so I wanted to solve the overheating before then.

Next up on the hitlist was a new water pump. I mail ordered a new one and a few other bits. The parts arrived on the 1st.

I stripped the front of the engine down on the 2nd to discover I’d mail ordered a short pump by mistake. I called NAPA on the 3rd and they said the long pump wasn’t in stock, but they’d have it by 3pm. My wife stopped by at 3:45…to find a sign in the window saying they closed early at 3pm, and would be closed on the 4th.

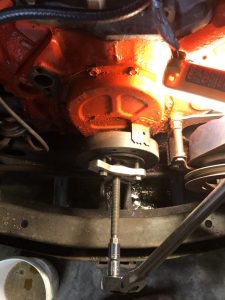
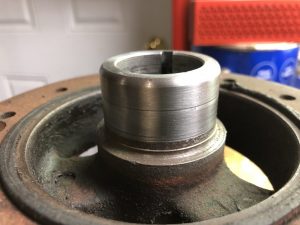
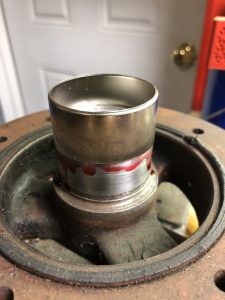
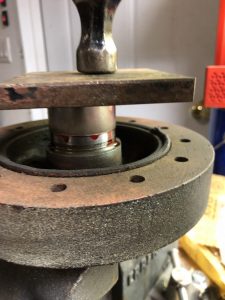
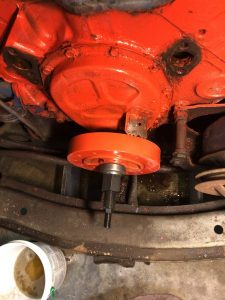
A 45 minute drive to the nearest place that was open got me a pump. I spent a few hours on the 4th pulling the rest of it, including pulling the dampener and putting a sleeve on, and a new front seal in the timing cover to (hopefully) cure an oil leak. Then it was clean/paint/reassemble with the new water pump, and wait for the rtv to cure.

Tonight I finished the last of the assembly, put the coolant back in, and took it for a drive around the block…

..and then the temp light came on again…

Something wasn’t adding up. The engine didn’t seem that hot, and my infrared temp gun showed 185.

I pulled out the sales slip for the new sender, and looked up the part number. Sunofabich…it’s for a gauge not a light.

Sooo…going to the show Saturday anyway, temp light and all.
Posted on

We’re legal!

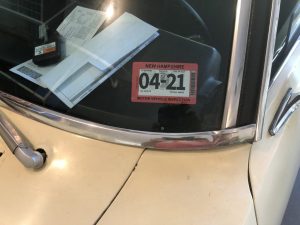
Finally got through the punchlist for the inspection, and got the sticker!

Off to the ice cream stand for the maiden voyage.  Temp light came on after a few minutes, have to investigate that, otherwise a very smooth first trip.

Posted on

New shoes

The tires that came with the car had plenty of tread, in fact they looked to have very little wear on them.  The problem was they were dry rotted and cracking in between the tread lines.  I found the date code on the sidewall and it decoded to 1993. Time for new tires before it was good to pass inspection.

I wasn’t crazy about the rim/tire/stance combination, so after a lot of research, I found a good setup.

old: 15×8 AZ code (Corvette) rims with 4” backspace, and 215-65-15 tires on all 4 corners.  The rear looked skinny, but the front looked too wide.

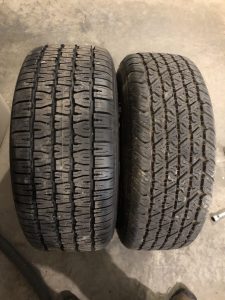
new: I kept two of the 15×8 rims for the rear, but used bigger 245-60-15 tires.

New rear on left, old on right:

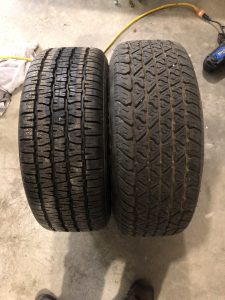
On the front, I got two aftermarket 15×7 rims with a 4.25” backspace, and used smaller 215-60-15 tires.

New front on left, old on right:

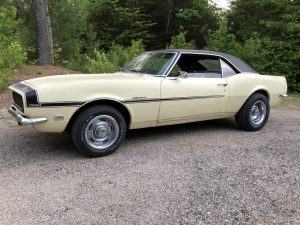
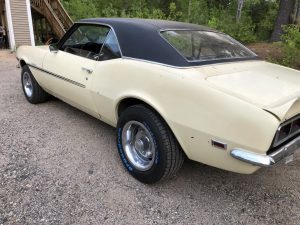
Finished product:


Posted on

Scraping and more scraping

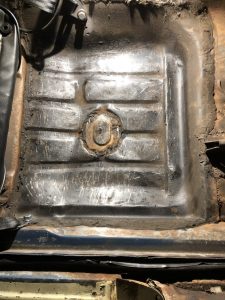
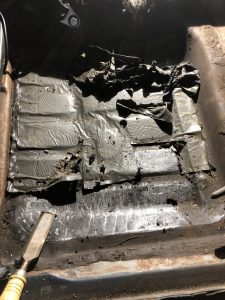
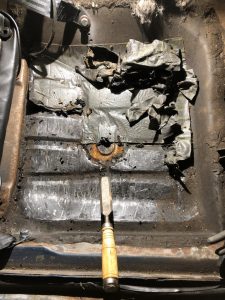
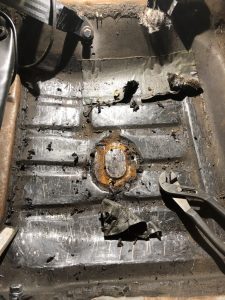
The footwells in the 68 have all been replaced by a previous owner, but they did a very odd thing.  The new pans were installed from the inside…without cutting the original rusty pans out first.  Also, someone had stuck roofing ice shield on the floor as a low-budget dynamat.  The net result was nasty rusty floors when viewed from underneath, that looked like they were being held together by the ice shield from the top.  This earned me a to-do from my inspection guy: scrape it off – is there really good metal under there?

There were a few spots where it didn’t stick too well because of dirt, but unfortunately for me, most of it was stuck down pretty good.  Armed with a chisel and a putty knife, I scraped and scraped and…you get the idea.

And…voila.  Good metal.  1 down, 3 to go…


Posted on

Connector disassembly tip

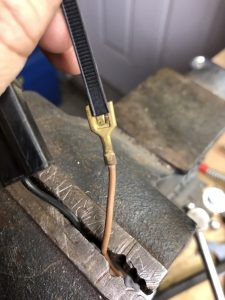
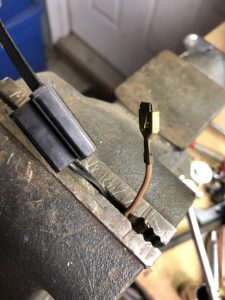
  1. I needed to clean and reattach some  crimped connectors and figured out an easy way to get them out of the plastic shell.
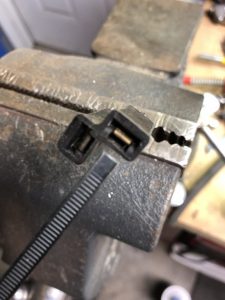
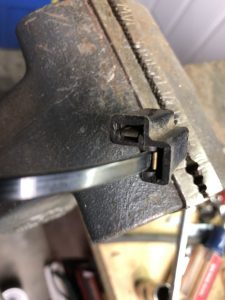
There is a small tab that needs to be pressed down to allow it to slide back out of the housing.  I’ve used a tiny screwdriver in the past, but that doesn’t work very well.  I spotted a ziptie on the workbench that looked about right, and it ended up working perfectly.
Push the connector towards the front of the housing (away from the wire), then slide the ziptie into the slot just below the connector from the front.  It worked better to have the smooth side of the ziptie facing the connector.  Once it is pushed in fully, pull on the wire from the back of the housing, and it should slide out.

A slow wire wheel makes it easy to clean the connector.  You may need to bend the little tab on the connector a little if it’s gotten mashed down too much.

To reinstall the connector in the housing, just push it in again until you hear the little tab click into place.

Posted on

Tough nuts – part 2

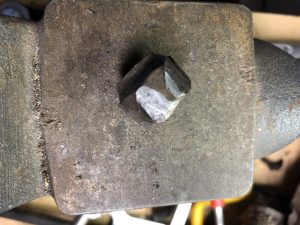
With the help of an electric impact wrench, the tough nut is gone.  It did not go easily, even with the wrench.  Once it got moving, it was no problem to remove.

(The 12-o-clock one was the tough one, the 10 was just a dress rehearsal.)

The others went more quietly with no drama.  Now the work can begin…


Posted on

Tough nuts

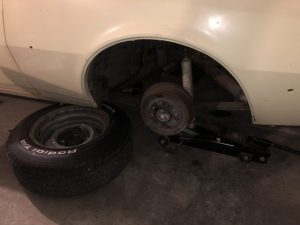
I got the car facing the other way in the garage so I can do the last brake rebuild…LR corner.

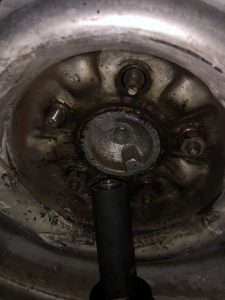
unfortunately, the lugnuts had other ideas.  Apparently I haven’t had this wheel off before, and it’s on there good.

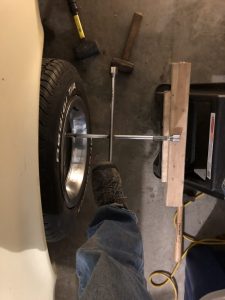
I don’t know who put these lug nuts on or what they used but… I got 4 loosened after a ***lot*** of work, but #5 is not budging. I put a cross lug wrench on and stood on it and bounced to get some of them off.

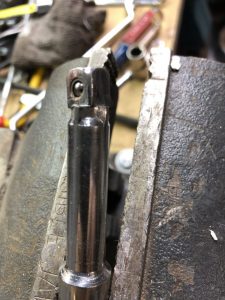
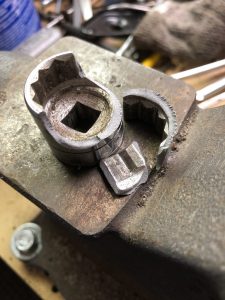
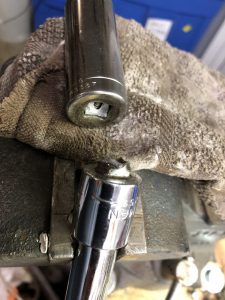
So far I’ve broken a socket extension, a socket adapter, and a socket. Nuthin. Tried the cross lug wrench, an 18” breaker bar, an impact driver, several BFHs, and the dreaded pipe extension on the ratchet. Nuthin.

#5 is starting to round off, so I’m worried I may have to resort to cutting.  Shot it with wd40 in the meantime.